U49C RED HERON
User Manual
9
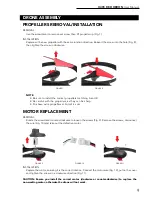
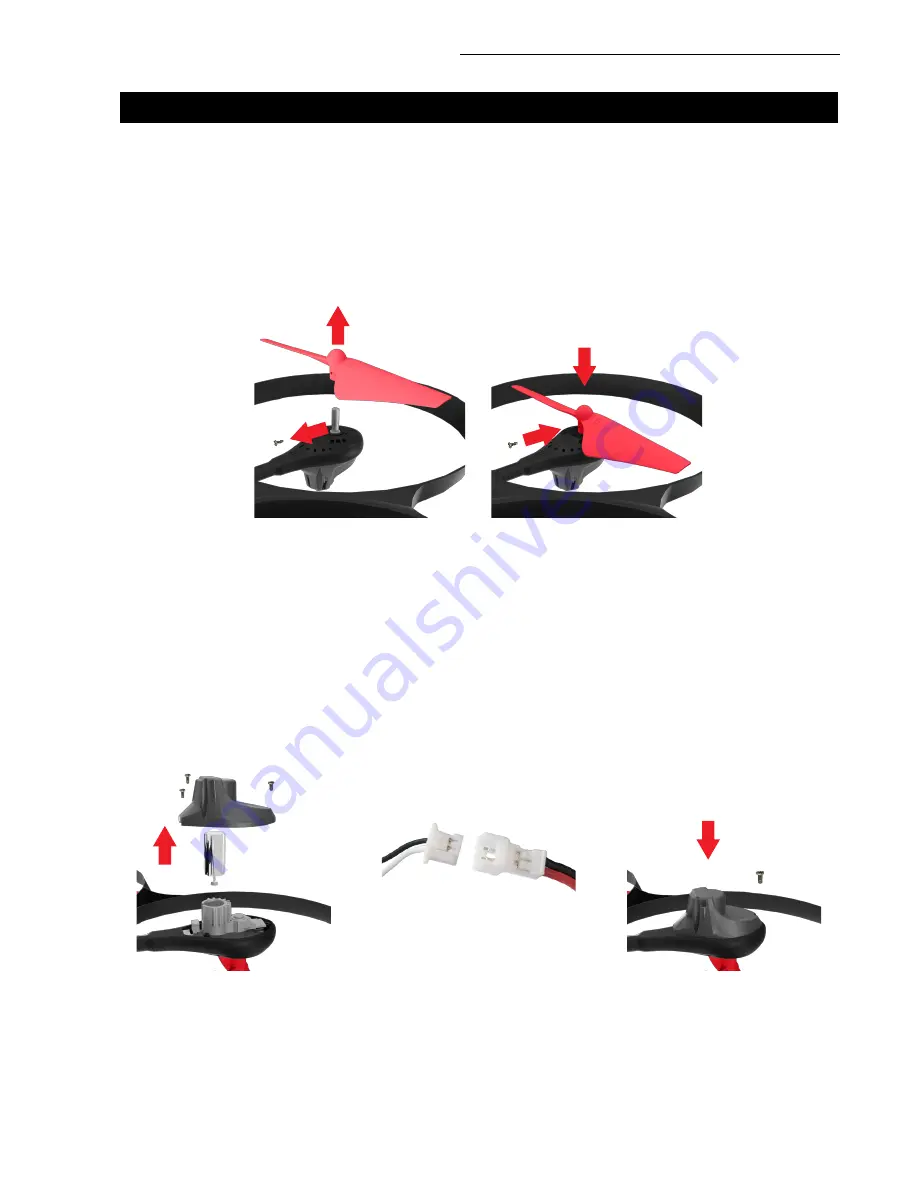
FIGURE 7
FIGURE 8
DRONE ASSEMBLY
PROPELLERS REMOVAL/INSTALLATION
REMOVAL
Use the screwdriver to remove set screw, then lift propeller up (Fig. 7).
INSTALLATION
Replace with a new propeller with the same rotation direction. Reinsert the screw into the hole (Fig. 8),
then tighten the screw in clockwise.
INSTALLATION
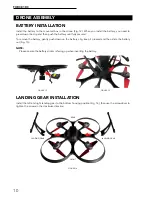
Replace the motor, ensuring it is the correct rotation. Connect the motor wire (Fig. 10), put on the cover
and tighten the screws in a clockwise direction (Fig. 11).
CAUTION: Ensure you install the correct motor (clockwise or counter-clockwise) to replace the
non-working motor; otherwise the drone will not work.
MOTOR REPLACEMENT
REMOVAL
Rotate the screwdriver counter-clockwise to loosen the screws (Fig. 9). Remove the screws, disconnect
the wire (Fig. 10) and take out the defective motor.
FIGURE 9
FIGURE 10
FIGURE 11
NOTE
•
Be sure to install the correct propellers matching A and B
•
Be careful with the propellers, as they can be sharp
•
Purchase extra propellers at Force1rc.com
Summary of Contents for U49C RED HERON
Page 2: ......


