Page 27
Page 27
SECTION
5
Plumbing
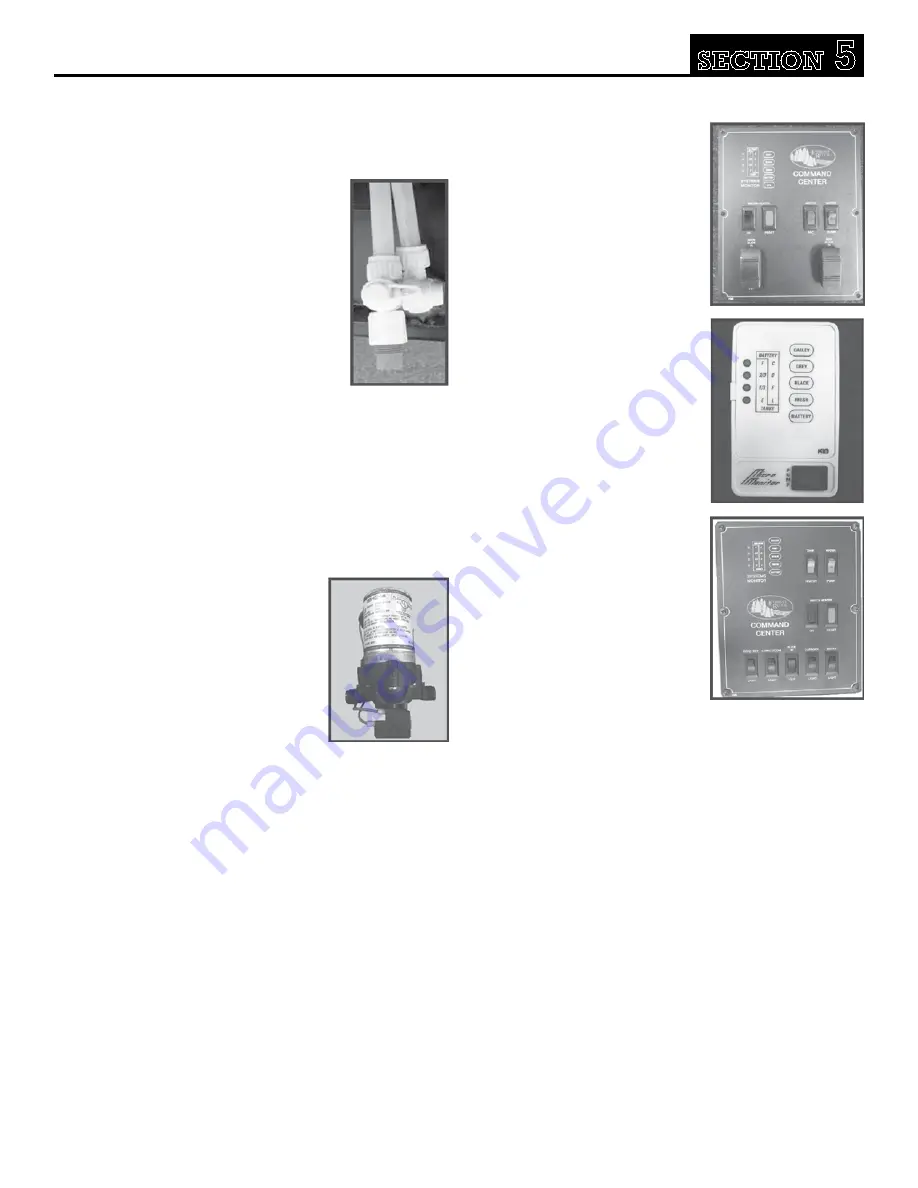
MONITOR PANEL
While there are several different
styles of monitor panels, they all
serve the same purpose. They
measure and display information
regarding levels for water, batteries
and LP.
The monitor panel allows you to
quickly check the levels in the
fresh water and waste water tanks.
Electrical sensors at various points
on the tanks send signals to the
monitor panel. To check fluid levels,
press and hold the TEST SWITCH
designated for the tanks and read
the level indicators on the panel.
The indicator is proportioned in
quarters with each light indicating
the level that the tank contains.
Sometimes, residue on the sides of
a tank, or water with a low mineral
content will give a false reading.
Check the levels occasionally when
you are sure of a tank’s contents
and compare it to the reading
on the monitor panel. If you are
concerned about the accuracy of
the monitor panel, have it checked
at your local Service Center.
NOTE:
REMEMBER THAT
THE MONITOR PANEL HAS
ADDITIONAL FUNCTIONS, SUCH
AS DISPLAYING BATTERY AND LP LEVELS.
Sanitizing the Fresh Water System
Sanitize the system before initial use, after extended periods
of non-use, at least once a year during continuous use, and
if there is suspicion that the system has been contaminated.
To Sanitize the System:
• Prepare a chlorine solution using a gallon of water and 1/4
cup of liquid household bleach, (5% sodium hypochlorinate
solution.) Use one gallon of solution for each 15 gallons of
tank capacity.
• With an empty tank and all faucets and drains closed, pour
the solution into the fresh water tank.
• Completely fill the tank with fresh water.
• Switch on the water pump. Open all faucets one at a time
until all air is purged and the water flows freely.
• Again, add fresh water to the tank until the water level
reaches the fill spout.
NOTE:
WHEN FILLING THE SYSTEM, YOU MAY WANT
TO ADD MORE WATER TO THE TANK TO REPLACE THE
WATER USED WHEN FILLING THE HOT WATER TANK AND
WATER LINES.
When traveling, you may want to drain
the tank or keep the quantity of water to
a minimum.This will reduce the total
weight of the RV for travel. The location of
the fresh water and the waste water tank
drain valve will vary from unit to unit but is
generally located beneath the unit, near the
respective tank.
Water in the tank can be drained by turning
the drain cock perpendicular (vertically) to
the RV body. To close the valve, turn the
lever parallel (horizontally) to the RV body.
NOTE:
WHEN DRAINING THE TANKS, BE
SURE THE WATER PUMP IS OFF. NOTE: WHEN DRAINING
THE ENTIRE ONBOARD FRESH WATER SYSTEM, BE SURE
TO OPEN FAUCETS, WATER HEATER DRAIN AND SYSTEM
LOW POINT DRAINS TO REMOVE ALL FRESH WATER
FROM THE SYSTEM.
WATER PUMP
When using water from the fresh water
tank, the system must be pressurized. A
self-priming 12v DC pump is provided
to handle this function. A pump ON-
OFF switch is located on the monitor
panel. The self-contained water pump
is a demand system. This means the
water pump will automatically turn on
when a demand is made on the system.
Initial start-up
of the water system
1.) Be sure the tank is filled with water.
2.) Open all faucets in the recreational vehicle,
both hot and cold.
3.) Place the pump control switch in the ON position.
4.) Allow time for the hot water tank to fill. shut off each faucet
as the flow becomes steady and free of air. When the last
faucet is turned off, the pump should also shut off.
5.) The system is now ready for use.
Water Tank
Drain Valve
Water Pump


