—
53
—
Tent Camper Owner’s Manual
dard equipment. To position the TV for viewing,
release the lock and turn it into position.
6. For models with a ceiling mounted folding clothes
hanger: to use, release the catch and rotate the bar
down.
7. For models with a Gaucho (a sofa-like seating
space): It can be converted to a bed by releasing the
snap on the locking strap located on the gaucho
base under the seat cushion next to the door and
pulling the gaucho seat bottom forward, using the
back cushions to complete the mattress.
8. Since the appliances in your Flagstaff camper
may vary according to floor plans and options, we
suggest that you consult your dealer or owner’s
manuals included with your camper for operating
and maintenance information.
r
etUrn
to
tHe
oUtside
For
Final
set
-
Up
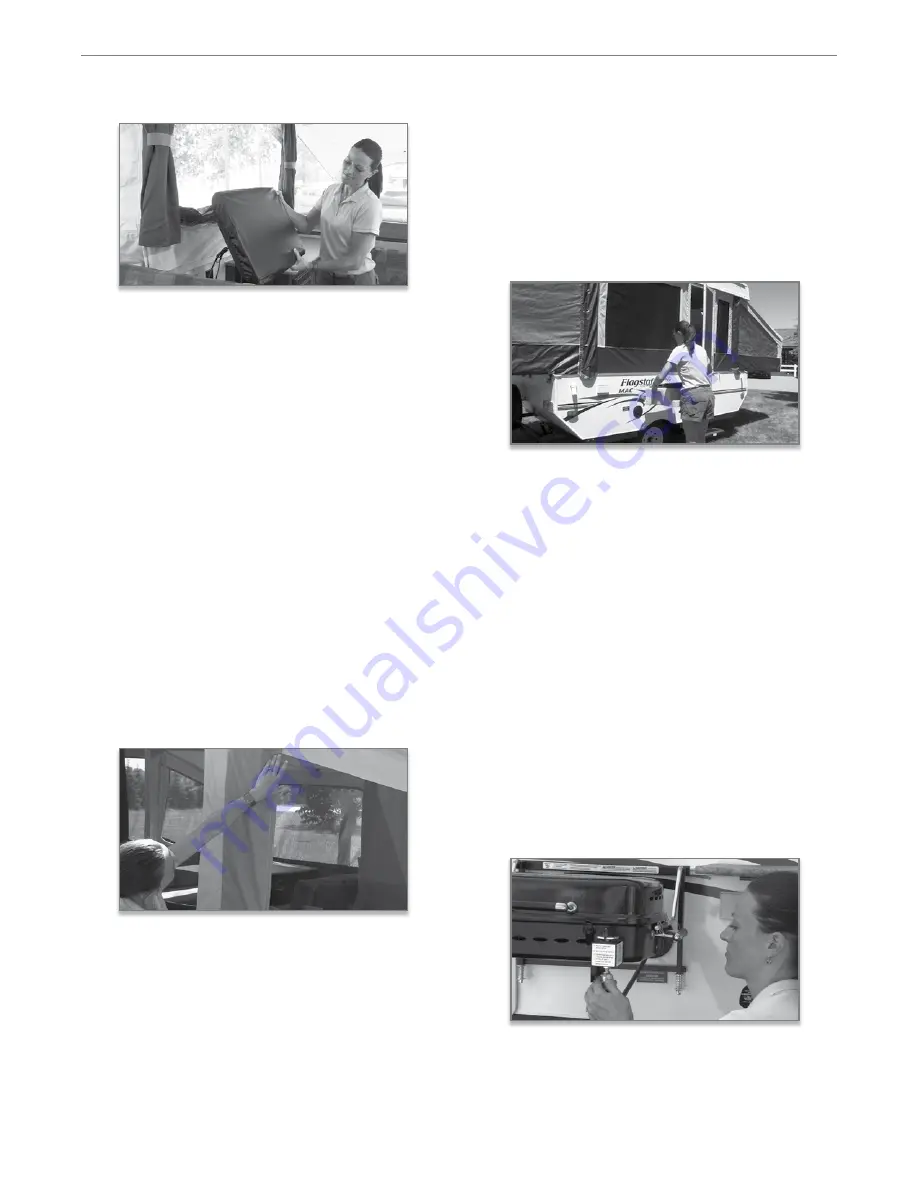
9. Fasten the corner flap to the snap at the end of the
Velcro strip on the underside of the bunk and at-
tach the tent to the Velcro along the length of the
bunk. A shock cord is also added for safety. Next,
Velcro the lifter post covers in place for added pro-
tection against the elements and insects.
10. ltD models only: if you desire, you can remove
the two-burner stove from inside the camper and
install it onto the mounting bracket located on the
side of the camper. To attach the stove to the exteri-
or wall, be sure that the lip on the extrusion across
the back of the stove fully locks into place on the
extrusion mounted to the camper sidewall. Then,
attach the LP gas line provided from the open-
ing on the side of the camper to the stove. A quick
disconnect fitting on the stove is provided for this
purpose. When connecting the stove to the LP gas
supply, the LP valve on the disconnect fitting must
be in the OFF position (valve handle at a right an-
gle to the gas line). To attach the quick disconnect,
hold the gas line, pull back on the outer connecting
collar and insert over the stove connection. When
connected, turn the gas valve to the ON position
(valve handle in line with the gas line). Don’t forget
to remove the stove before closing up the camper.
MaC, MaC off road, Classic and high Wall
models: To attach the grill, remove it from the box
and assemble according to the manufacturer’s in-
structions. Begin by installing the grill base on to
the mounting bracket located on the side of the tent
camper. To attach the grill base to the exterior wall,
be sure that the lip on the extrusion across the back
of the base fully locks into place on the extrusion
mounted to the camper sidewall. Place the grill on
the base and attach the LP gas line provided from
the opening on the side of the camper to the grill.
A quick disconnect fitting on the grill is provided
for this purpose. When connecting the grill to the
LP gas supply, the LP valve on the disconnect fit-
ting must be in the OFF position (valve handle at
a right angle to the gas line). To attach the quick
disconnect, hold the gas line, pull back on the outer
connecting collar and insert over the grill connec-
tion. When connected, turn the gas valve to the ON
position (valve handle in line with the gas line.)


