ROOF BATTENS & PLASTIC ROOF TRIMS
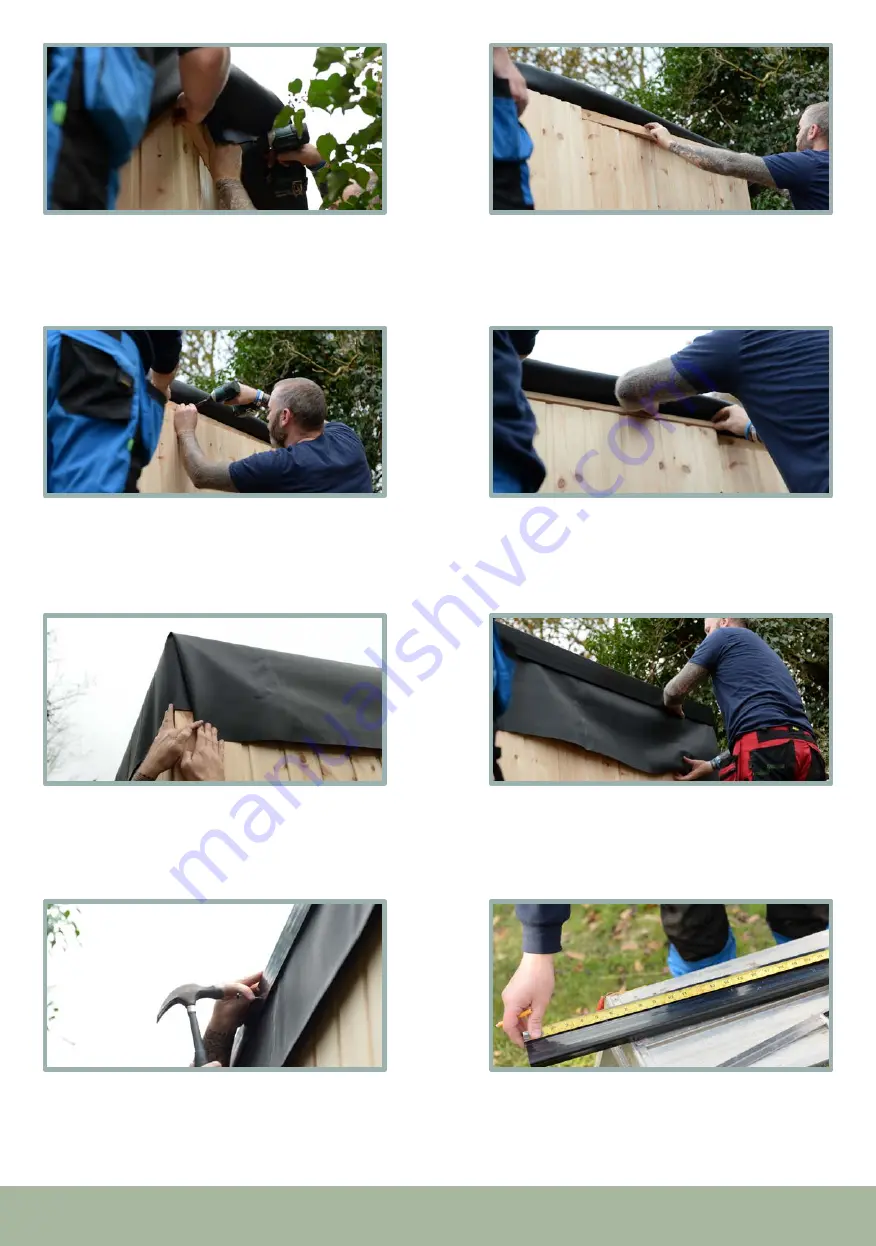
Underneath the EPDM, you will need to secure the
back roof battens to the back T&G Panels (AX, BI
& AZ). Ensure the battens edge is flush to the top
of the T&G Panel. Secure with 3 x 80mm screws
per batten.
127
127
Fold the EPDM in a tucked position as shown
above.
131
131
Use the pins provided with the plastic trims. Pin
into the batten behind to secure in place.
133
133
Repeat the same process for the smaller batten on
top of the other T&G side panels (BC, BA & BH).
Screw into place using 2 x 80mm screws. Repeat
the process on the opposite side.
130
130
Before adding the plastic roof trims on the sides,
the angled roof battens need to be applied to the
gaps above the T&G panels. Fold the edge of the
EPDM and slot in the batten onto the T&G side
panel (BB).
128
128
Screw into place using 2 x 80mm screws. Ensure
the batten is butted up to the T&G panel and wall
panel behind.
129
129
The other plastic trims will need to be measured
out and cut using a hand saw to fit next to the
fixed roof trim. Further detail will be shown
throughout the application of the trims below.
134
134
Slot the plastic trim on the top edge, flush to the
back.
132
132
23


