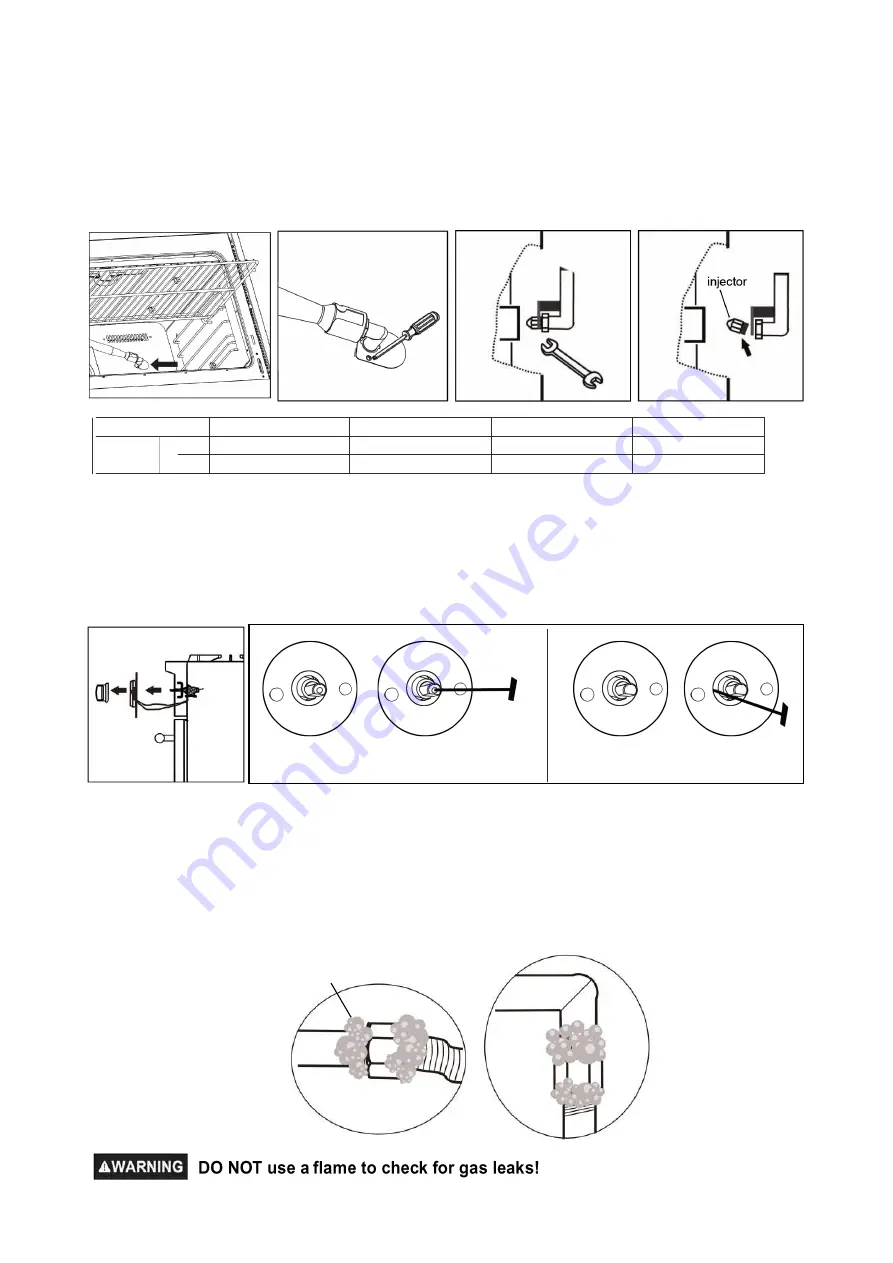
STEP 4: Broil Burner
a. Remove 2 screws which fixing the nozzle bracket and locate the nozzle.
b. Using a 5/8”or 19mm open wrench, remove the gas line from the nozzle holder. Using a ½”open
wrench, remove the nozzle from the orifice holder. Replace with 0.94 mm oven broiler nozzle.
STEP 5: Gas Valve
a. Remove control knobs.
STEP 6: Reconnect Gas and Electrical Supply
Leak testing of the range shall be conducted according to the installation instructions provided with
the range.
Before operating the range after the gas conversion, always check for leaks with a soapy water
solution or other acceptable method in at gas connections installed between the gas inlet pipe of the
range, gas regulator, and the manual shut-off valve.
2
4
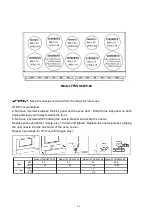
Broil
NG
LPG
1.38
0.94
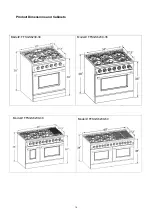
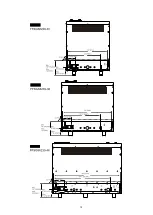
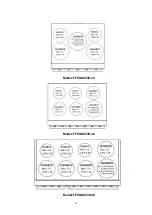
Model:FFSGS6239-30
Model:FFSGS6239-36
Model:FFSGS6239-48
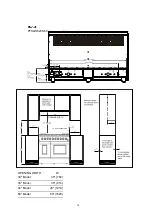
Model:FFSGS62
39
-60
1.38
0.94
1.38
0.94
1.38
*2
0.94
*2
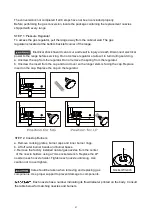
b. Using a flat screwdriver, adjust main burner bypass jets toward to 1/4 circle for LP until the flame
is normal.
For 9,000btu and 15,000btu burners, please refer to fig.1, which is in the center of valve
axis. For 20,000btu burners, please refer to fig.2, which is in the left side of valve axis.
Use soapy solutions to check for leakage on all joints.
fig.1
fig.2
Summary of Contents for FFSGS6239-30
Page 18: ......
Page 22: ...22 Model FFSGS6239 30 Model FFSGS6239 36 Model FFSGS6239 48 ...
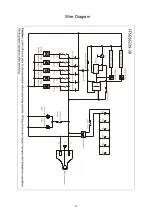
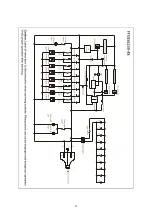
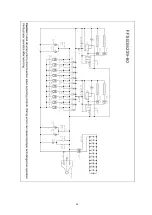
Page 35: ...Wire Diagram 35 ...
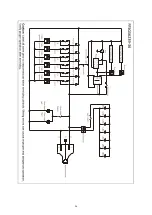
Page 36: ...36 ...
Page 37: ...37 ...
Page 38: ...38 ...

