NAT/Route mode installation
Using the command line interface
FortiGate-3000 Installation Guide
01-28005-0026-20041101
31
2
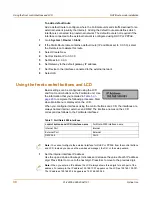
After you set the last digit of the IP address, press Enter.
3
Use the down arrow to highlight Netmask.
4
Press Enter and set the internal Netmask.
5
After you set the last digit of the Netmask, press Enter.
6
Press Esc to return to the Main Menu.
7
Repeat these steps to configure the external interface and the DMZ interface if
required.
To configure a default gateway
The default gateway is usually configured for the external interface. You can use the
procedure below to configure a default gateway for any interface.
1
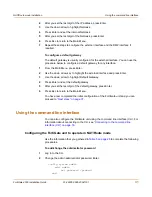
From the Main Menu, press Enter.
2
Use the down arrow key to highlight the external interface and press Enter.
3
Use the down arrow to highlight Default Gateway.
4
Press Enter and set the default gateway.
5
After you set the last digit of the default gateway, press Enter.
6
Press Esc to return to the Main Menu.
You have now completed the initial configuration of the FortiGate unit and you can
proceed to
“Next steps” on page 37
.
Using the command line interface
You can also configure the FortiGate unit using the command line interface (CLI). For
information about connecting to the CLI, see
“Connecting to the command line
interface (CLI)” on page 16
.
Configuring the FortiGate unit to operate in NAT/Route mode
Use the information that you gathered in
Table 5 on page 28
to complete the following
procedures.
To add/change the administrator password
1
Log in to the CLI.
2
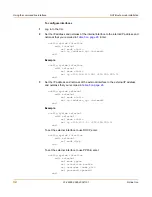
Change the admin administrator password. Enter:
config system admin
edit admin
set password <psswrd>
end

