14
Battery Charging
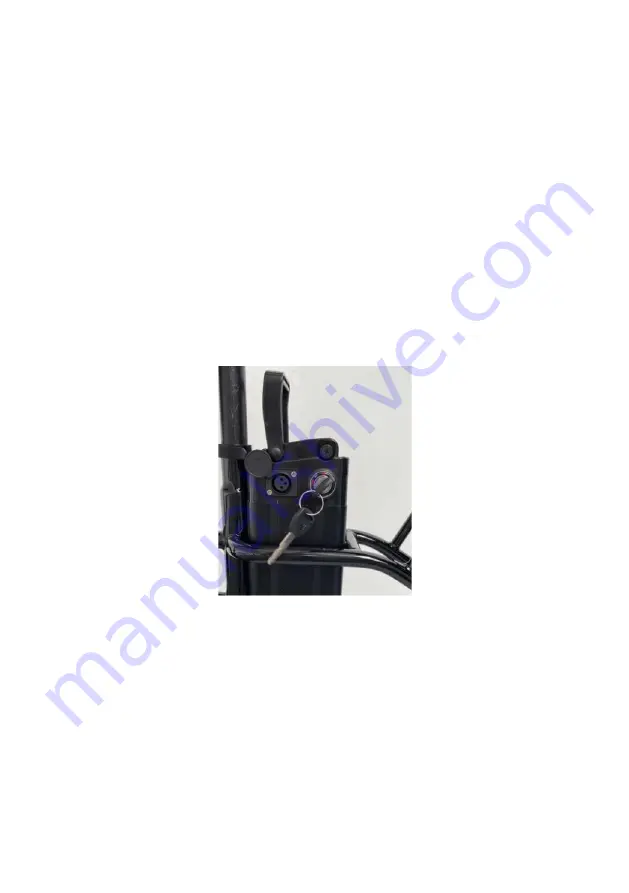
Battery removal:
Press the release button under the saddle to fold the saddle forward. Turn
the key counter clockwise twice to the UNLOCK position, then grab the battery handle and
lift it up.
Charging:
Open the dust cover on the battery to expose the charging port. Insert the low-
voltage output plug of the charger into the battery charging port and insert the charger into
an electrical outlet. The indicator light of the charger will change from GREEN to RED,
indicating normal charging. When the battery is fully charged, the indicator light of the
charger changes from RED to GREEN. After charging, remove the plug from the outlet and
then from the battery. Replace the battery dust cover.
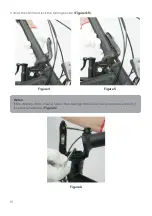
Check battery level:
Insert the key into the battery lock hole and turn it clockwise to the ON
position. Press the power indicator button on the top of the battery to check whether the
battery power is sufficient. If all three LED lights are on the power is sufficient. Two lights
indicate that the battery is not full. If the one light is bright red and the others are dim, the
battery is low and must be charged. (
Figure 13
)
Note:
•
Ensure the charge plug is always securely in place to prevent humidity entering.
•
Do not charge the battery for more than 10 hours to avoid overcharging and damaging
the battery. After the light turns green, the charger enters trickle charging and will
slowly maintain the state of charge. If you are going to leave the bike unattended for an
extended period, disconnect the charger, especially in hot weather.
•
While charging, keep the charger and battery out of the reach of children. Do not place
anything on top of the charger whilst in use and prevent any liquid, metal or metal
fillings from coming into contact with the charger.
Figure 13


