background image

English

To ensure stability the appliance should be located on a flat, level surface, correctly loaded with the castors 

locked. 

If the supply cord is damaged, it must be replaced by the manufacturer, it’s service agent or similarly qualified 

persons in order to avoid hazards.

Care should be taken to avoid prolonged contact with cold surfaces with unprotected body parts, Correct PPE to 

be used at all time.

When moving the appliance appropriate gloves should be worn, and a relevant risk assessmeny carried out.

2

Start-Up and Operation

After unpacking leave to stand for 60 minutes and clean before turning on (cleaning directions are supplied 

within this manual).


Position the Multideck with care on a level, flat, solid surface area. 

Avoid cold air from air conditioning units & direct sunlight as these factors will affect the units’ performance. 

Warm air is produced from the rear of the unit & for this reason please leave a breathing area around the unit 

as follows:

Gap 

Position

Gap

Measurement

Relevant 

Models

Each Side of the Unit to Wall or next Unit.

10mm

Slim & Pro

Top of Unit to Ceiling (No Rear Ventilation)*

80mm

Slim & Pro

Top of Unit to Ceiling (With Rear Ventilation)

10mm

Slim & Pro

Rear of Units Wall Spacer to Wall

60mm

Slim

Rear of Units Wall Spacer to Wall

20mm

Pro

*When positioned into a recess or similar small area.

Insert the mains plug into the wall socket and switch on.  Please do not plug or unplug the unit with wet hands. 

The Multideck will start automatically, displaying the actual internal temperature of the unit (area where 

product is displayed).  All models are pre-set at +3° C to +5°C, so no adjustments are required. 

Allow the Multideck to reach its normal operating temperature before loading. 

With an interruption to the main power supply, the Multideck will re-start automatically after power is restored. 

The vaporiser tray (at the base of the unit) may overflow during a power cut but this is dependent on the length 

of time the power is off.

Standby

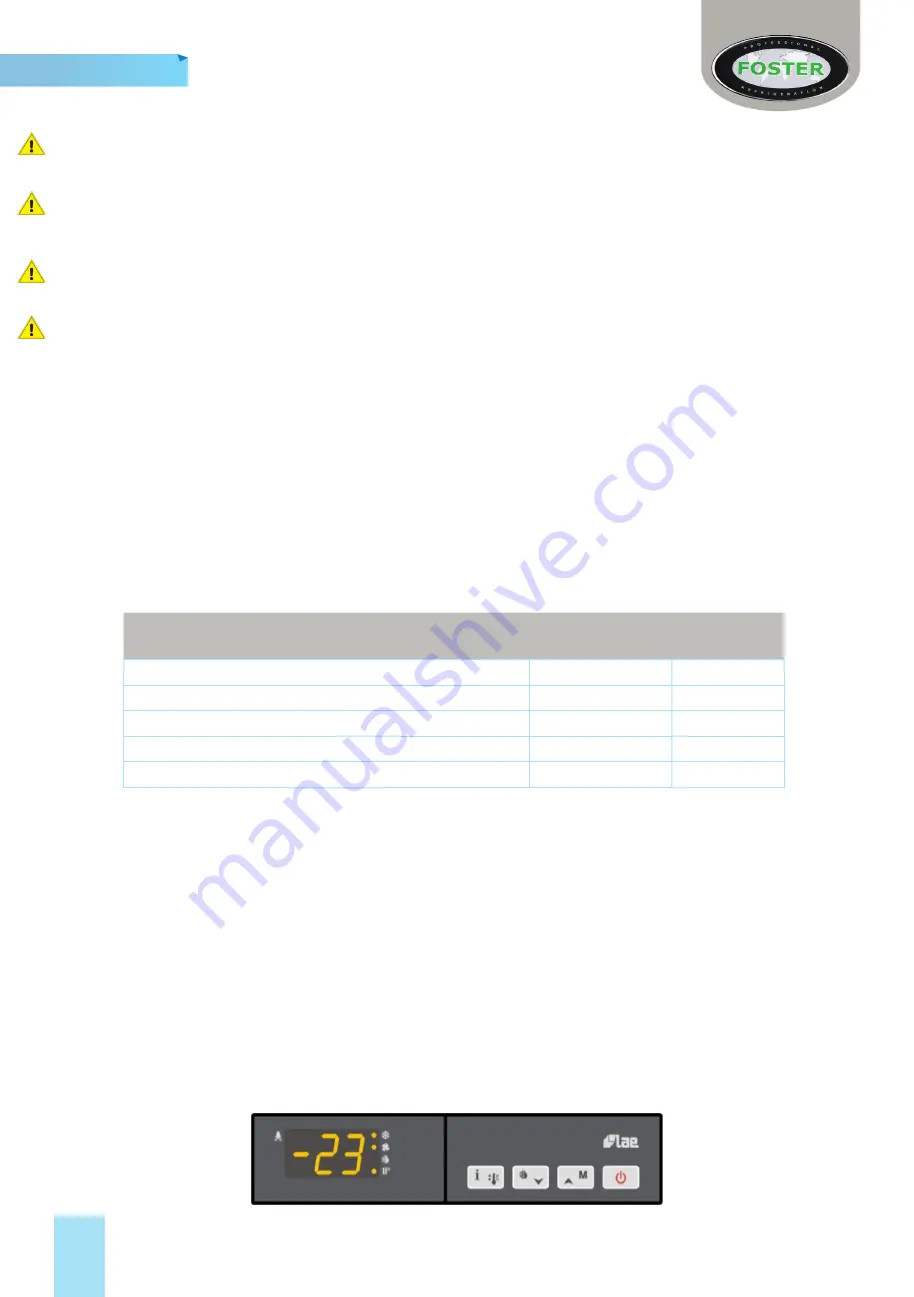
Pressing this button for 3 seconds will allow the unit to be turned on or put into standby.

Display Icons and Switches

Function Icons

Buttons/Switches

Temperature Display

Disposal Requirements

If not disposed of properly all refrigerators have components that can be harmful to the environment. All

old refrigerators must be disposed of by appropriately registered and licensed waste contractors, and in

accordance with national laws and regulations.

Summary of Contents for Slim 700 NG

Page 1: ...ajesty Queen Elizabeth II Suppliers of Commercial Refrigeration Foster Refrigerator King s Lynn Foster Refrigerator Oldmedow Road King s Lynn Norfolk PE30 4JU United Kingdom A division of ITW Ltd ISO 9001 ISO 14001 English 00 556423 December 2019 Issue 6 Call 44 0 1553 691 122 www fosterrefrigerator co uk Email support foster gamko com Original Instructions ...

Page 2: ...r through a Residual Current Circuit Breaker with Overload Protection RCBO supplied circuit Should it be necessary to replace the fuse The replacement fuse must be of the value stated on the serial label for the cabinet 1 Post October 2019 Versions Post E5562277 Pre October 2019 Versions FMPRO900NG FMSLIM700NG FMPRO1200NG FMSLIM900NG FMPRO1500NG FMSLIM1200NG FMPRO1800NG FMSLIM1500NG FMSLIM1800NG F...

Page 3: ...n 80mm Slim Pro Top of Unit to Ceiling With Rear Ventilation 10mm Slim Pro Rear of Units Wall Spacer to Wall 60mm Slim Rear of Units Wall Spacer to Wall 20mm Pro When positioned into a recess or similar small area Insert the mains plug into the wall socket and switch on Please do not plug or unplug the unit with wet hands The Multideck will start automatically displaying the actual internal temper...

Page 4: ...ch on and off the display lights with the unit running or in standby mode If the lights do not come on this may be due to a fault warning please see the troubleshooting section for more details Shelves and Supports On delivery of the Multideck these parts are supplied wrapped inside the unit on the base shelf These will require cleaning and fitting at first install Supports can be fitted at three ...

Page 5: ...shelf 735 147 per shelf 910 182 per shelf Calculated as a single stack of cans per shelf Make sure air can circulate around through the product do not cover the base shelf s front grill Maintain space between the top of the product and the shelf above Product must be cold before loading Multidecks are designed to maintain the merchandise temperature and not chill product from room temperature Shut...

Page 6: ...follow the guide below The Undershelf LED comes fitted with the brackets Hang the LED on the bracket in the allocated cutout Clips should be positioned to angle the LEDS back as shown Refit Shelving over the bracket LED Plug the LED into the clipped cable tree branches Repeat process for the remaining shelves ...

Page 7: ... only use a soft brush or vacuum cleaner to remove dirt dust If there are any stubborn grease deposits left on or through the condenser call your supplier to carry out a full service this is normally a chargeable service Re fit the front grille after cleaning Failure to maintain the condenser will cause premature failure of the motor compressor and in turn cause premature failure of the unit This ...

Page 8: ...UK Head Office Foster Refrigerator Oldmedow Road Kings Lynn Norfolk PE30 4JU a Division of ITW UK Ltd Tel 44 0 1553 691 122 Email support foster gamko com Website www fosterrefrigerator co uk ...

Reviews: