121
Model D2424LV Reference Manual (Changing the Initial Settings <SETUP mode>)
3. Use the Jog dial to set the desired MIDI device ID
number.
Turning the Jog dial clockwise increments the value, and
turning it counter-clockwise decrements the value.
4. Press the [EXECUTE/YES] key.
The MIDI device ID number is stored, and “
?
” flashes.
Flashing
Setting BAR/BEAT resolution mode
1.While the recorder is stopped, press the [SETUP]
key to enter SETUP mode.
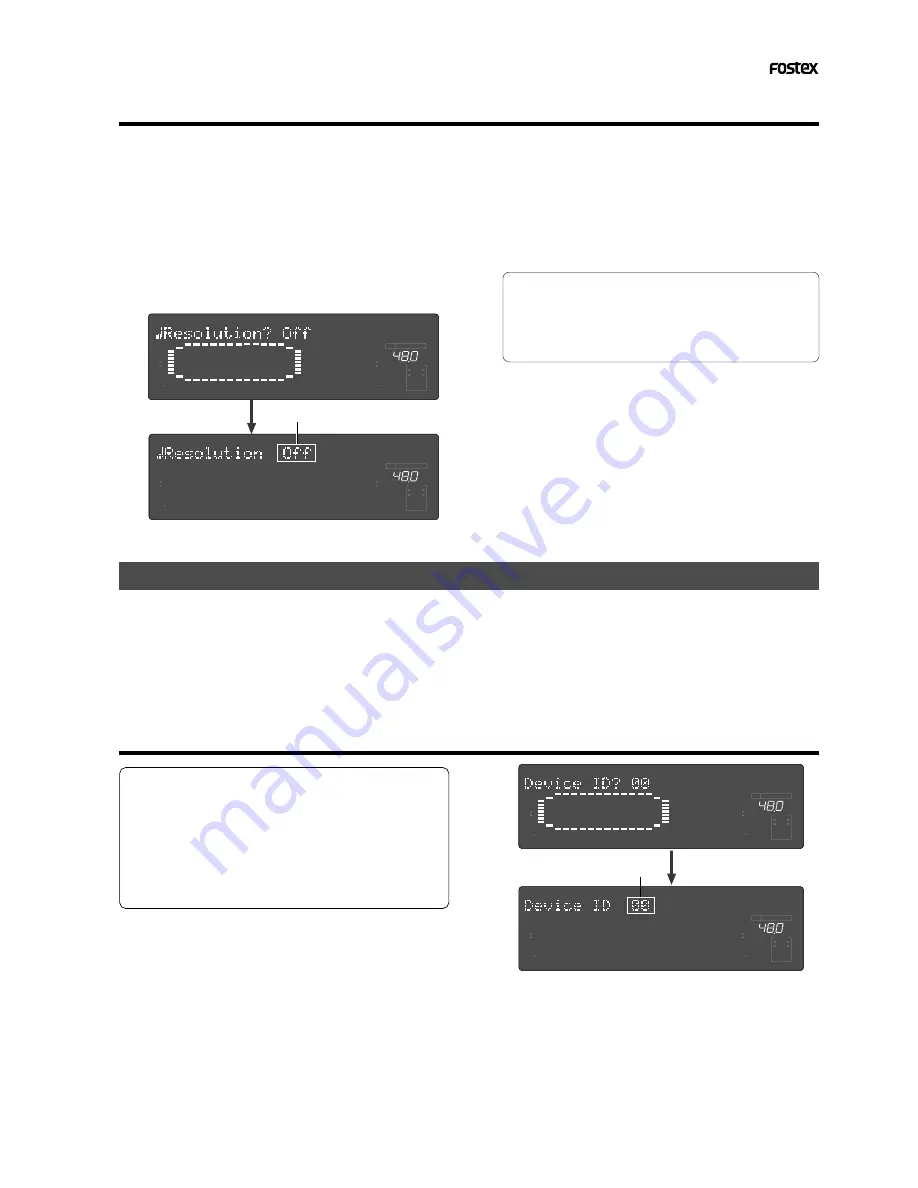
2.Turn the Jog dial to select “Resolution ?” (“?”
flashes), then press the [EXECUTE/YES] key.
The current BAR/BEAT resolution mode setting appears
on the display.
Pressing the [
EXECUTE/YES
] key turns off the flashing
“
?
” character, and the BAR/BEAT resolution mode setting
flashes. With the initial setting, “
Off
” flashes as shown
below.
3.Use the Jog dial to turn the mode “On” or “Off”.
When you turn the
Jog
dial clockwise and counter-
clockwise, “
On
” and “
Off
” flash alternately.
Selecting “
On
” turns BAR/BEAT resolution mode on, and
selecting “
Off
” turns BAR/BEAT resolution mode off.
4.Press the [EXECUTE/YES] key.
The selected mode setting is stored, and “
?
” flashes.
Setting the MIDI device number (“Device ID ?” menu)
The “
Setting the MIDI device number
” menu enables you to set the recorder device ID number required to
control the unit from a sequence software using MMC (MIDI Machine Control) or FEX (Fostex System Exclusive
Message).
The transmit device ID links to this setting. You can set the device ID from “
00
” to “
99
”.
However, if the device ID number of the message the recorder receives is “
7F
”, the recorder will recognizes it
to perform the corresponding operation, regardless of its device ID setting.
• Initial setting:
[00]
• Options:
[00] ~ [99]
* This setting is shared by all Programs in the same
disk.
* The settings cannot be saved and loaded as part of
the song data.
* The settings are maintained after you turn off the
power to the recorder.
Setting the MIDI device ID
1.While the recorder is stopped, press the [SETUP]
key to enter SETUP mode.
2.Turn the Jog dial to select “Device ID?” (“?”
flashes), then press the [EXECUTE/YES] key.
The current MIDI device ID number appears on the
display.
Pressing the [
EXECUTE/YES
] key turns off the flashing
“
?
” character, and the MIDI device ID number flashes.
With the initial setting, “
00
” flashes as shown below.
Flashing
∞
42
OL
0
30
24
18
12
9
6
3
kHz
24
FS
BIT
SETUP
24
∞
42
OL
0
30
24
18
12
9
6
3
23
22
21
20
19
18
17
16
15
14
13
12
11
10
9
8
7
6
5
4
3
2
1
CLOCK
INT
∞
42
OL
0
30
24
18
12
9
6
3
kHz
24
FS
BIT
SETUP
24
∞
42
OL
0
30
24
18
12
9
6
3
23
22
21
20
19
18
17
16
15
14
13
12
11
10
9
8
7
6
5
4
3
2
1
CLOCK
INT
∞
42
OL
0
30
24
18
12
9
6
3
kHz
24
FS
BIT
SETUP
24
∞
42
OL
0
30
24
18
12
9
6
3
23
22
21
20
19
18
17
16
15
14
13
12
11
10
9
8
7
6
5
4
3
2
1
CLOCK
INT
∞
42
OL
0
30
24
18
12
9
6
3
kHz
24
FS
BIT
SETUP
24
∞
42
OL
0
30
24
18
12
9
6
3
23
22
21
20
19
18
17
16
15
14
13
12
11
10
9
8
7
6
5
4
3
2
1
CLOCK
INT
To cancel the operation, or to restore the setting
obtained prior to the
[EXECUTE/YES]
key press, press
the
[STOP]
button or the
[EXIT/NO]
key. Each time you
press one of these keys, the recorder returns to the
previous hierarchy level of the menu, and finally exits
SETUP mode and displays the previous Time Base.


