33
Model VM88 Owner’s Manual
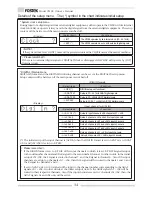
Setup Mode
In the Setup mode, you can make the following settings to specify how the VM88 will operate.
1. Setup of the SYSTEM CLOCK (Set to INT or EXT).
2. Setup of DIGITAL IN (Setup of DIGITAL IN format/input channel)
3. Setup of DIGITAL OUT (Setup of DIGITAL OUT format)
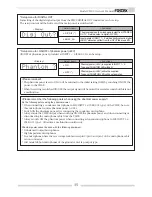
4. Setup of phantom power ON/OFF
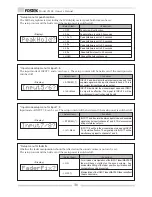
5. Setup of peak hold time (Setup of the level meter peak hold time)
6. Setup of input mode for INPUT 5/6 (Setup to STEREO or MONO inputs)
7. Setup of input mode for INPUT 7/8 (Setup to STEREO or MONO inputs)
8. Setup of ON/OFF for the fader fix mode
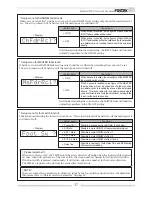
9. Setup of ON/OFF for the channel fader recall mode
10. Setup of ON/OFF for the master fader recall mode
11. Setup of the foot switch function (Setup for functioning of the foot switch)
12. Voltage check of the internal battery
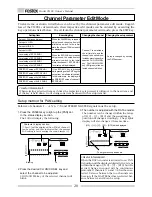
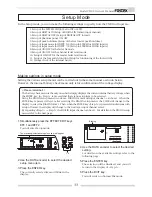
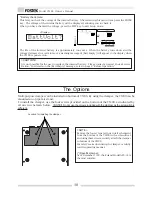
1.Simultaneously press the EFFECT EDIT keys
EFF 1 and EFF 2.
You will enter Setup mode.
Making settings in setup mode
Lit
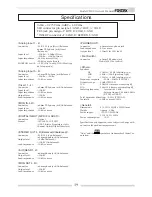
The previously-selected setup menu item will appear.
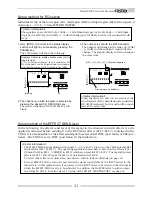
2.Use the DATA encoder to select the desired
setup menu item.
3.Press the ENTER key.
The currently selected item will blink in the
display.
Setting the various setup menus can be carried out in the same manner as shown below.
However, the internal battery check menu only is for confirmation of the voltage display.
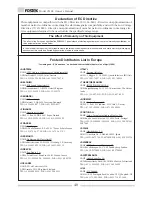
Blinking
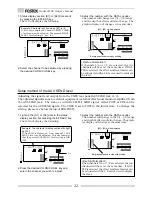
4.Use the DATA encoder to select the desired
setting.
For details on the available settings, refer to the
following page.
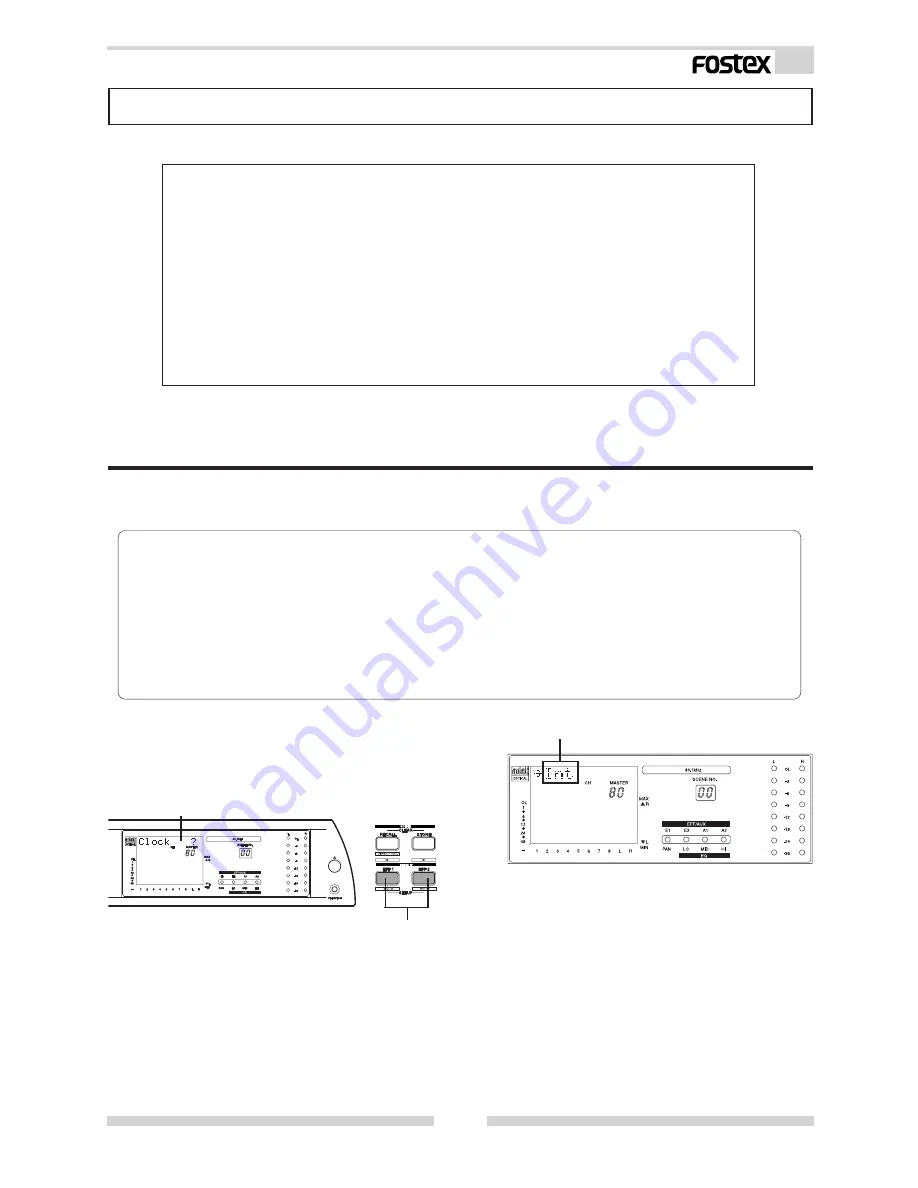
5.Press the ENTER key.
The selection will be finalized, and you will
return to the display of <step-1>.
6.Press the EXIT key.
You will return to Normal Mix mode.
< Please remember! >
The battery check menu is the only one which simply displays the current internal battery voltage when
the ENTER key, in <Step 3>, is pressed and there is no setup item to be selected.
Using the DIGI IN setup menu, two items - DIGI IN format and input channel - can be set. When the
ENTER key is pressed (Step-3) after selecting the DIGI IN setup menu, the VM88 will change to the
display to select the DIGI IN format. Then, when the ENTER key <Step-5> is pressed, simultaneous with
setup of format, the display will change to the next layer input channel select.
By repeating <Step-3> ~ <Step-5> the DIGI IN input channel can be set. For details on the DIGI IN setup
menu, refer to the next page.

