7 C
HANNEL
F
UNCTIONS
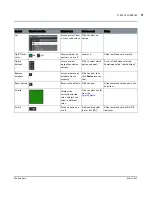
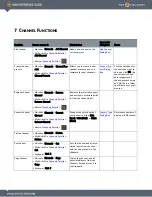
Function
How to access it
What it does
Opens this
dialog box
Notes
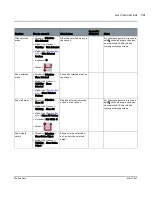
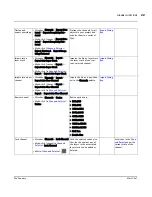
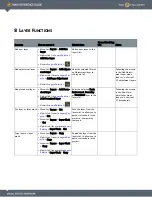
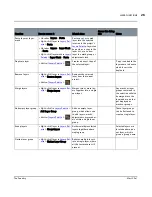
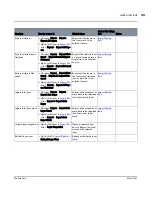
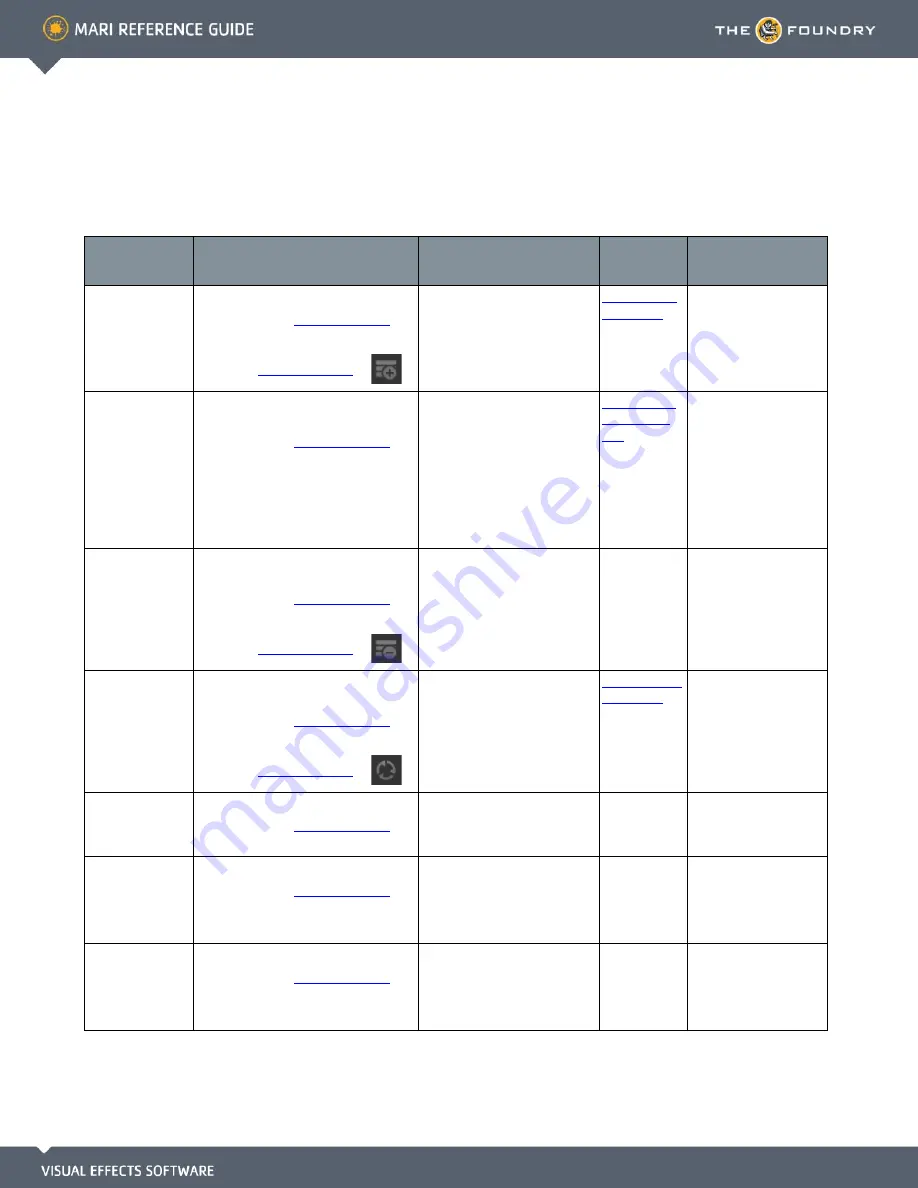
Add channel
•
Menubar
| Channels > Add Channel
•
Right-click
| in
Channels Palette
>
Add Channel
•
Button
|
Channels Palette
>
Adds a new channel to the
current project.
Add Channel
Dialog Box
Create channel
presets
•
Menubar
| Channels > Channel Pre-
sets
•
Right-click
| in
Channels Palette
>
Channel Presets
Allows you to create a new
channel preset to use as a
template for new channels.
Channel Pre-
sets Dialog
Box
Click the checkbox for
channels you want to
add, and click OK. You
can customize avail-
able categories of
channel presets using
an XML file in a folder
specified in your pref-
erences.
Remove channel
•
Menubar
| Channels > Remove
Channel
•
Right-click
| in
Channels Palette
>
Remove Channel
•
Button
|
Channels Palette
>
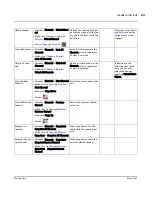
Removes the selected channel,
and any layers associated with
it, from the channels list.
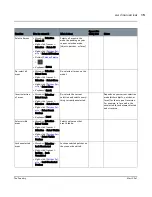
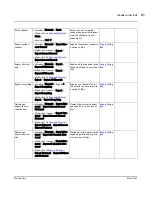
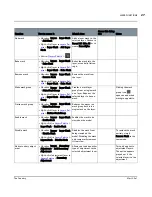
Convert channel
•
Menubar
| Channels > Convert
Channel
•
Right-click
| in
Channels Palette
>
Convert Channel
•
Button
|
Channels Palette
>
Changes the color depth of
the channel to either 8bit
(Byte), 16bit (Half), or 32bit
(Float).
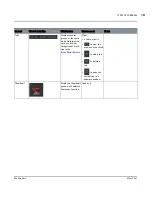
Convert Type
Dialog Box
Determines number of
pixels per RGB channel.
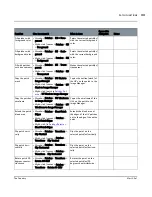
Flatten channel
• Menubar
| Channels > Flatten
•
Right-click
| in
Channels Palette
>
Flatten
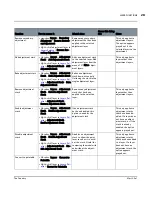
Cut channel
• Menubar
| Channels > Cut
•
Right-click
| in
Channels Palette
>
Cut
•
Keyboard
| Ctrl+X
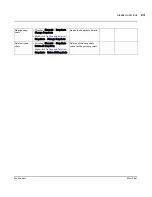
Cuts the channel and all asso-
ciated layers from the chan-
nels list and places it in the
clipboard.
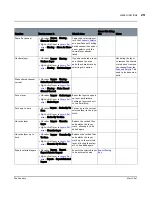
Copy channel
• Menubar
| Channels > Copy
• Right-click
| in
Channels Palette
>
Copy
• Keyboard
| Ctrl+C
Copies the channel, and all
associated layers from the
channels list and places it in
the clipboard.

