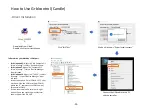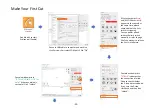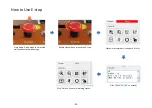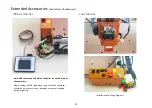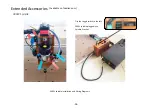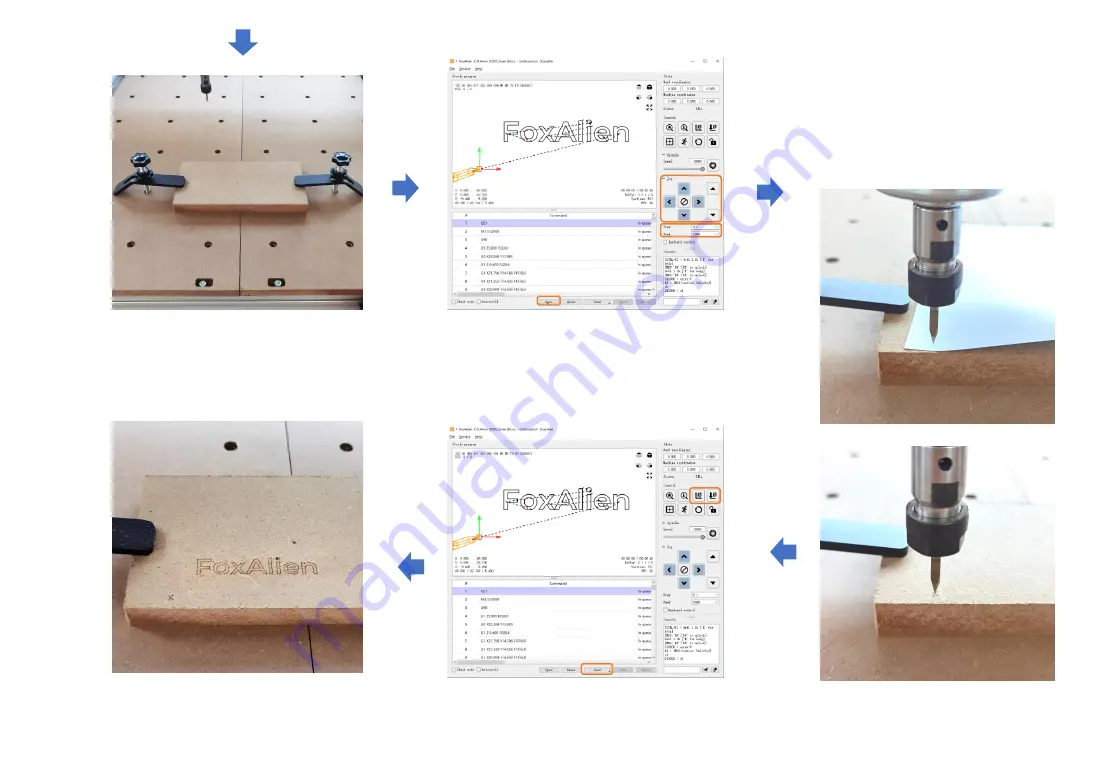
The best distance between the bit
and the object is that the bit
should feel the A4 paper, and the
paper can pass through the bit.
-23-
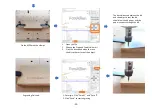
1.
Open the file
2.
Choose the Step and Feed (Unit: mm)
3.
Click the direction button to move
the bit to the surface of the object.
1. Set origin. Click “Zero XY” and “Zero Z”.
2. Click “Send” to start engraving
Engraving Finished.
Fix the MDF with the clamps
1
2
3
1
2
Summary of Contents for Masuter Pro
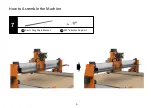
Page 6: ...8x 2 How to Assemble the Machine 4 17 M5 20 Bolt 5 MDF Spoil Board...
Page 7: ...4x 3 How to Assemble the Machine 5 19 M5 16 Flat Cap Bolt 3 X axis Gantry...
Page 8: ...4x 4 How to Assemble the Machine 6 16 M5 12 Bolt 23 Washer 6 Spindle Holder 4x...
Page 9: ...5 7 7 Spindle How to Assemble the Machine...
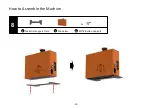
Page 11: ...7 9 14 X axis Drag Chain Bracket 2x 21 M3 6 Button Cap Bolt How to Assemble the Machine...
Page 13: ...9 11 24 M5 T nut 15 M5 8 Bolt 2x 2x How to Assemble the Machine...
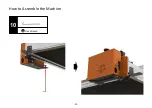
Page 14: ...10 12 25 Hex Wrench How to Assemble the Machine...
Page 15: ...4x 11 13 18 M4 6 Flat Cap Bolt 11 Y Axis Drag Chain How to Assemble the Machine...
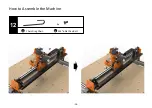
Page 16: ...14 4x 12 18 M4 6 Flat Cap Bolt 11 Y Axis Drag Chain How to Assemble the Machine...
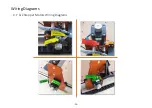
Page 17: ...15 X Y Z Stepper Motors Wiring Diagrams Wiring Diagrams...
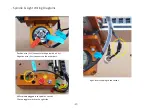
Page 18: ...16 X Y Z Limit Switches Wiring Diagrams...
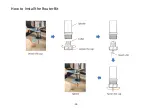
Page 21: ...19 How to Install the Router Bit...
Page 32: ......

