


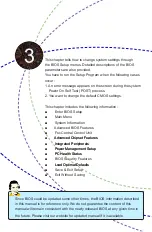


3
21
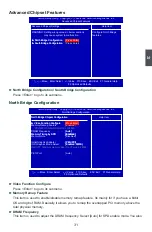
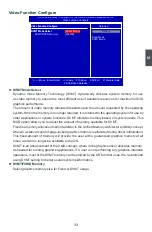
► Power Management Setup
All the items related with Green function features can be setup through this menu.
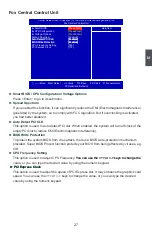
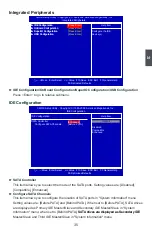
► PC Health Status
This setup enables you to read/change fan speeds, and displays temperatures and voltages of
your CPU/System.
► BIOS Security Features
The Supervisor/User password can be set up through this menu to prevent unauthorized use
of your computer. If you set a password, the system will ask you to key in correct password
before boot or access to Setup.
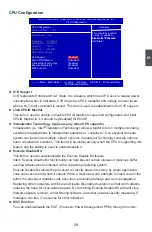
► Load Optimal Defaults
The optimal performance settings can be loaded through this menu. However, it may offer bet-
ter performance in some ways (such as less I/O cards, less memory ...etc.), still, it may cause
problem if you have more memory or I/O cards installed. It means, if your system loading is
heavy, set to optimal default may sometimes come out an unstable system. What you need
now is to adjust BIOS setting one by one, trial and error, to find out the best setting for your
current system.
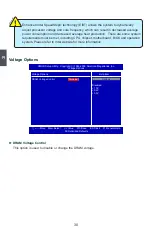
► Save & Exit Setup
Save setting values to CMOS and exit.
► Exit �ithout Saving
exit Without Saving
Do not change anything and exit the setup.


