Load Postage Funds
Via Remote
tele
set™ Download
Congratulations!
You have successfully set up your my
mail™
MAX
- Please refer to the included Operator Manual to learn about
the full features and functions of the system
- To order Supplies, contact your local Dealer or visit us on the
web @ www.fp-usa.com
- Be sure to visit FP’s other web pages for the latest news
and product information
When you have questions we have solutions.
In business today, smooth mail center operations must
be a given. As an innovative, total mailstream solutions
provider, FP Mailing Solutions offers a full range of
mail center products and services designed to create
seamless mailing systems.
Our uncommon way of doing business ideally positions
us to anticipate and respond to customer needs as
they happen.
Did you know FP has other product lines?
Make your postage meter part of a total solution, with these lines from FP.
3
Folder-Inserters
3
Address Imaging Systems
3
Postal Scales
3
Letter Openers
3
Tabber-Labelers
3
Mailroom Software
8
9
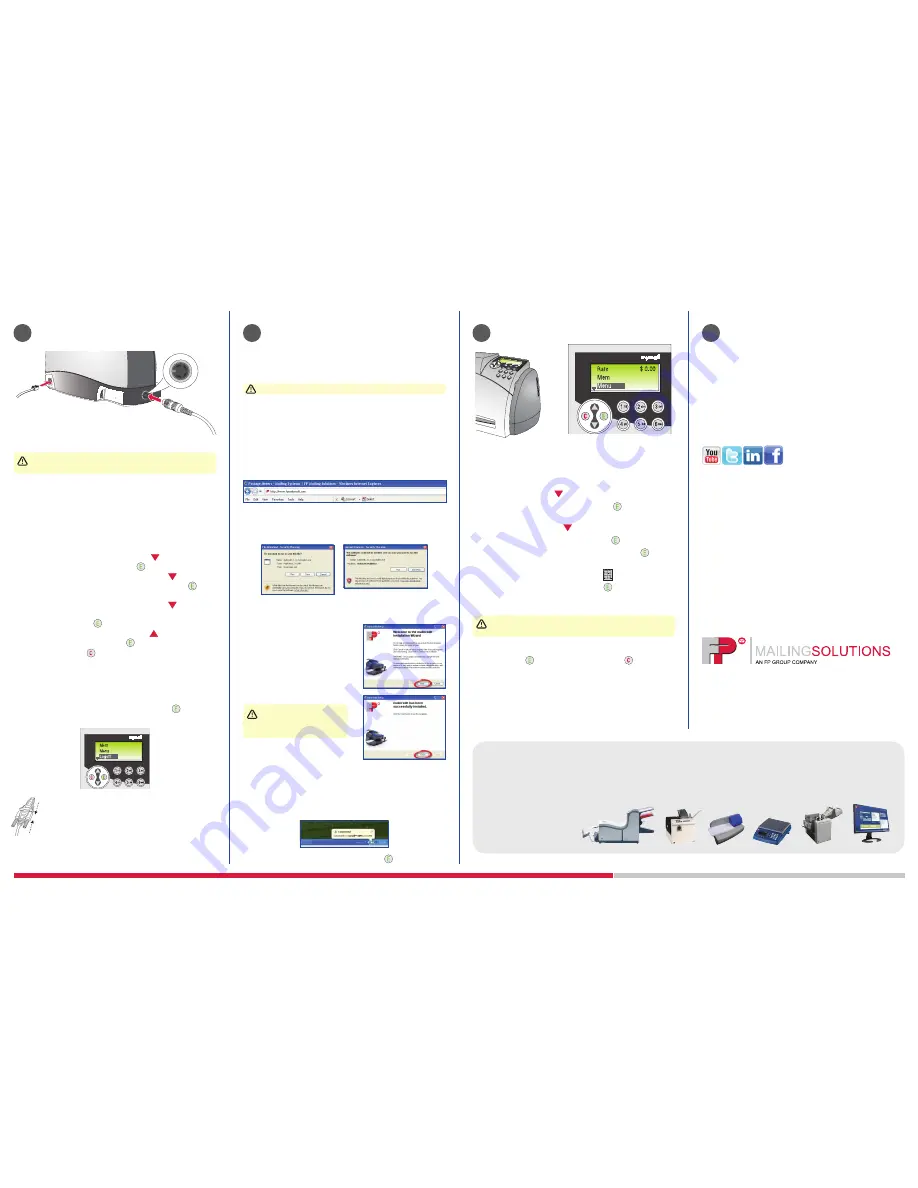
- Highlight the word “Menu” on the
my
mail™
MAX
display by
pressing the down arrow
key twice as shown
- Confirm the selection by pressing the green
key
- Scroll down & highlight the phrase “Get Postage” on the display
by pressing the down arrow
key three times
- Confirm the selection by pressing the green
key
- Begin the download of postage by pressing the green
key
- Enter the postage value ($) that you wish to download into your
my
mail™
MAX
by using the numeric pad
- Confirm your input by pressing the green
key
- Your
my
mail™
MAX
will now connect to FP’s
tele
set™
Data
Center, please wait approximately 15-45 seconds to complete
- If using
credit™
your postage download progress
can be seen in the corner of your tool bar on your PC
- Once the postage download is complete you will see the
message “Postage received. Print receipt?” To print a receipt,
press the green
key, otherwise press the red
key to
return to the main menu
Setup of
credit™
(for high speed postage download only)
If you will be using an analog phone line, skip to step 8
credit™
allows you to download postage via high speed
internet connection instead of an analog line.
Instructions below are for Windows XP users only
(please visit www.fpmailcredit.com to see instructions for
Windows 7 and Windows Vista)
- Using your PC, quit all running applications
- Visit
www.fpmailcredit.com
using your internet browser
- Download the latest version of
credit™
to your PC
- You will then get a pop-up window to run the setup file for
credit™
, as shown below
- You will then get a security warning from Internet Explorer as
shown above(“Are you sure you want to run this software?”)
- Click “Run”
- The
credit™
installation wizard
will then start by clicking “Next”, as
shown
- The wizard will then prompt you
to confirm the destination path by
clicking “Next,” as shown
- Start installation by clicking “Next”
-
credit™
is now being
installed and can take a
few minutes to finish
- When installation is complete; close
the wizard by clicking “Finish,” as
shown
- Locate the
credit™
icon on your desktop of your PC
- Using your mouse, double click the
credit™
icon to open
- Confirm
credit™
is connected by viewing the following
message and icon from the toolbar on your PC
- Log into your machine by pressing the green
key
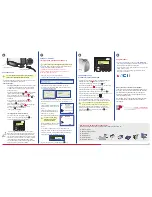
Connection Type
- Locate the analog and high speed connections on the back and
side of your
my
mail™
MAX
as shown above
-
Choose Connection:
-
If using an analog line:
connect one end of the included
Analog Phone Line to the back of the
my
mail™
MAX
as shown above; plug the open end into an available
analog phone jack.
- Scroll down using the down arrow
key and highlight
“Menu,” then press the green
key to continue
- Next, scroll down using the down arrow
key and
highlight “Configuration,” then press the green
key
to continue
- Next, scroll down using the down arrow
key
to highlight “Use Serial Interface for Connection,”
press the green
key to continue
- Next, scroll up using the up arrow
key to highlight
“Unused,” press the green
key to confirm
- Press the red
key twice to finish
- You may now skip to
step 8
-or-
-
If using high speed internet connection:
- Press the down arrow to highlight “Logoff”
- Confirm your entry by pressing the green
key
- The current date will appear in the display
- Locate the high speed connection on the
my
mail™
MAX
; remove shipping cap to reveal connection; next,
connect one end of the included High Speed Cable to
the side of the
my
mail™
MAX
as shown above; tighten
connection ring to the machine so connection is secure;
join USB adapter to the High Speed Cable as shown;
plug the USB adapter into an available USB connection
on your PC. You may now move to
step 7
.
- You must decide now if you will be using an analog
phone line or a high speed cable connection
7
6
Analog Connection
High Speed Connection
INST1005


