15
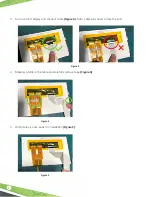
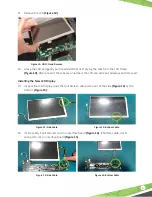
Figure 10: Lift LCD and Remove
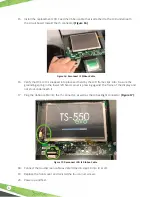
Figure 12: Side Cable
Figure 13: Bottom Cable
11. Remove the LCD
(Figure 10)
.
12. Grasp the LCD and gently pull up while CAREFULLY prying the tabs from the LCD frame
(Figure 10)
. After a few of the tabs are unlatched, the LCD can slide out sideways and removed.
Installing the New LCD Display
13. Inspect the LCD Display, does the touchscreen cable come out of the side
(Figure 12)
or the
bottom
(Figure 13)
?
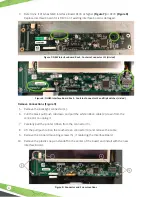
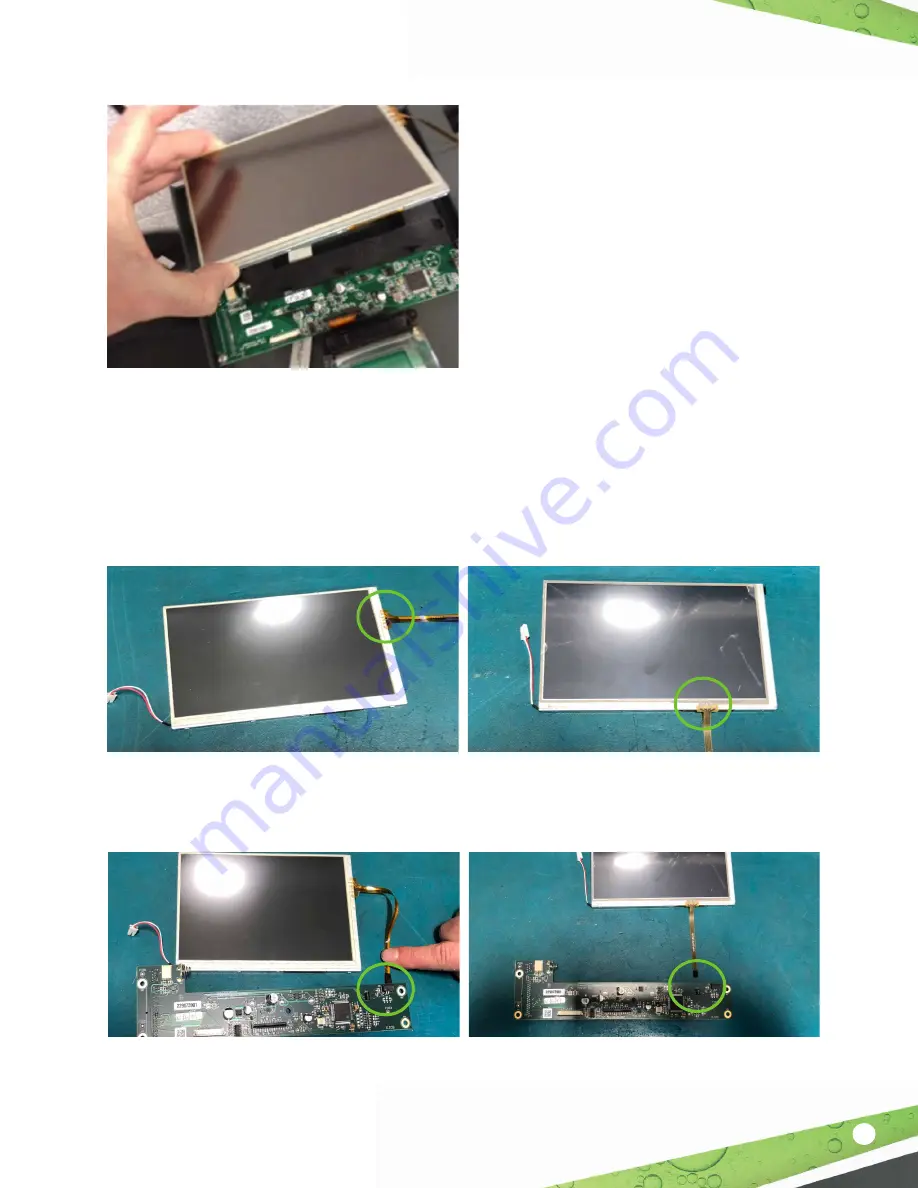
14. If side cable, it will connect to J3 on interface board
(Figure 14)
. If bottom cable, it will
connect to J11 on interface board
(Figure 15)
.
Figure 14: Side Cable
Figure 15: Bottom Cable


