6
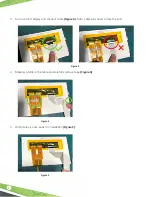
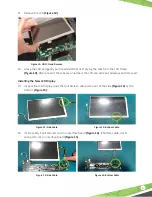
15. Install the replacement LCD. Feed the ribbon cable that is attached to the LCD underneath
the circuit board toward the J5 connector
(Figure 16)
.
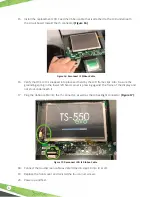
16. Verify that the LCD is snapped into place and held by the LCD frame clips. Also, be sure the
grounding spring in the lower left hand corner is pressing against the frame of the display and
not stuck underneath it.
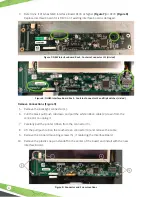
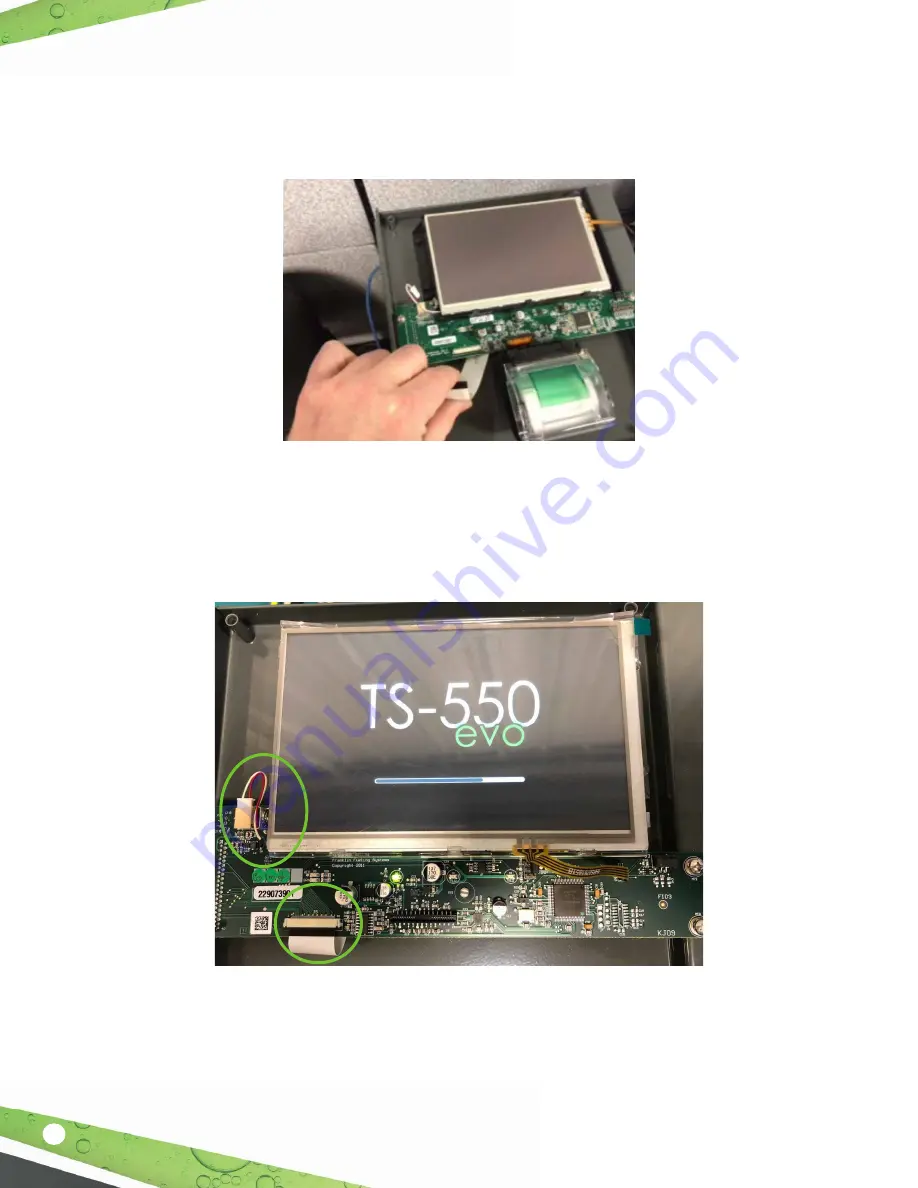
17. Plug the ribbon cable into the J5 connector, as well as the J4 backlight connector
(Figure 17)
.
Figure 17: Reconnect J4 & J5 Ribbon Cable
J4
J5
Figure 16: Reconnect J5 Ribbon Cable
18. Connect the touchscreen cable as determined in step 14 into J3 or J11.
19. Replace the front cover and reinstall the four corner screws.
20. Power up and Test.


