10
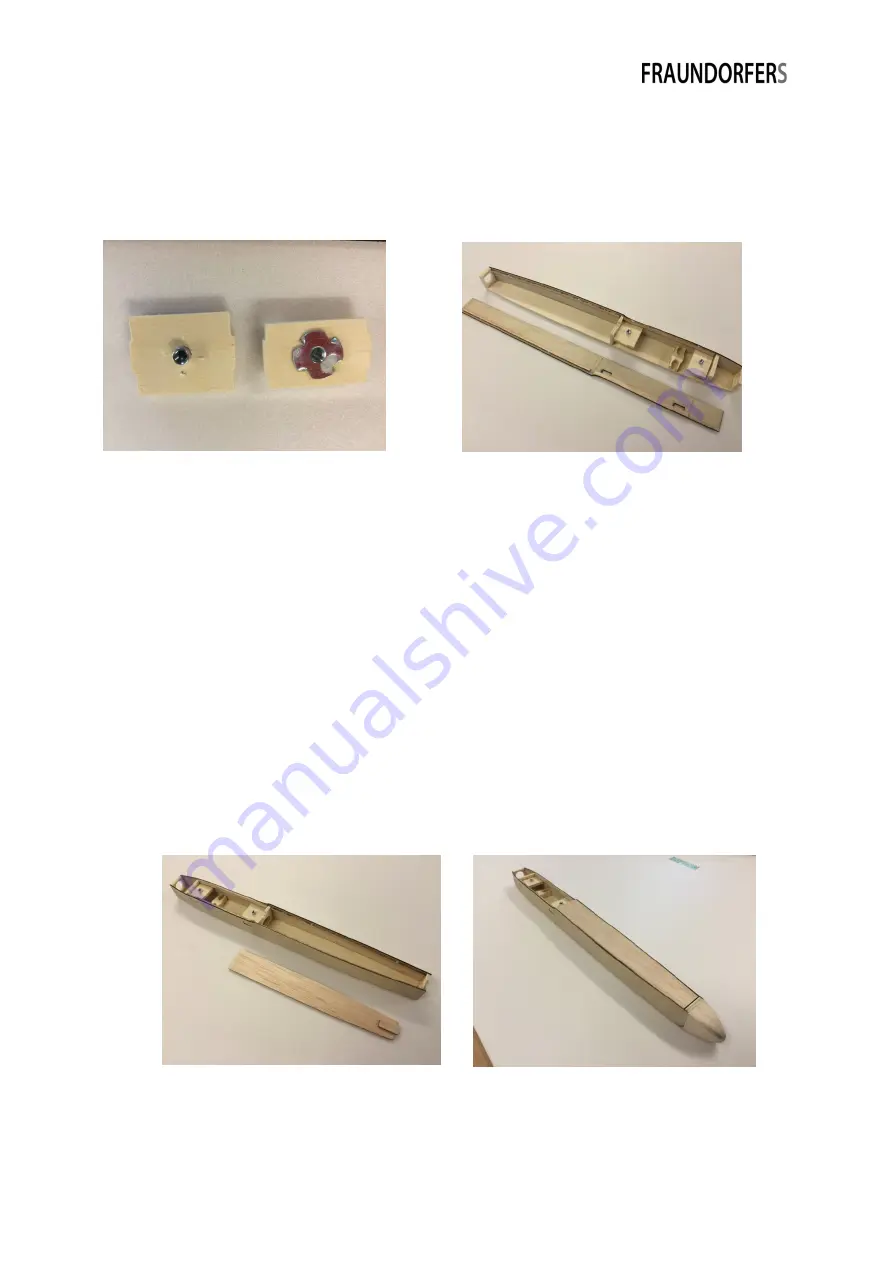
Put a drive-in nut from below into the parts SH-VO (VO = vorne = front) and SH-
HI (HI = hinten = back) and secure them with epoxy or super glue. SH-VO and
SH-HI can now be glued onto the side panel and spar (must be parallel to the
fuselage bottom).
Glue now the 2
nd
side panel to the fuselage. The next step is to sand the edges,
glue joints and the font- and back-most spar.
For the nose you first must glue the 12mm balsa parts together before you can
glue the whole balsa block on the fuselage. Sand until you have a nice shape.
Dry fit the 2mm balsa cover plate and – if needed – slightly trim it to get a nice
fit.
The cover plate is secured with a 2mm balsa piece in front and a magnet on the
back. Glue the magnet in the cut of spar no. 3 and the M4 washer centered on
the underside of the cover plate. Make sure that the washer is flush with the
end of the cover plate.
Draw a center line with a pencil on the underside of the cover plate. Take the
small 2mm balsa piece and round the edges and corner on the nose facing side.
Summary of Contents for Fun-RES
Page 4: ...4 3 Wooden parts...


