TH4C Installation Guide
p. 30
TH4C Basic Configuration
© Safe Fleet | May 2019 | All rights reserved
Document Number: XE-SNB2-TH4CPM-R0A
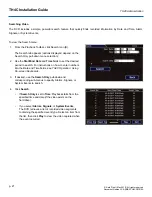
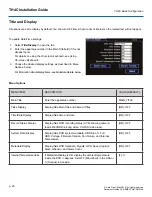
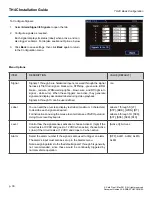
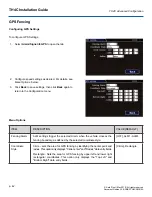
To Configure Signals:
1. Select
Alarm/Signal
Signals
to open the tab.
2.
Configure signals as required.
Each signal displays its status (label) when active, and can
also trigger an Alarm. For details, see
Menu Options
, below.
3. Click
Back
to save settings, then click
Back
again to return
to the Configuration menu.
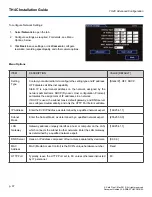
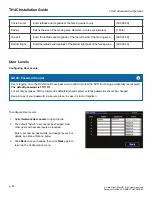
ITEM
DESCRIPTION
VALUE [DEFAULT]
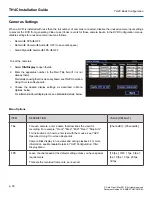
Signal
Signals 1 through 5 are hardwired inputs, received through the signal
harness (LT/left turn signal - black wire, STP/stop - green wire, BRK/
brake - red wire, WRN/warning lights - brown wire, and RT/right turn
signal - white wire). When these triggers are active, they generate
signals and display associated labels during video playback.
Signals 6 through 10 can be user-defined.
n/a
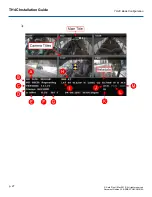
Label
You can edit the on-screen display text label (maximum 3 characters)
to describe each signal as desired.
For instructions on using the mouse to enter data, see
Labels 1 through 5: [LT],
[STP], [BRK], [WRN], [RT].
Labels 6 through 10: [S06],
[S07], [S08], [S09], [S10]
Level
Control how the signal senses activation: choose Active H (high) if the
circuit rests at 0 VDC and goes to 12 VDC when active; choose Active
L (low) if the circuit rests at 12 VDC and drops to 0 when active.
[Active H], Active L
Alarm
Select the alarm number if the signal is also used to trigger an alarm.
The alarm's input must also be set up in the Alarms menu.
Note: assigning alarms to the the default signals 1 through 5 is generally
not recommended, since these would be continually triggered by
normal vehicle operation.
[OFF], ALM1, ALM2, ALM3,
ALM4
Menu Options
Summary of Contents for TH4C
Page 2: ......

