8
VII. BATTERY CHARGING
To ensure the best performance and maximum battery life, we recommend frequent
battery charging. Your scooter comes with an external battery charger for your ease and
convenience. The console battery display makes charging simple and easy. Follow these
steps for battery charging.
1)
The console battery level display has:
a)
Two (2) green lights indicating 100% and 50% charge,
b)
One (1) yellow light indicating 25% charge - suggested time to recharge,
c)
One (1) red light indicating almost no charge - you should recharge immediately.
2)
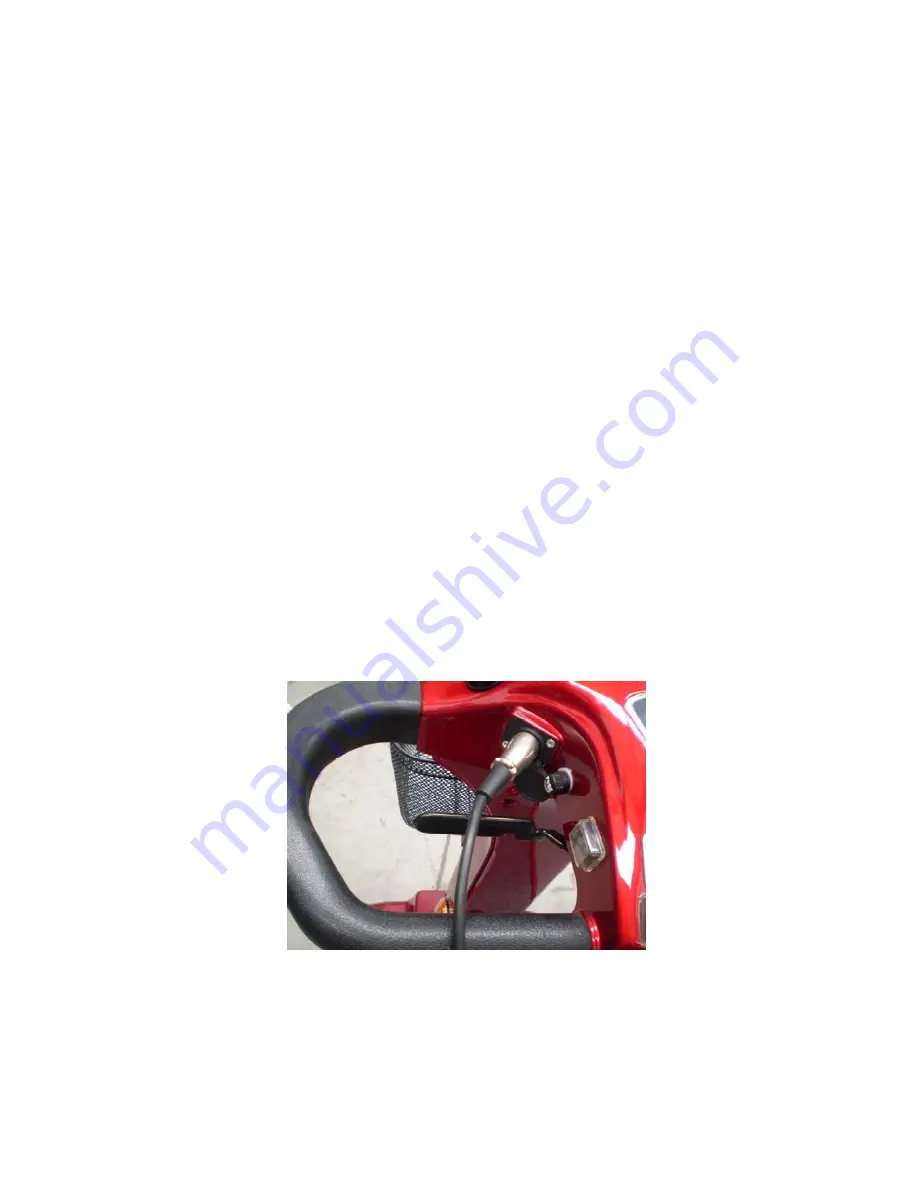
On a dry surface, turn off the power key and plug the extension cord into the
charger socket located on the steering column. Then plug the other end of the
charger cord into a 240v wall outlet.
3)
Charge the battery for 6-8 hours depending on the level of discharge. Disconnect
the extension cord, insert the key into the tiller and check if both green lights are
on. If the right green light is flashing, remove the key and reconnect the charger for
an extended period.
4)
The automatic charger provided ensures that you cannot overcharge the batteries,
so placing the scooter on charge overnight is most likely the best way to provide a
fully charged unit ready for the day ahead.
Battery Charger Hook up


