4
PART I - Continued
5.
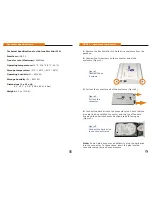
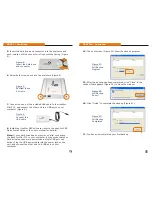
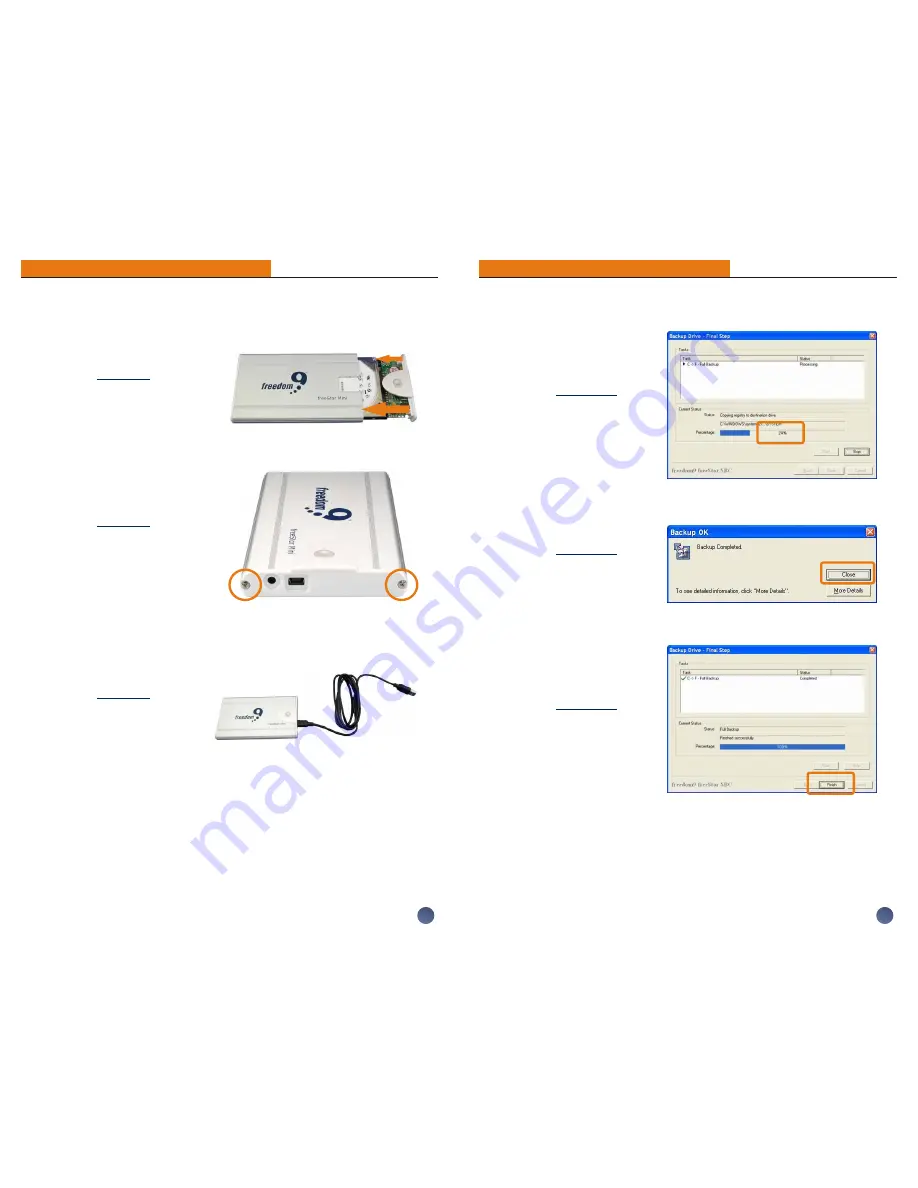
Insert the hard drive and connector into the enclosure and
push inward until the connector is flush with the casing (Figure
4).
6.
Screw both screws back into the enclosure (Figure 5).
7.
Connect one end of the included USB cable to the freeStor
Mini 210, and connect the other end to a USB port on your
computer (Figure 6).
8.
Install the freeStor SBC software (refer to the freeStor SBC
Quick Install Guide or the user’s manual for details).
Note:
If your hard drive does not power on after connecting
the freeStor Mini 210 to your computer, it may mean that your
hard drive requires more power than a single USB port can
deliver. Plug the USB power cable into the power jack on the
unit, and connect the other end to a USB port on your
computer.
Figure 4:
Insert the hard drive
and connector
Figure 5:
Rescrew these
2 screws
Figure 6:
Connect the
USB cable
13
14.
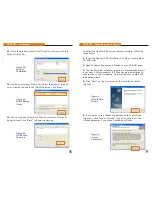
The next screen (Figure 21) show the backup progress.
15.
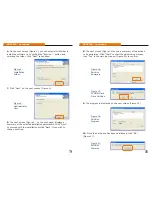
After the backup has been completed, click “Close” in the
window that appears (Figure 22) to close the window.
16.
Click “Finish” to complete the backup (Figure 23).
17.
You have now completed your first backup.
PART IIb - Continued
Figure 21:
Full Backup
Progress
Figure 22:
Full Backup
Report
Figure 23:
Full Backup
Completed


