8.
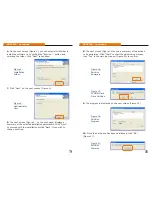
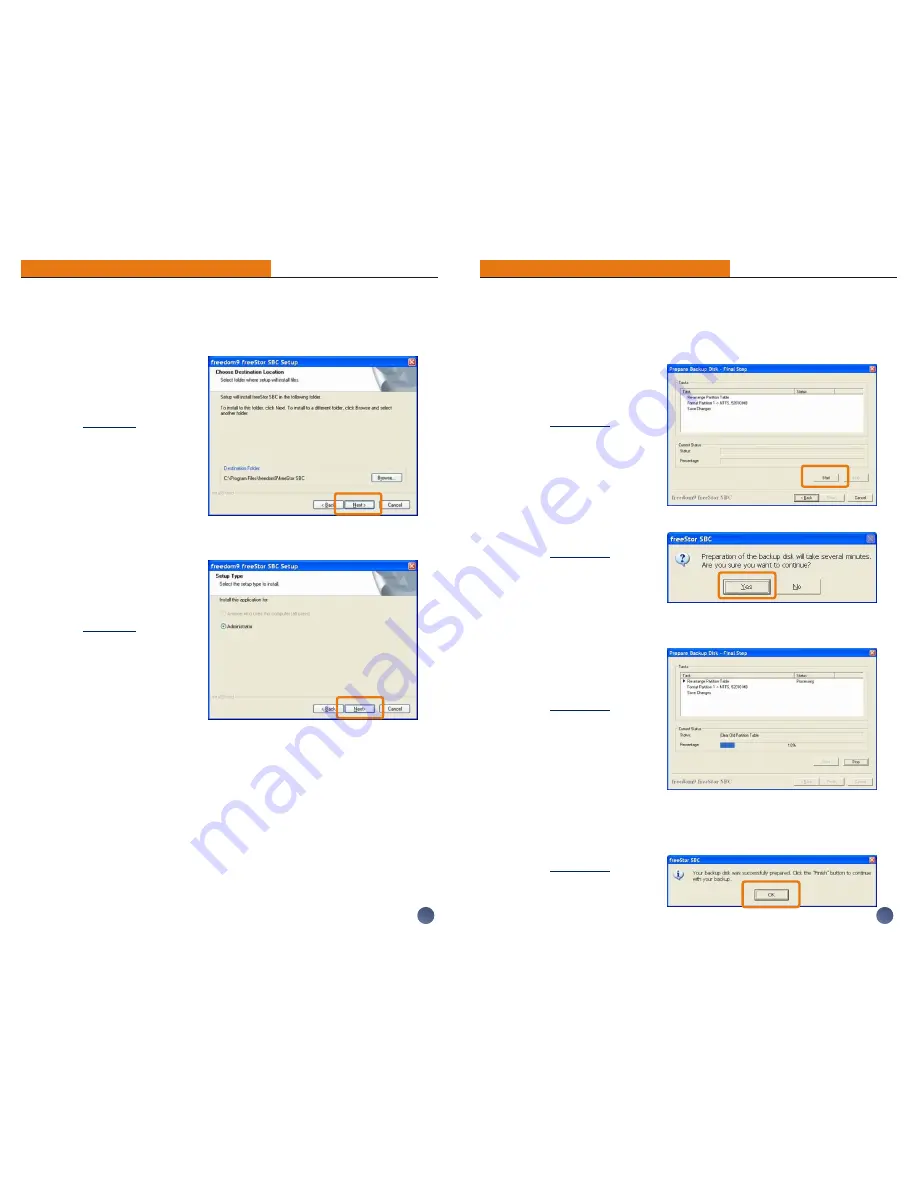
The next screen (Figure 14) shows a summary of the actions
to be performed. Click “Start” to start the partitioning process,
then “Yes” in the warning window (Figure 15) to confirm.
9.
The progress is displayed on the next screen (Figure 16).
10.
Once the hard drive has been partitioned, click “OK”
(Figure 17).
PART IIb - Continued
6.
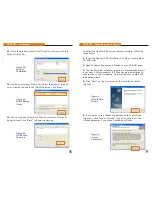
On the next screen (Figure 3), you can select which folder to
install the software to by clicking the “Browse...” button and
selecting the folder. Click “Next” to continue.
7.
Click “Next” on the next section (Figure 4).
8.
The next screen (Figure 5 - on the next page) displays a
summary of the selected installation parameters. Click “Next”
to proceed with the installation or click “Back” if you wish to
change a setting.
PART IIa - Continued
6
11
Figure 3:
Installation
Folder
Figure 4:
Administrator
User
Figure 14:
Partition
Summary
Figure 15:
Confirm Hard
Drive Partition
Figure 16:
Partition
Progress
Figure 17:
Partition
Warning


