5.
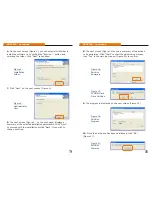
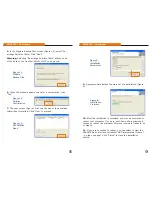
In the Prepare Backup Disk screen (Figure 11), select “Re-
arrange Partition Table”. Click “Next”.
Warning:
Selecting “Re-arrange Partition Table” will cause all
of the data on the freeStor Mini 210/310 to be erased.
6.
When the window appears to ask for a confirmation, click
“Yes”.
7.
The next screen (Figure 13) shows the size of the partitions
that will be formatted. Click “Next” to proceed.
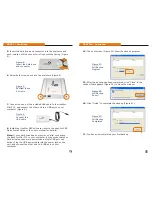
Figure 6:
Installation
Progress
7
PART IIa - Continued
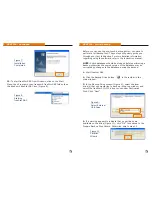
9.
A progress bar displays the status of the installation (Figure
6).
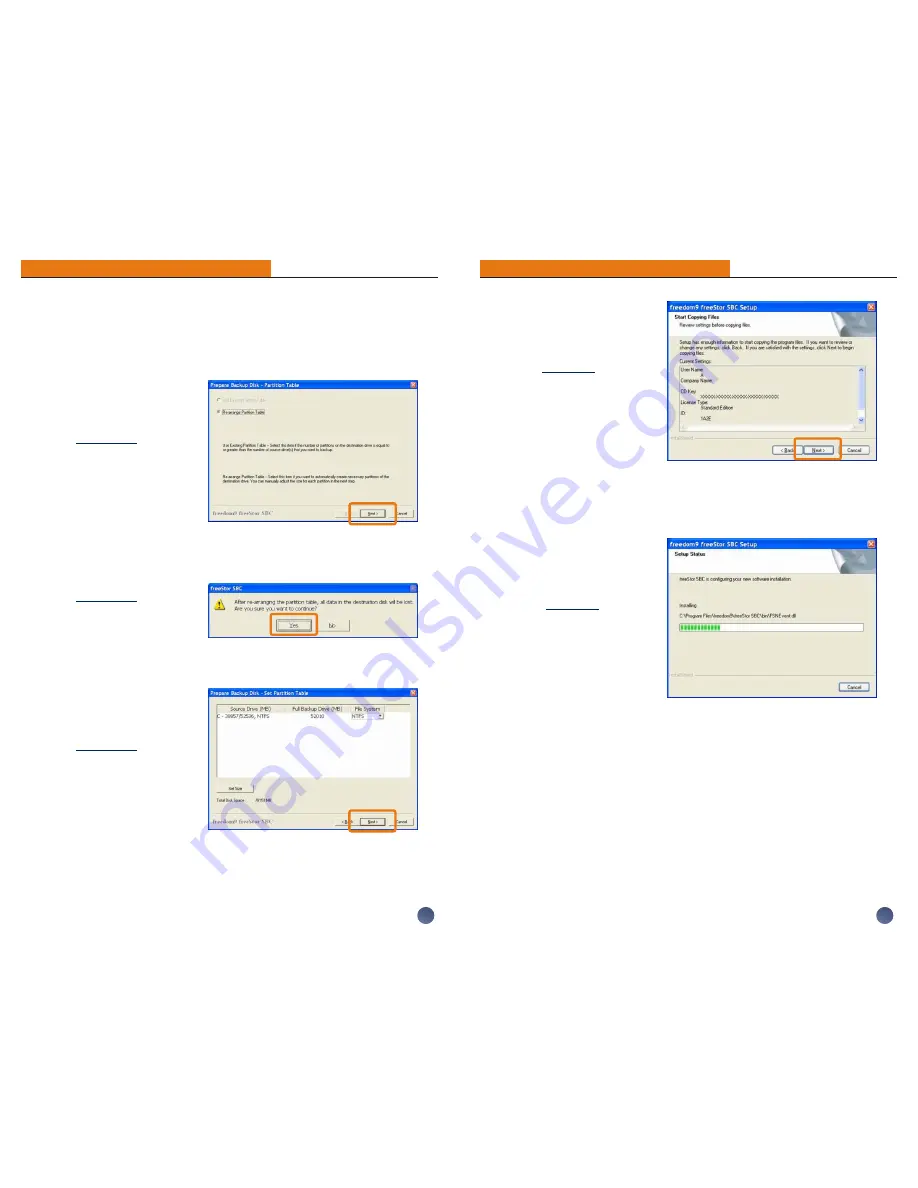
10.
After the installation is complete, you may be prompted to
reboot your computer. If you are, shut down all programs and
choose to reboot the computer. After your computer reboots, go
to step 12.
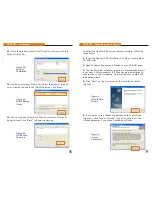
11.
If you are not asked to reboot, you can select to view the
README file and/or launch freeStor SBC immediately (Figure 7
- on the nex page). Click “Finish” to close the installation
wizard.
PART IIb - Continued
Figure 5:
Installation
Parameters
10
Figure 11:
Prepare
Backup Disk
Figure 12:
Partition
Confirmation
Figure 13:
Set Partition
Sizes


