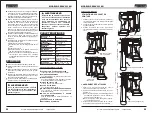

SETTING TOOL FIRING SETTINGS
1.
2.
Fire Selection
Switch
Single Sequential
Firing Position
Bump Fire
Position
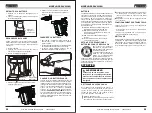
DEPTH OF DRIVE
1.
2.
Depth
Adjustment
Wheel (G)
Increase
Depth of
Drive
Decrease
Depth of
Drive
CAUTION:
It is advisable to test the depth of drive
on a scrap workpiece to determine the
required depth for the application.
WARNING:
Always unload all fasteners before
removing the tool from service.
Push the fire selection switch up to select single
sequential fire. This mode requires the trigger to
be pulled each time a fastener is driven. The tool
can be actuated by depressing the work contact
element against the work surface after pulling the
trigger.
Push the fire selection switch down to select bump
fire. This will enable you to fire a shot by holding
down the trigger and pressing the nose of the gun
down on the work piece as many times as is
necessary.
The driving depth of the fasteners is adjustable. To
adjust the depth, use the drive depth adjustment
wheel(G) on the top of the tools nose.
Rotate the depth adjustment wheel in a clockwise
direction when the nose of the tool is pointed away
from you to increase the fastener depth of drive.
Rotate the depth adjustment wheel in a counter-
clockwise direction when the nose of the tool is
pointed away from you to decrease the depth of
drive.
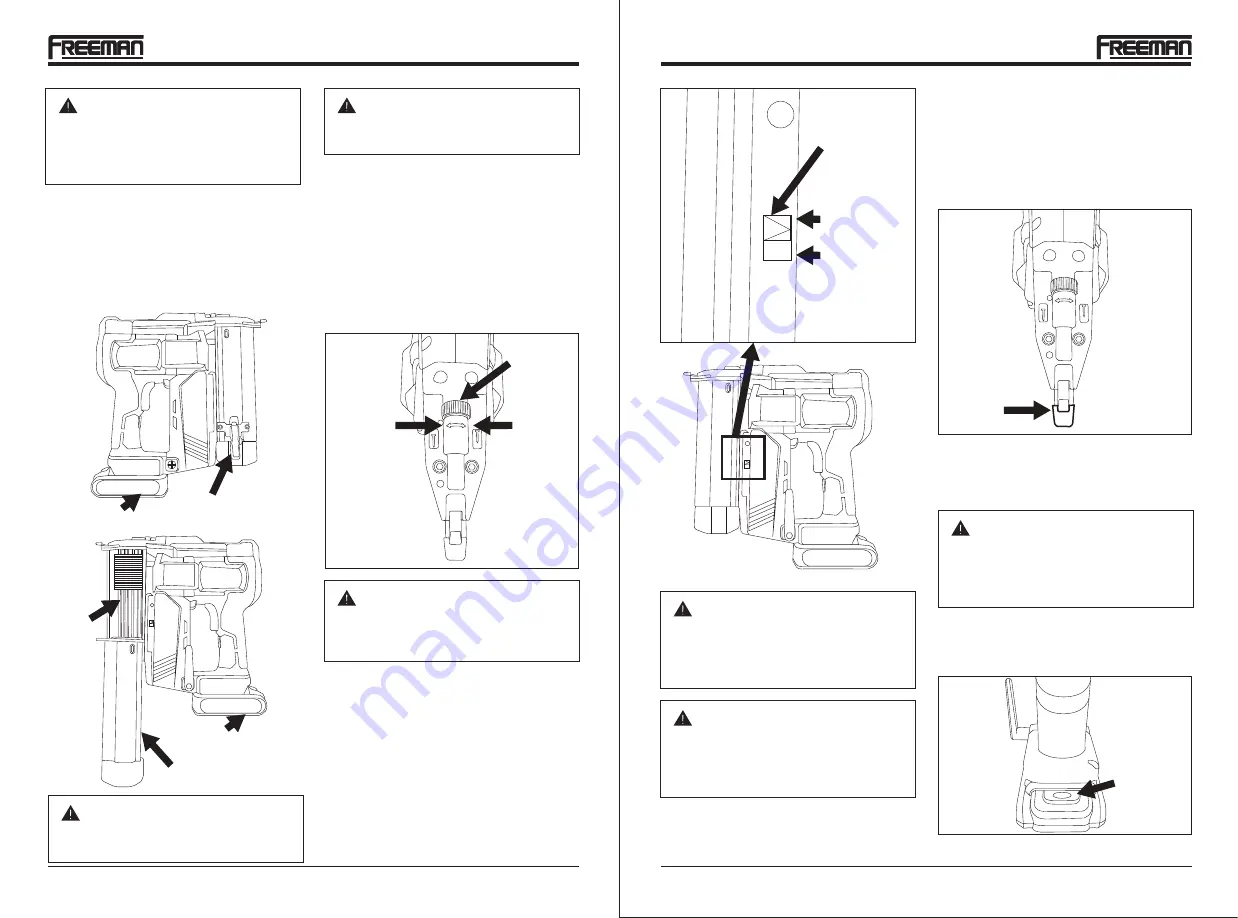
UNLOADING FASTENERS
Remove Battery.
Push down on the latch button(A). Pull back on the
magazine cover(B).
Remove all fasteners from the magazine rail(C).
Push the magazine cover(B) forward until the latch
button pops up.
1.
2.
3.
4.
Latch Button(A)
Magazine Cover(B)
Magazine Rail(C)
Battery
Battery
HTTP://WWW.FREEMANTOOLS.COM
1-888-669-5672
09
HTTP://WWW.FREEMANTOOLS.COM
1-888-669-5672
08
REMOVING BATTERY
1.
2.
Press battery release button.
Pull battery free of the nailer/stapler body.
Battery
Release
Button
WARNING:
Always know the operational mode of
the tool before use. Failure to know the
operational mode could result in death
or serious personal injury.
WARNING:
An improperly functioning tool must not
be used. Do not actuate the tool unless
the tool is placed firmly against the work
place.
WORK CONTACT ELEMENT
Check the operation of the work contact element trip
mechanism before each use. The WCE must move
freely without binding through its entire travel
distance. The WCE spring must return the WCE to its
fully extended position after being depressed. Do not
operate the tool if the WCE trip mechanism is not
operating properly. Personal injury may occur.
Work
Contact
Element
The no-mar pad attached to the nose of the tool helps
to prevent marring and denting when working with
softer woods.
NO-MAR PAD
WARNING:
Disconnect the tool from the battery
before removing or replacing the no-mar
pad. Failure to do so could result in
serious personal injury.
WARNING:
Always disconnect the power source
before unloading.
WARNING:
Never load fasteners with the workpiece
contact or trigger activated. Doing so
could result in possible serious personal
injury.
MODEL: PE20V2118G
MODEL: PE20V2118G