


14
HOW TO USE THE STAGE MODE
1. Activate the console.
See HOW TO ACTIVATE THE CONSOLE on page
11.
2. Set up the console if desired.
When you activate the console, the User Setup
mode will be selected automatically. See HOW TO
SET UP THE CONSOLE on page 12.
3. Begin pedaling and warm up if desired.
When you press the STAGE button or begin pedal-
ing, the console will enter the WARM UP mode.
See HOW TO USE THE WARM UP MODE on
page 13.
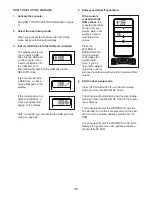
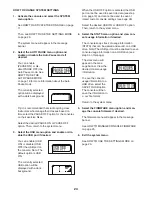
4. Select the STAGE mode.
To exit the WARM
UP mode and enter
the STAGE mode,
press the STAGE
button. The STAGE
number will appear
in the message
banner.
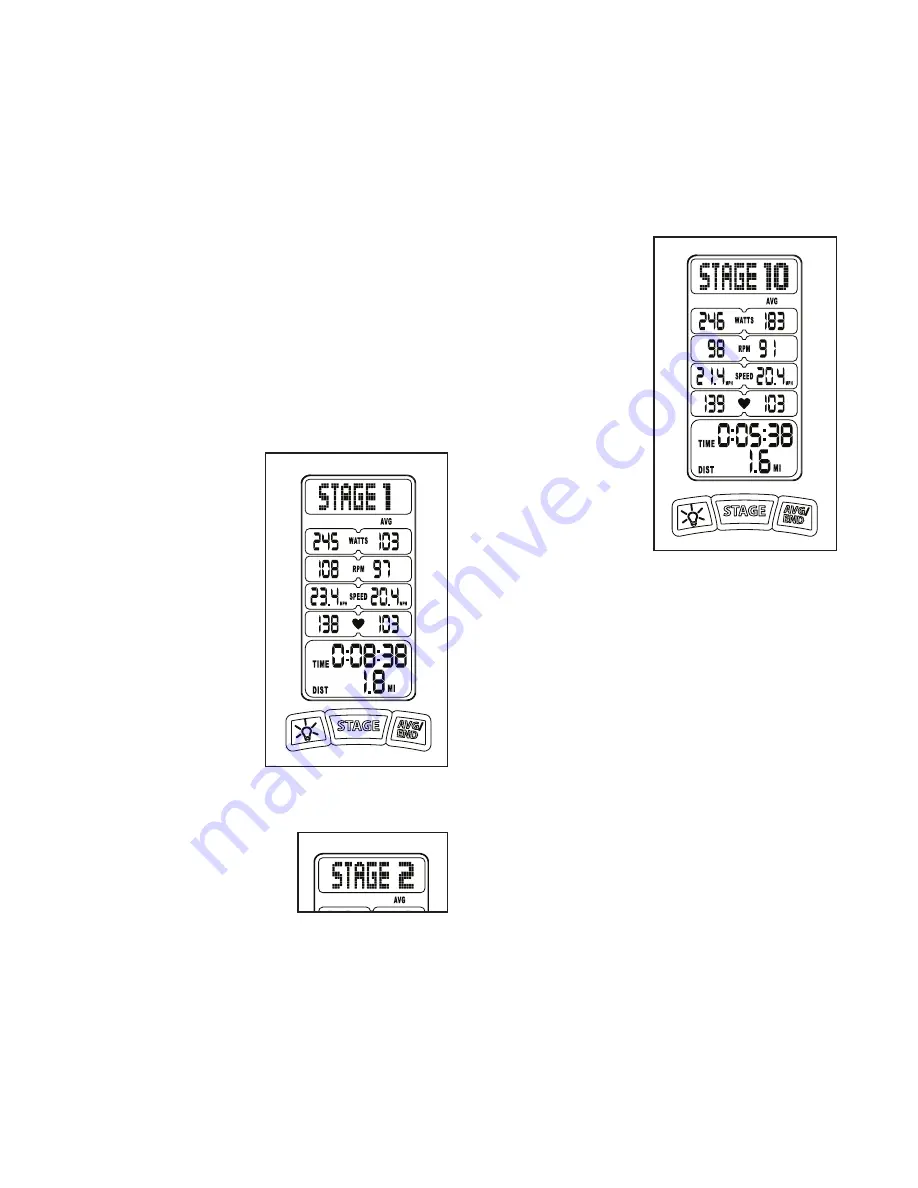
5. Divide your ride into stages if desired.
The STAGE mode can
have 1 to 99 numbered
stages. To enter a new
STAGE, press the
STAGE button. The
message banner will
show the current STAGE number.
The STAGE mode is designed to allow you to
divide your ride into specific elements that can be
tracked and analyzed. For example, you can divide
the high-intensity and low-intensity portions of an
interval ride into separate stages. You can also
save the data for each stage to a USB drive (see
step 3 on page 12).
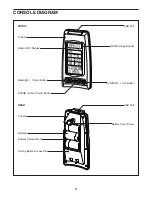
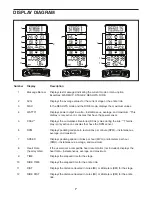
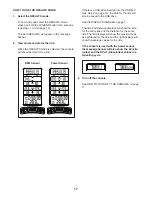
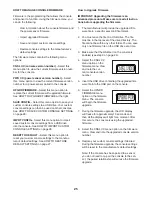
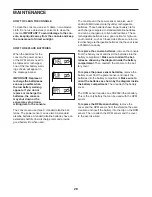
6. Follow your progress with the displays.
See the DISPLAY
DIAGRAM on page
7.
During each stage,
the console will
show the elapsed
time and distance.
The left displays
will show instan-
taneous data and
the right displays
will show average
values.
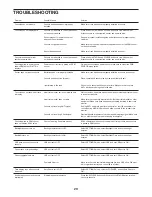
When you select
a new stage, the
console will reset
the time, distance,
and average values to zero.
7. Pause the console if desired.
See HOW TO USE THE AUTO PAUSE MODE on
page 16.
8. View the RIDE mode if desired.
See HOW TO USE THE RIDE MODE on page
15.
9. End the ride.
To end the ride, press and hold the AVG/END but-
ton for 3 seconds. The console will then enter the
RESULTS mode.