background image

22

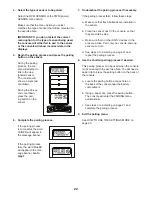
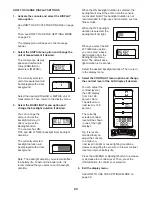
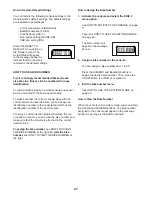
4.   Select the type of sensor to be paired.


 Select the RPM SENSOR or the PWR (power) 
SENSOR menu option.


 Make sure that the menu option you select 
matches the type of sensor that will be mounted on 
the exercise bike. 


 IMPORTANT: If you do not select the correct 
menu option for the type of sensor being used, 
the console will either fail to pair to the sensor 
or the console will show incorrect data in the 
displays.

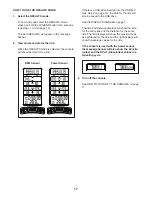
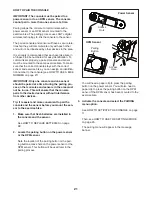
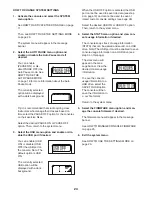
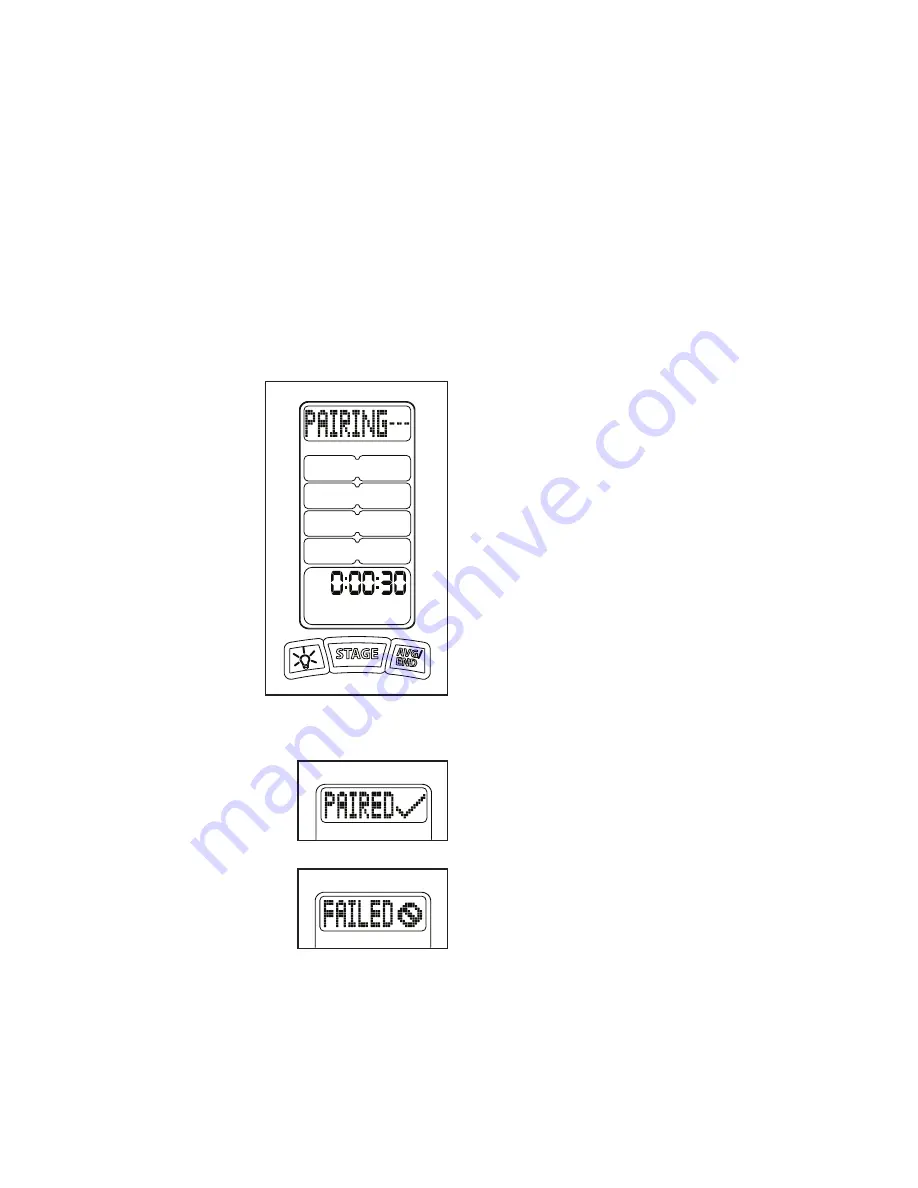
5.   Begin the pairing process and press the pairing 

button on the sensor.


 During the pairing 
process, the con-
sole will attempt to 
link to the des-
ignated sensor. 
The console will 
show a 30-second 
countdown.


 During the 30-sec-
ond countdown, 
press the pair-
ing button on the 
sensor.

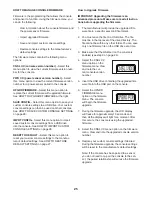
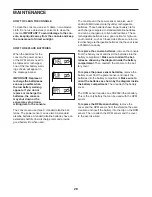
6.   Complete the pairing process.


 If the pairing process 
is successful, the word 
PAIRED will appear in 
the message banner.


 If the pairing process 
fails, the word FAILED 
will appear in the mes-
sage banner. 

Go to 

step 7.

7.   Troubleshoot the pairing process if necessary.


 If the pairing process fails, follow these steps:


a.   Make sure that fresh batteries are installed in 

the sensor.


b.   Place the sensor next to the console, so that 

they are side by side.


c.   Make sure that no other ANT+ devices in the 

area are active. Pair only one console and one 
sensor at a time.


d.   See steps 3 to 6 starting on page 21 and 

repeat the pairing process.

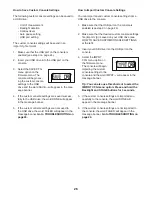
8.  Use the shortcut pairing process if desired.


 This pairing process can be used when the console 
is not mounted to the exercise bike. You will need a 
paper clip to press the pairing button on the back of 
the console.


a.   Locate the pairing button access hole on 

the back of the console near the battery 
compartment.


b.   Using a paper clip, press the pairing button. 

The console will enter the PAIRING menu 
automatically.


c.   See steps 3 to 6 starting on page 21 and 

complete the pairing process. 

9.  Exit the pairing menu.


 See HOW TO USE THE SETTINGS MODE on 
page 20.

Summary of Contents for FMPW11.0

Page 1: ...manual before using this equipment Keep this manual for future reference Model No FMPW11 0 FMRPM11 0 QUESTIONS If you have questions or if parts are damaged or missing please see HOW TO CONTACT CUSTO...

Page 2: ...equipment generates uses and can radiate radio frequency energy and if not installed and used in accordance with the instructions may cause harmful interference to radio communications However there i...

Page 3: ...is manual 5 It is the responsibility of the owner to ensure that all users of the console are adequately informed of all precautions 6 Keep the console indoors away from mois ture and dust Do not put...

Page 4: ...CD display that features a backlight fixed displays that provide ride data and an active dot matrix message banner During a ride the message banner displays useful text messages relat ing to the other...

Page 5: ...lit LCD Display Backlight Down Button STAGE Enter Select Button USB Port LCD Message Banner AVG END Up Button Console FRONT REAR Battery Cover Screw Battery Compartment Batteries Console Pairing Butto...

Page 6: ...6 POWER SENSOR DIAGRAM Battery Cover Screw Battery Compartment Pedal Mounting Threads Battery Cover Pairing Button Access Hole Batteries Crank Arm Power Sensor Crank Arm Bolt...

Page 7: ...value during the ride This dis play is only active on consoles that have the RPM sensor 6 RPM Displays pedaling cadence in revolutions per minute RPM instantaneous average and maximum 7 SPEED Displays...

Page 8: ...d in the console memory for the RESULTS mode If a user inserts a USB drive into the USB port before entering the STAGE mode the ride data will also be saved to the USB drive in the RESULTS mode RIDE D...

Page 9: ...will measure kilocalories as described below The console will use the following formula to convert the kilojoules value to the kilocalories value First the kilojoules value is converted to the kilocal...

Page 10: ...calculate a user s pedaling speed based simply on the rotational speed of the flywheel on the exercise bike If the console is used with the RPM sensor the console will measure speed as described below...

Page 11: ...activate the con sole The displays will then light and the console will be ready for use HOW TO TURN OFF THE CONSOLE To conserve battery power the console will automati cally enter the Sleep Mode in...

Page 12: ...step 3 on page 24 4 Enter your weight if applicable If the console is used with the RPM sensor the console will prompt you to enter your weight Note Your weight is used to calculate KCAL values Press...

Page 13: ...e WARM UP mode immediately if your pedaling cadence is greater than 60 RPM When the WARM UP mode is selected the words WARM UP will appear in the message banner The WARM UP mode is designed to allow y...

Page 14: ...urrent STAGE number The STAGE mode is designed to allow you to divide your ride into specific elements that can be tracked and analyzed For example you can divide the high intensity and low intensity...

Page 15: ...ide so far See the DISPLAY DIAGRAM on page 7 The time and distance displays will show the elapsed time for the entire ride and the distance for the entire ride The left displays will show the maximum...

Page 16: ...detected after 3 minutes Note If desired you can disable the Auto Pause mode See HOW TO USE THE AUTO PAUSE OFF MODE at the right HOW TO USE THE AUTO PAUSE OFF MODE The console has an Auto Pause Off mo...

Page 17: ...step 3 on page 12 the data for the ride will also be saved to the USB drive See the DISPLAY DIAGRAM on page 7 The time and distance displays will show the time for the entire ride and the distance for...

Page 18: ...patible heart rate monitor to the ANT module See HOW TO LINK A FITNESS WATCH OR MOBILE DEVICE on page 19 to link your ANT compatible fitness watch or mobile device to the ANT module HOW TO LINK A HEAR...

Page 19: ...he STAGE button to enter the WARM UP mode Note The console must be in the WARM UP mode to link to an ANT compatible fitness watch or mobile device The fitness watch or mobile device cannot link to the...

Page 20: ...menu option or enter a setting Press the Backlight button to move to the previous menu option Press the AVG END button to move to the next menu option The settings menu contains the following menu opt...

Page 21: ...e paired at a time During the pairing pro cess other consoles and sensors in the area must not be in use This will ensure that the console pairs to the desired sensor without interference from other d...

Page 22: ...fails the word FAILED will appear in the mes sage banner Go to step 7 7 Troubleshoot the pairing process if necessary If the pairing process fails follow these steps a Make sure that fresh batteries a...

Page 23: ...duration When the ON backlight duration is selected the backlight will stay lit the entire time the console is activated Note This backlight duration is not recommended for high use environments such...

Page 24: ...e The default option is USB ON The currently selected USB option will be displayed with a dark background When the USB OFF option is selected the USB port cannot be used to save ride data see step 3 o...

Page 25: ...ngs See HOW TO RESTORE DEFAULT SETTINGS on page 27 How to Upgrade Firmware IMPORTANT Upgrading the firmware is an advanced procedure Make sure to read all instruc tions before upgrading the firmware 1...

Page 26: ...Go to TROUBLESHOOTING on page 29 How to Import Custom Console Settings You can import saved custom console settings from a USB drive to the console 1 Make sure that the USB port on the console is ena...

Page 27: ...umber of the exercise bike If there is a communication problem between the con sole and the sensor you can view the bike number and make sure that the console is attached to the correct exercise bike...

Page 28: ...batteries These batteries have longer battery life for each charge compared to standard alkaline batteries and can be charged up to five hundred times These rechargeable batteries are a good option f...

Page 29: ...th skin Wet contacts on heart rate monitor and make sure that heart rate monitor is in contact with skin Heart rate monitor does not work Make sure that heart rate monitor works Test heart rate monito...

Page 30: ...s listed below Please note the model number and the name of the product see the front cover of this manual before contacting Customer Care In the United States and Canada Call 1 800 201 2109 Mon Fri 8...

Reviews: