6. After the treadmill is placed in the location where it will
be used (see HOW TO MOVE THE TREADMILL on
page 11), make sure that both Rear Feet (38) and the
Base Pads (not shown) are resting firmly on the floor. If
the treadmill rocks even slightly, turn the right Rear
Foot clockwise or counterclockwise until the rocking
motion is eliminated.
Note: The Power Cord Bracket (64) must be at-
tached at all times.
9
38
64
6
7. Remove the two Cover Screws (2) and the four Front
Cover Screws (16) from the Frame (22).
16
2
7
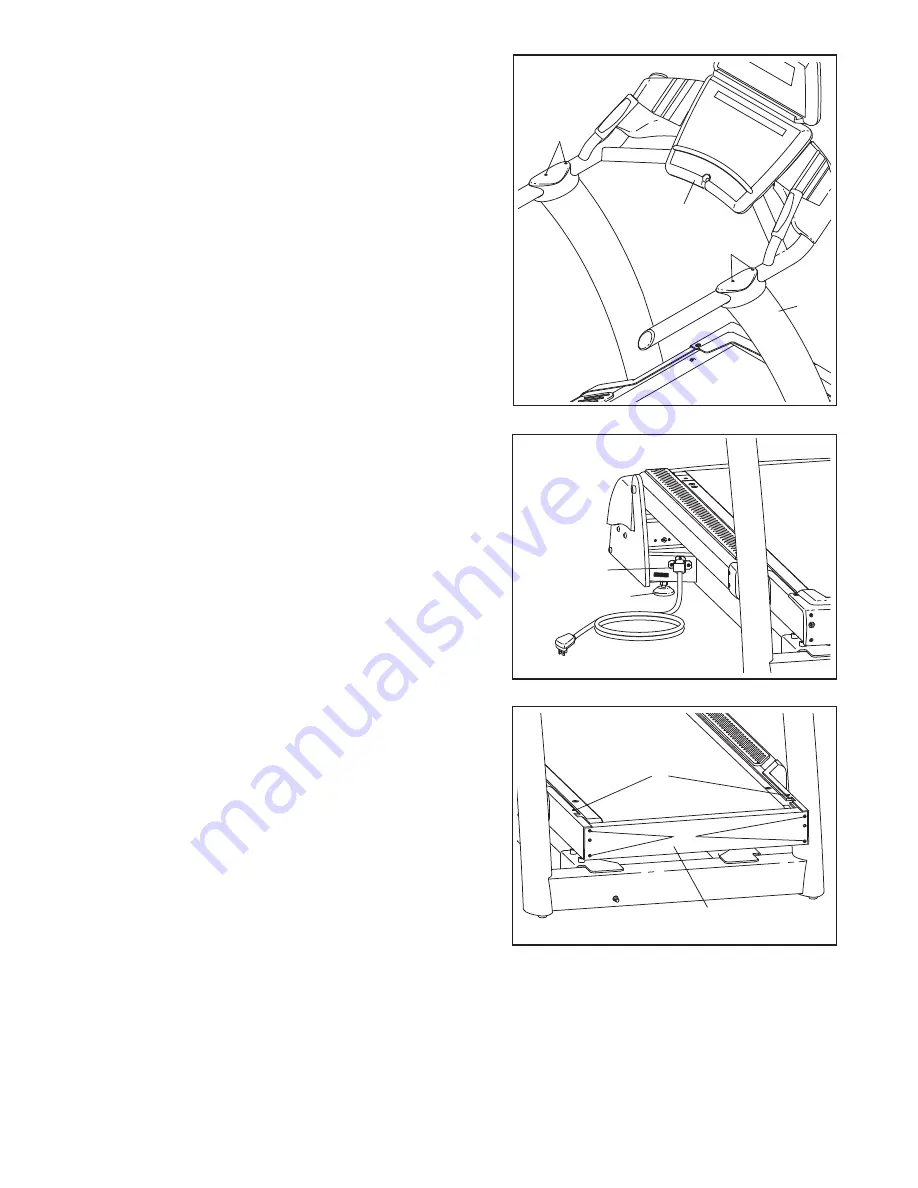
5. With the help of a second person, pivot the console as-
sembly to the position shown.
Be careful to avoid
pinching your hands or the wires.
Align the Handrail Bolts (102) with the holes in the tops
of the Uprights (93). Start all four Handrail Bolts, and
then firmly tighten them.
Console
Assembly
102
102
93
5
22
Summary of Contents for Treadmill
Page 2: ......
Page 51: ...49 ...
Page 52: ...Part No CC7484 R0608A Printed in USA 2008 ICON IP Inc ...


