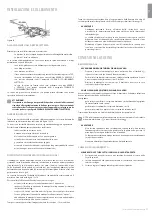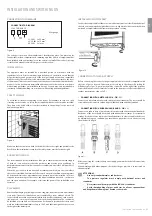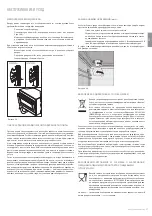
Figure 19
5. Place the drip tray in the bottom of the oven and do not forget to fi ll in
some water.
6.
Switch on the burner of the grill.
7.
Gently close the oven door, resting it up against the knob guard.
8.
Switch on the spit, pressing the button on the front panel.
9.
After the procedure, remove the support frame from the hub of the
micromotor and tighten a special pen on the spit.
NOTE:
watering the meat with fat from time to time during cooking.
WARNING!
Spit forks can have a sharp ends - be careful!
24
USING THE COOKER
• Oven
shelf:
place drip trays on it for baking, stewing etc. (not included); meat
can be prepared (“grilled”) on the shelf itself.
• Drip
tray:
this is usually placed underneath the shelf and serves to collect any
fl uids that run off the food being prepared on the shelf, although it can be
used for preparing dishes directly, too.
•
If you are cooking in an oven with a ventilation system, then two shelves
may be installed simultaneously. When doing so, it is important to bear in
mind that, if the diff erent food items you are looking to prepare diff er from
one another in quantity or quality, then they are also likely to have diff erent
preparation times.
•
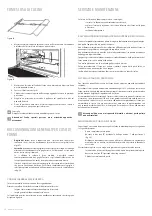
System for securing the shelves:
the oven is fi tted with a system for
securing the shelves which allows them to be pulled out of the oven without
removing them completely; although if it is necessary to completely remove
the shelves, you can just lift them up and pull, as indicated in fi g. 20.
CARE AND MAINTENANCE
GENERAL RECOMMENDATIONS REGARDING SAFE TECHNIQUE
Upon the discovery of faults, we recommend you do the following.
Before calling the technical support team, you must ensure that:
•
the plug has been inserted into the socket properly;
•
the oven on/off indicator is lit.
If this has not fi xed the problem, call a qualifi ed and authorized specialist who will be
able to fi x the fault.
If the oven lighting fails to come on, it is essential that you:
•
unplug the cooker;
•
remove the protective glass located at the back panel inside the oven;
•
change the bulb.
GENERAL RECOMMENDATIONS REGARDING COOKER CARE
Disconnect the power supply before undertaking any kind of maintenance.
Do not steam-clean the appliance.
Do not use rough, abrasive or sharp metal scourers to clean the oven doors, since these
may scratch or damage the door’s surface and its glass panel.
Do not use acidic cleaning products (such as those used to remove limescale), since
these may damage any enamelled oven parts.
Turn off the heating elements and wait for the inside of the oven to cool down before
touching or cleaning them.
Be very careful around the grill heating elements; these can be very hot.
Clean the oven carefully, so as to avoid getting scalded by steam whilst wiping down
hot oven parts with a wet cloth or sponge.
Furthermore, some cleaning agents emit toxic fumes when they come into contact
with hot surfaces.
CATALYTIC SELF-CLEANING OVEN
The two side walls and the back of the oven are coated with a catalytic self-cleaning
enamel.
Every 10-15 times it is used, leave the oven empty at full heat. The time required for
cleaning depends on the condition of the oven.
Some splashes tend to set hard and may clog the pores of the special coating,
preventing oxidation and eliminating its self-cleaning properties. In this case, as soon
as the oven has completely cooled apply very hot water to soften the deposits and
use a soft brush, without detergent, to remove them. Then switch the oven back on at
maximum heat for a few minutes.
Important: never use metal brushes or abrasive substances for cleaning
catalytic panels.
USING THE COOKER
GENERAL RECOMMENDATIONS REGARDING
OVEN USE
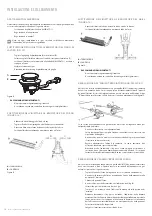
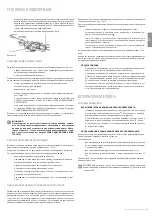
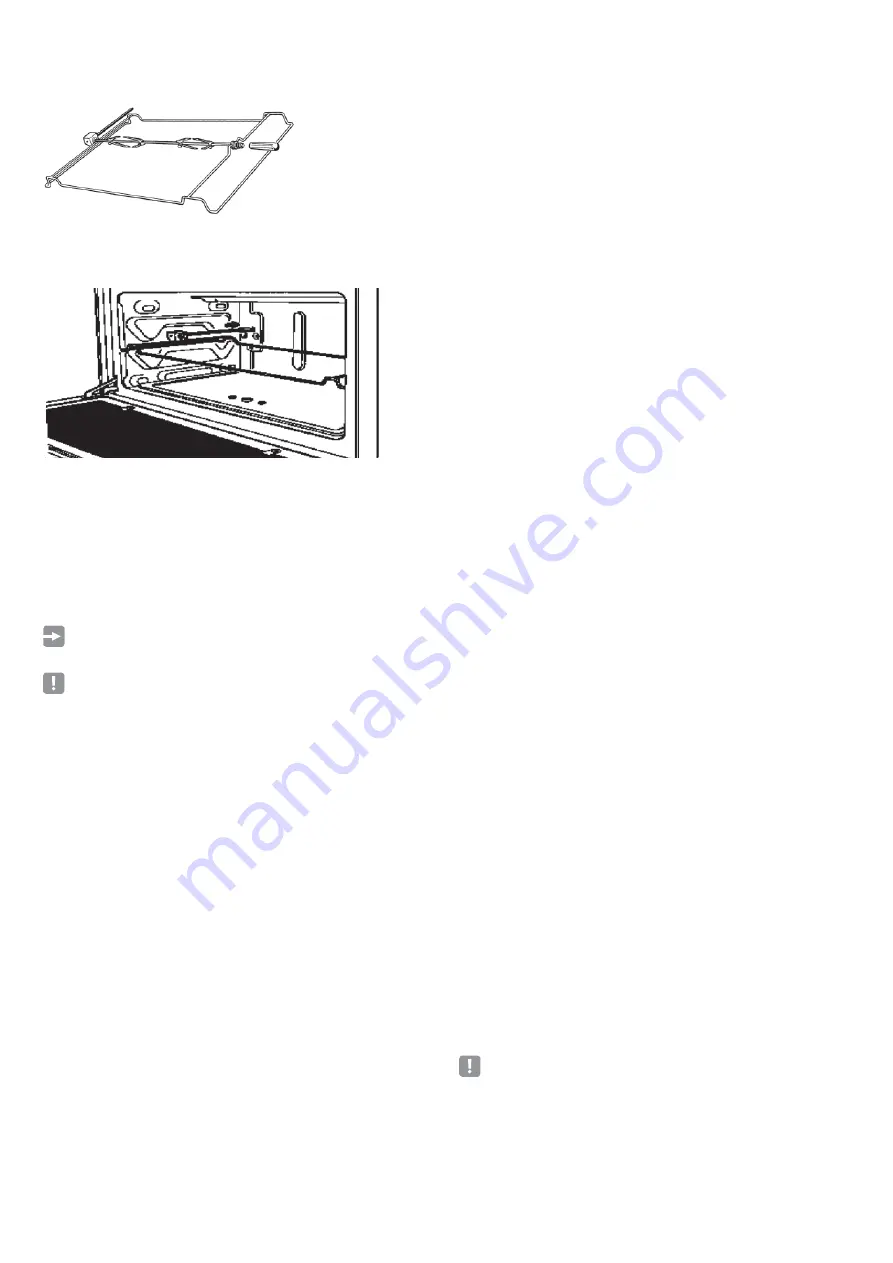
Figure 18
4.
Install a support frame of the spit in center of the oven and at the same time
inserting the shaft into the hub counter of the micromotor .
Summary of Contents for PP96GEE50
Page 63: ......

