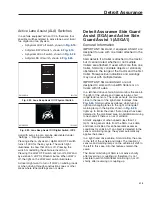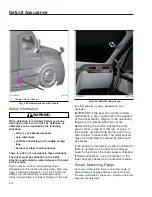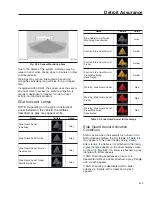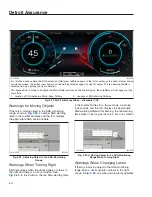
2.2
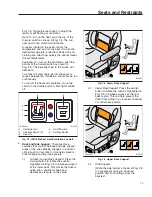
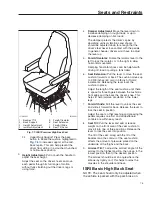
Upper Back Support:
Press the back
button to inflate the cushion highlighted in
to increase support at the mid-
back region. This can help prevent the
driver from sitting in a slouched, hunched,
or hollow-back position.
3.
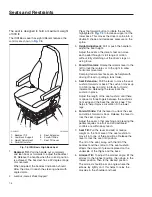
Height Adjustment:
Pull or push the handle to
adjust the seat height.
Adjust the seat so the driver’s feet can move
each pedal through its full range of motion
without fully stretching out the driver’s legs or
using force.
4.
Damper Adjustment:
Move the lever down to
increase damping on rough roads, or up to
decrease damping on flat roads.
The damper protects the driver’s spine by
absorbing vertical vibrations and shocks. It
should be adjusted down far enough that the
driver’s feet never lose contact with the pedals.
In general, heavier drivers won’t have to adjust
the lever up.
5.
Fore/Aft Isolator:
Rotate the isolator lever to the
left to lock the isolator, or to the right to allow
horizontal movement.
Damping horizontal shocks can be helpful with
driving off-road or pulling a tank trailer.
6.
Seat Extension:
Pull the lever to move the seat
cushion forwards or back. The cushion moves up
to 2-3/8 inches (60 mm) in 3/8-inch (10-mm)
increments. Releasing the lever locks the
cushion in place.
Adjust the length of the seat cushion until there
is space for three fingers between the cushion’s
front edge and the back the driver’s knee. This
helps to help improve circulation in the lower
legs.
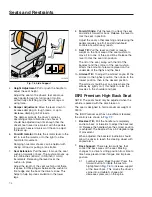
7.
Fore/Aft Slide:
Pull the lever to unlock the seat
and slide it forward or back. Release the lever to
lock the seat in position.
Adjust the seat so that reaching and pressing the
pedals requires no effort and all dashboard
controls are within easy reach.
8.
Seat Tilt:
Pull the lever and add or reduce
weight on the front area of the seat cushion to
move it into one of three positions. Release the
lever to lock the seat into position.
The tilt of the seat, along with the tilt of the
backrest and the contour of the seat cushion,
affects the amount of pressure placed on the
underside of the thighs and the back.
9.
Armrest Tilt:
To adjust the armrest angle, tilt the
armrest to the highest position, then down to the
lowest position, then to the desired position.
The armrest should be at an angle where the
elbows lay lightly on it; this helps to relax the
muscles in the shoulder and neck.
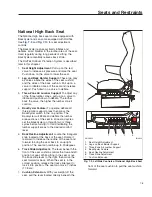
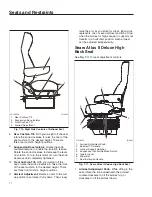
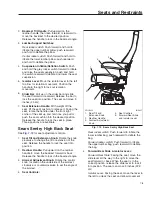
ISRI Basic High Back Seat
NOTE: The seat should only be adjusted when
the vehicle is parked with the park brake on.
f910682f
12/02/2021
1
2
3
5
6
7
8
4
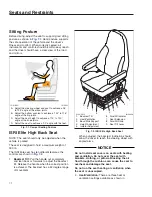
1.
Backrest Tilt
2.
Back Support
3.
Height Adjustment
4.
Isolator Adjustment
5.
Fore/Aft Isolator
6.
Seat Extension
7.
Fore/Aft Slide
8.
Seat Tilt Lever
Fig. 7.7, ISRI Premium High Back Seat
Seats and Restraints
7.4
Summary of Contents for PX113064S T 2016
Page 4: ......
Page 10: ......
Page 18: ......
Page 58: ......
Page 86: ......
Page 112: ......
Page 122: ......
Page 142: ......
Page 154: ......
Page 155: ...12 Steering System Power Steering System 12 1...
Page 158: ......
Page 159: ...13 eAxle eAxle 2 Speed Transmission 13 1...
Page 176: ......
Page 190: ......
Page 202: ......
Page 222: ......
Page 223: ...20 Emissions Information Noise Emissions 20 1 Greenhouse Gas Emissions 20 1...
Page 229: ......
Page 236: ......

