Page 45
Service Procedures
Service Manual Deli Multisserie form 9123560 rev. 02/2017
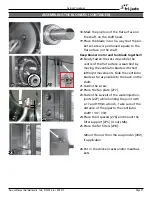
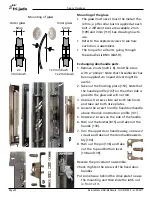
10
11
14
4x
12
13
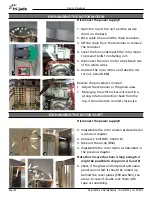
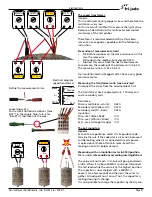
Slot down!
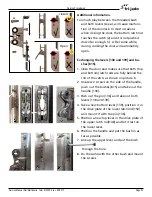
18
17
15
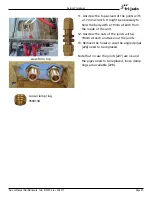
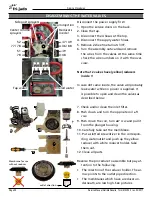
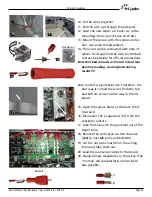
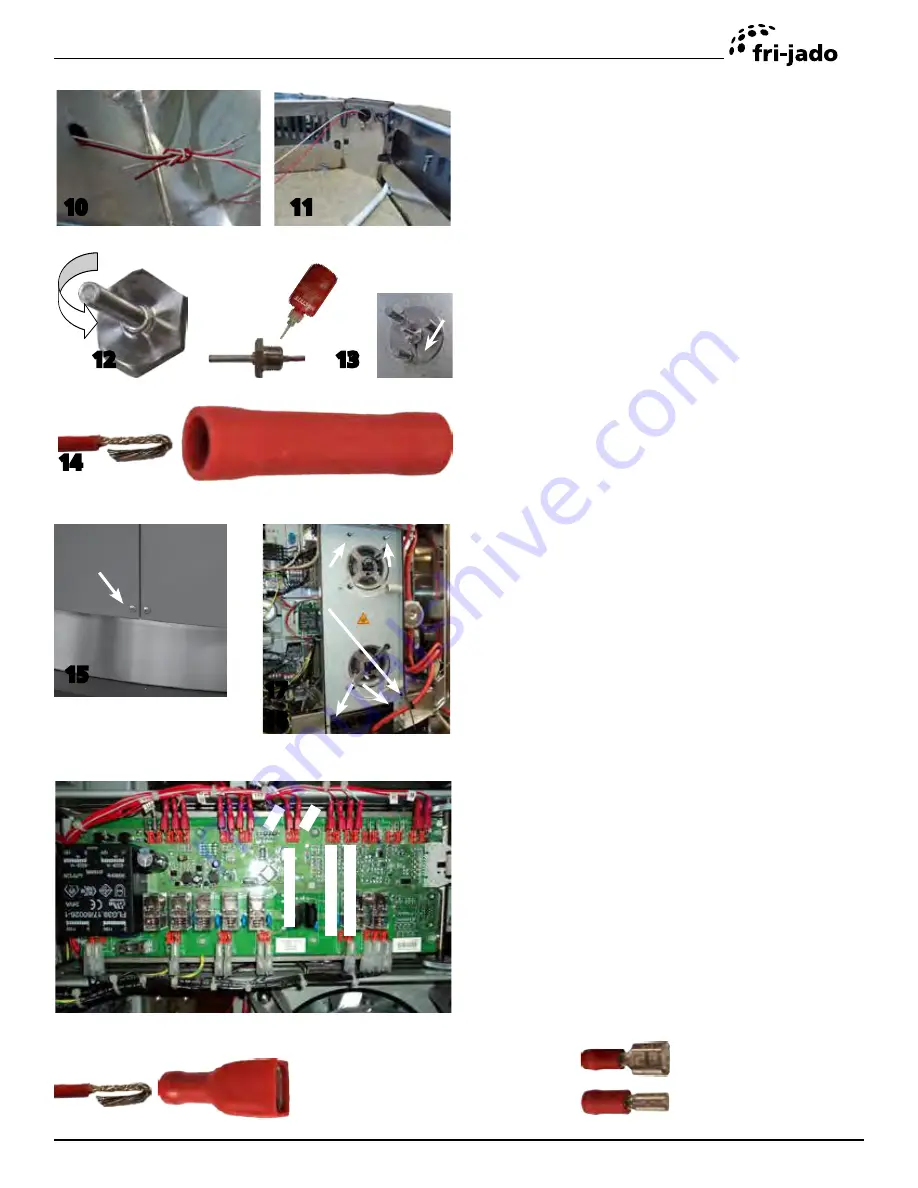
10. Tie the wires together.
11. Pull the wire up through the side post .
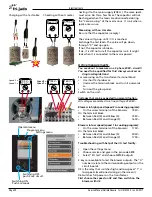
12. Twist the new sensor ±4 turns ccw. (after
mounting, the wire will have no stress)
13. Mount the sensor with the sensor protec-
tion. Use some thread sealant.
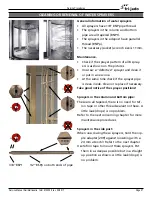
14. The wires can be connected with help of
splices. Twist and fold the wire for the best
contact. See below for official connections.
Note that bad contacts will result in bad tem-
perature reading, causing bad cooking
results!!!!
Each contact is a potential risk. Therefore, the
best way is to lead the wires from the top
and bottom sensor, all the way to the I/O
board.
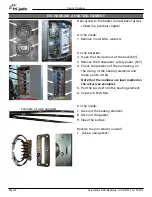
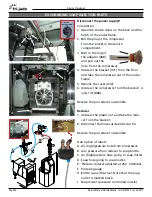
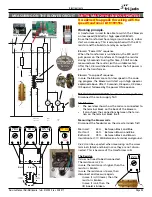
15. Open the service doors at the back. [551]
[4 screws].
16. Disconnect the 2 capacitors [51] from the
ventilator motors.
17. Take the hose with the grommet out of the
transit hole.
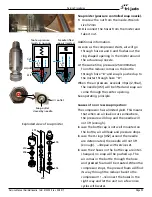
18. Remove the vertical air suction channel.
[268] (2 nuts M6 en 2x nut/bolt M5)
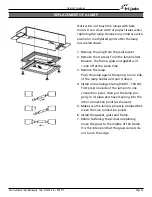
19. Cut the old wires loose from the wiring
loom and take them out.
20. Lead the new sensor wires to the board.
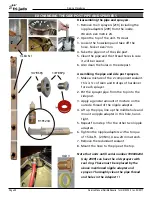
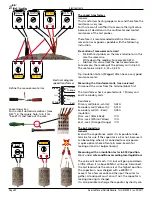
20. Clamp female receptacles to the wires. (The
“normal” red receptacles 6,3 and 2,8 are
also possible.
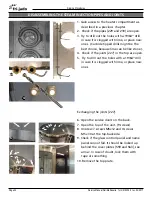
Default
6,3
2,8
6,3
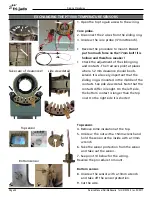
Core probe
Upper sensor
Lower sensor
117
118

