Service Instructions
Page 80
Service Manual Deli Multisserie form 9123560 rev. 09/2017
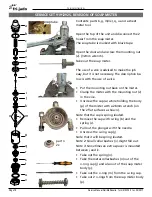
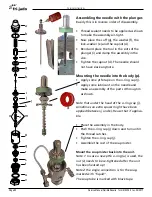
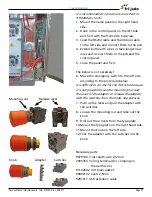
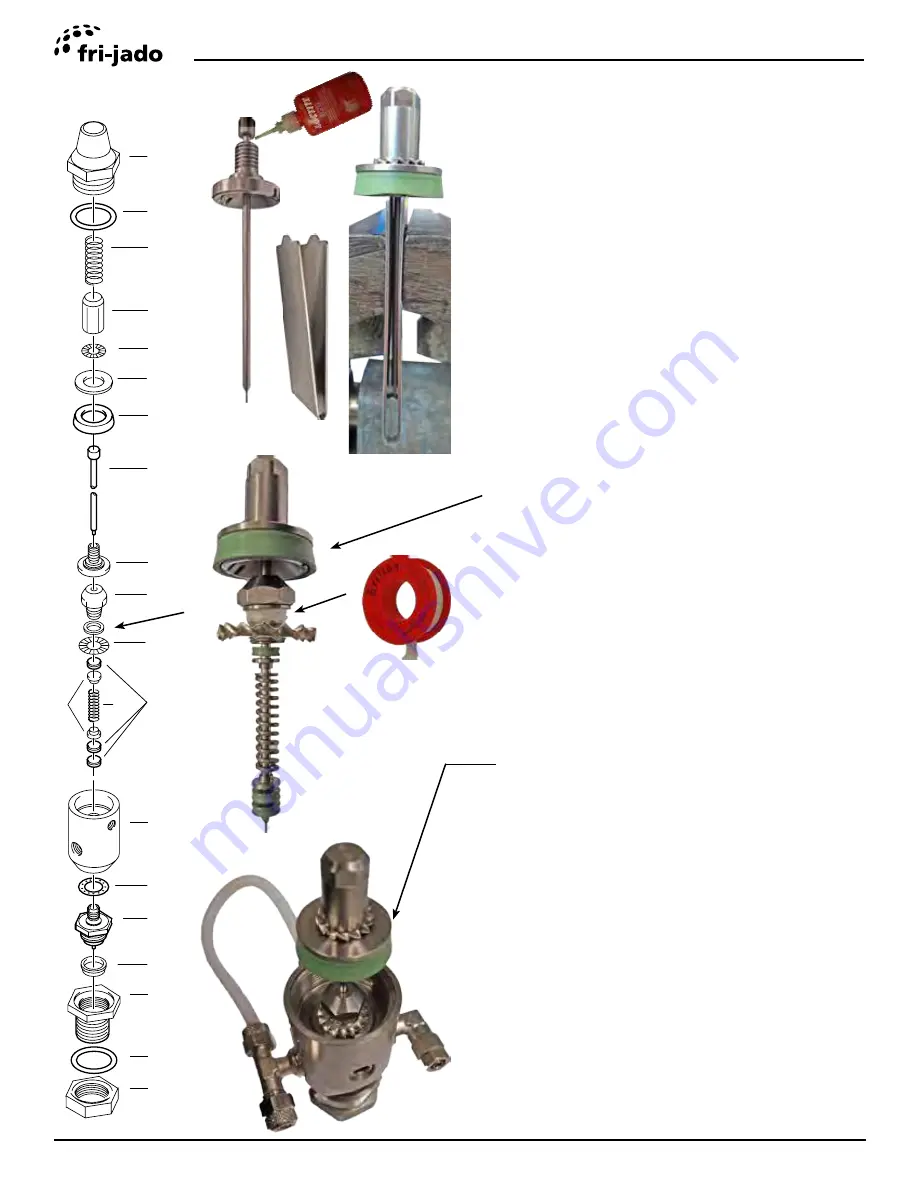
Assembling the needle with the plunger.
Basicly this is in reverse order of disassembly.
• Thread sealant needs to be applied as shown
to make the assembly air-tight.
• Now place the cuff (g), the washer (f), the
lock-washer (e) and the capnut (d).
• Bend and place the tool in the slots of the
plunger (i) and clamp the assembly in the
vice.
• Tighten the capnut (d). The needle should
not have slack anymore.
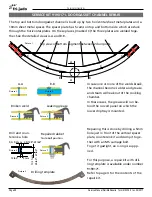
Mounting the needle into the body (p).
• Apply some ptfe tape on the o-ring cap (j).
• Apply some lubricant on the needle and
make an assembly of the parts d through m
as shown.
Note that under the head of the o-ring cap (j),
sometimes an extra spacer might have been
applied (between j and k). Reuse that if applica-
ble.
• Place the assembly in the body.
• Push the o-ring cap (j) down and turn untill
the thread catches.
• Tighten the o-ring cap (j).
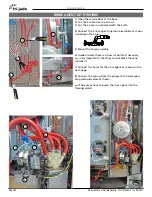
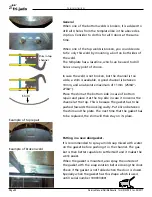
• Assemble the rest of the soap mister.
Mount the soap mister back into the unit.
Note 1: In case a new ptfe o-ring (u) is used, the
nut (v) needs to be re-tightened after the unit
has been heated up!
Note2: the single connection is for the soap,
marked with “liquid”.
The soap tube is marked with black tape.
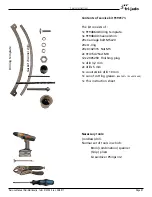
!
a
b
c
d
e
f
g
h
i
j
k
n
o
p
q
r
s
t
u
m
v

