S70-101SM
Page 7
Frick XJS and XJF Rotary Screw Compressor
Service Manual
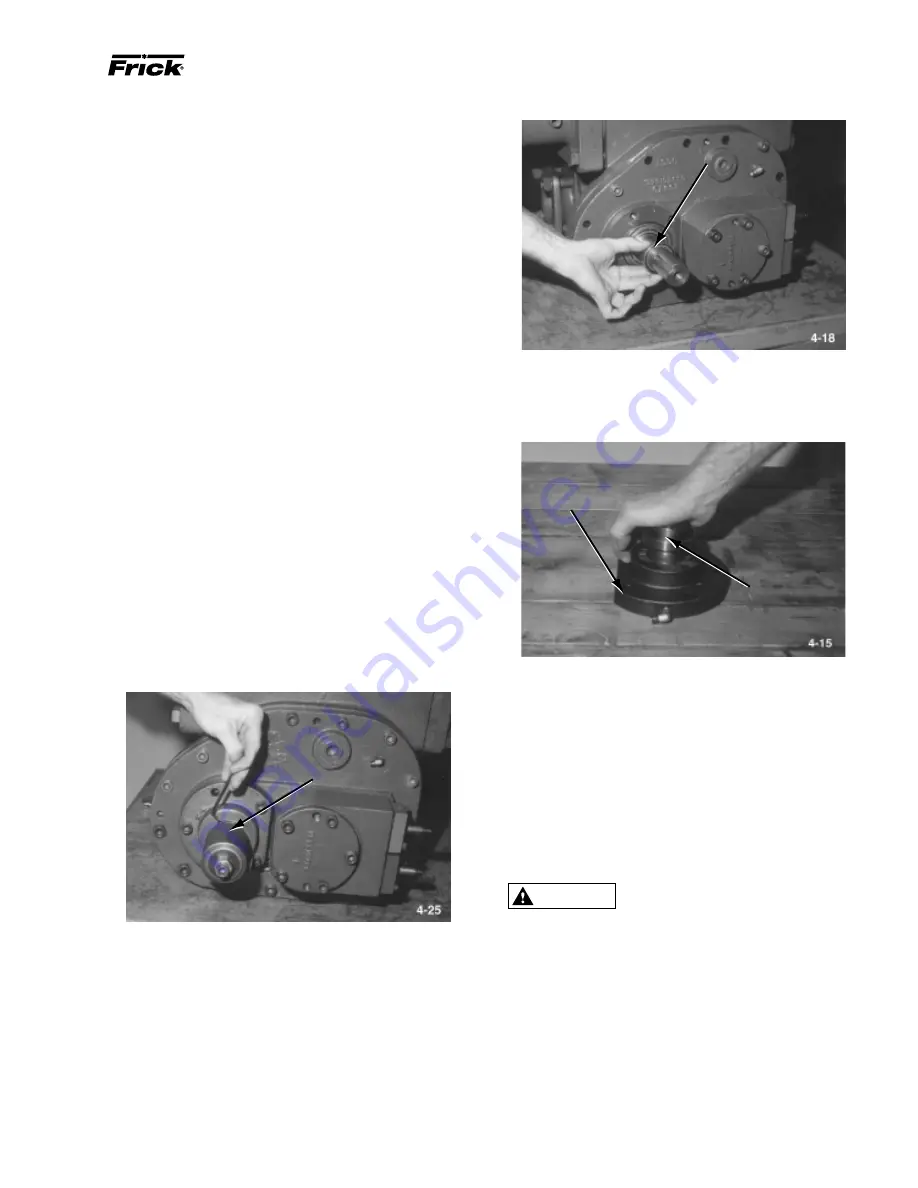
SEAL SEAT
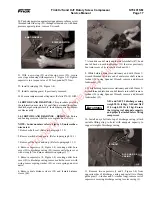
8. Place seal housing (4) on workbench with inboard side
facing down; using Seal Installation and Removal Tool, push
(with hand pressure only) carbon-faced seal assembly out
of housing.
SEAL HOUSING
SEAL REMOVAL
AND INSTALLATION
TOOL
1.0.2 COMPRESSOR – ASSEMBLY. Compressor assem-
bly shall be accomplished in the following order:
1. Compressor Suction Strainer Cleaning and Installation
(Refer to paragraph 1.5.2).
2. Rotors and Bearings – Installation (Refer to paragraph 1.4.2).
3. Slide Valve and Stop – Installation (Refer to paragraph 1.3.2).
4. Jackshaft and Gears – Installation (Refer to paragraph 1.2.2).
1.1.1 SHAFT SEAL REPLACEMENT. This procedure
provides the information necessary for qualified personnel to
replace the jackshaft carbon-faced seal, including required
compressor disassembly.
1.1.2 SHAFT SEAL – REMOVAL. Shaft seal removal shall
be accomplished as follows:
NOTE: Index numbers refer to Figure 1-2, unless other-
wise noted.
1. Evacuate compressor and oil separator (refer to S70-101
IOM).
2. Remove flexible drive coupling (refer to S70-101 IOM).
3. Loosen oil supply line nuts at elbows (2, Figure 1-1), which
are located on seal housing and gear cover.
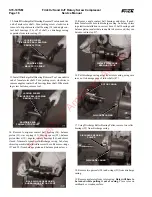
4. Loosen hex-head screw in clamp collar (2); remove clamp
collar and seal seat backup ring (3) from jackshaft (1).
5. Remove capscrews (7) securing seal housing (4) to gear
cover (52). Remove seal housing and seal housing o-ring (8).
A small amount of oil will drain from housing.
NOTE: Provisions should be made to catch residual
oil that will drain when seal housing is removed.
6. Remove seal housing oil supply tubing (3, Figure 1-1).
7. Remove rotating seal seat portion (Figure 1-1) of shaft seal
assembly (6) from jackshaft (1).
CLAMP COLLAR
9. Remove carbon-faced seal assembly o-ring (5) from seal
housing.
10. Remove oil supply line elbow (2, Figure 1-1) from seal
housing.
1.1.3 SHAFT SEAL – INSTALLATION. Shaft seal instal-
lation shall be accomplished as follows:
NOTE: Index numbers refer to Figure 1-2, unless other-
wise noted.
Avoid damaging carbon-faced seal
and rotating seal seat. Mishandling
will shorten seal life. Do not touch
sealing surfaces. Surfaces can be
blemished by perspiration. Ensure
that carbon is not chipped or cracked.
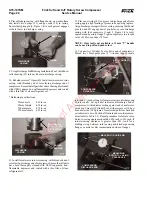
1. Clean jackshaft; polish minor scratches with crocus cloth,
wipe clean and coat shaft with clean refrigerant oil. Ensure
that keyway edges are free burrs.
2. Before installing rotating seal seat, coat seat surface with
clean refrigerant oil.
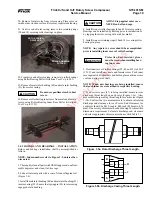
3. With shiny side of seal seat facing out, coat seat with
refrigerant oil and slide over jackshaft. Do not damage o-ring.
(Photo 4-24, page 6)
CAUTION
Property of American Airlines


