background image

12

Care & Cleaning

Surfaces

Aluminum (Trim Pieces) & Vinyl

Painted & Plastic Control Knobs, Body
Parts & Decorative Trim

Painted Control Panel, Decorative
Trim

Stainless Steel (some models)

Porcelain Enamel Broiler Pan and
Insert, Door Liner, Body Parts, Warmer
Drawer
 (if equipped)

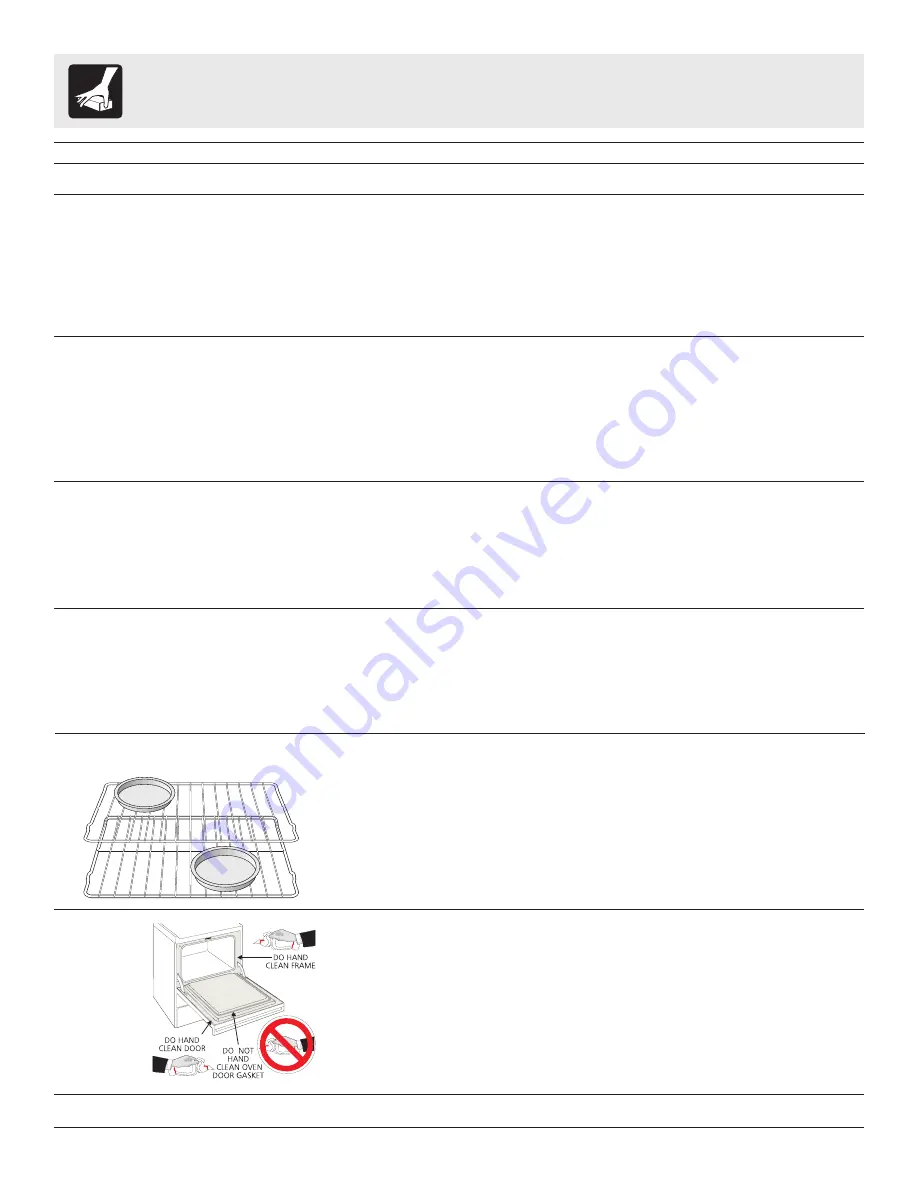
Oven Racks

Oven Door

Ceramic Glass Cooktop

How to Clean

Use hot, soapy water and a cloth. Dry with a clean cloth.

For general cleaning, use hot, soapy water and a cloth. For more difficult soils and
built-up grease
, apply a liquid detergent directly onto the soil. Leave on soil for 30
to 60 minutes. Rinse with a damp cloth and dry. DO NOT use abrasive cleaners
on any of these materials; they can scratch. To remove control knobs, turn to the
OFF position; grasp firmly and pull straight off the shaft. To replace knobs after
cleaning, line up the flat sides of both the knob and the shaft; then push the knob
into place.

Before cleaning the control panel, turn all controls to OFF and remove the control
knobs. To remove, pull each knob straight off the shaft. Clean using hot, soapy
water and a dishcloth. Rinse with a clean water using a dishcloth. Be sure to
squeeze excess water from the cloth before wiping the panel; especially when
wiping around the controls. Excess water in or around the controls may cause
damage to the appliance.To replace knobs after cleaning, line up the flat sides of
both the knob and the shaft; then push the knob into place.

Clean stainless steel with hot, soapy water and a dishcloth. Rinse with clean
water and a cloth. Do not use cleaners with high concentrations of chlorides
or chlorines.
 Do not use harsh scrubbing cleaners. Only use kitchen cleaners
that are especially made for cleaning stainless steel. Always be sure to rinse the
cleaners from the surface as bluish stains may occur during heating that cannot
be removed.

Gentle scouring with a soapy scouring pad will remove most spots. Rinse with a
1:1 solution of clear water and ammonia. If necessary, cover difficult spots with
an ammonia-soaked paper towel for 30 to 40 minutes. Rinse with clean water and
a damp cloth, and then scrub with a soap-filled scouring pad. Rinse and wipe dry
with a clean cloth. Remove all cleaners or the porcelain may become damaged
during future heating. DO NOT use spray oven cleaners on the cooktop.

Oven racks may be removed or left in the oven during the self-clean cycle for
cleaning. If removed, clean by using a mild, abrasive cleaner following
manufacturer's instructions. Rinse with clean water and dry.

If the racks are cleaned in the self-clean cycle, their color will turn slightly blue and
the finish will be dull. After the self-clean cycle is complete, and the oven has
cooled, rub the sides of the racks with wax paper or a cloth containing a small
amount of baby oil or salad oil (this will make the racks glide easier into the rack
positions).

To clean oven door, wash with hot, soapy water and a clean cloth. DO NOT
immerse the door in water.

DO NOT clean the oven door gasket. The oven door gasket is made of a woven
material, on self cleaning models, which is essential for a good seal. Care should
be taken not to rub, damage or remove the gasket.

See Cooktop Cleaning & Maintenance in the Care & Cleaning section.

(Cleaning Chart)

Summary of Contents for BS100

Page 1: ...p n 316257128 0407 ...

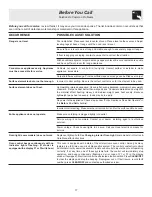
Page 2: ...kYou for choosing our product We hope you consider us for future purchases PLEASE CAREFULLY READ AND SAVETHESE INSTRUCTIONS This Use Care Manual provides specific operating instructions for your model Use your range only as instructed in this manual These instructions are not meant to cover every possible condition and situation that may occur Common sense and caution must be practiced when instal...

Page 3: ...iously injured Never Use Your Appliance for Warming or Heating the Room Storage in or on Appliance Flammable materials should not be stored in an oven warmer drawer near surface units or in the storage drawer This includes paper plastic and cloth items such as cookbooks plasticware and towels as well as flammable liquids Do not store explosives such as aerosol cans on or near therange Do Not Leave...

Page 4: ... rack must be moved while oven is hot use extreme caution Use potholders and grasp the rack with both hands to reposition Do not let potholders contact the hot heating elements in the oven Remove all utensils from the rack before moving Do not use the broiler pan without its insert The broiler pan and its insert allow dripping fat to drain and be kept away from the high heat of the broiler Do not ...

Page 5: ...5 Features At A Glance Your Electric Range Features Note Features will vary and are shown for open Coil Surface Element models only for Coil Cooktop models only some models ...

Page 6: ...6 Features At A Glance Your Electric Range Features Note Features will vary and are shown for Ceramic Cooktop models only for Ceramic Glass Cooktop models only Ceramic Glass Cooktop some models ...

Page 7: ...n mitts when using the oven Removing Replacing Oven Racks To remove pull the rack forward until it stops Lift up front of rack and slide out To replace fit the rack onto the guides on the oven walls Tilt the front of the rack upward and slide the rack back into place Element On and Hot Surface Indicator Lights TheCoilCookToprangeisequippedwithasurfacecontrollightthatwillglowonyourrange the Element...

Page 8: ... the pan Note The surface Element On indicator light s will glow when one or more elements are turned on A quick glance at these indicator light s when cooking is finished is an easy check to be sure all surface elements are turned off 1 Place correctly sized cookware on the radiant surface element 2 Push in and turn the surface control knob in either direction to the desired setting See Figure 1 ...

Page 9: ...not start or stop cooking It serves as an extra timer in the kitchen that will beep when the set time has run out The minute timer can be used alone or during any oftheotherovenfunctions Whentheminutetimerisinusewithanyotherfunction theminutetimerwillbeshowninthedisplay To view other functions press the pad for that function To Change the Minute Timer while it is in use While the timer is active a...

Page 10: ...By pressing and holding the or the temperature can then be adjusted in 5 F increments 3 Whenthe or isreleased theovenwillbeginheatingtotheselectedtemperature Whenthedisplayedtemperature reaches the desired baking temperature the control will beep once 1 time 4 To cancel the baking function press To Change the Oven Temperature after Baking has Started 1 Press and make sure the bake temperature is d...

Page 11: ...oilsettingtoavoidexcess browning or drying of foods that should be broiled to the well done stage 4 Place the insert on the broiler pan if equipped then place the food on the insert DO NOT use the broiler pan without the insert or cover the insert with aluminum foil The exposed grease could ignite 5 Place the pan on the oven rack Open the oven door to the broil stop position when broiling see illu...

Page 12: ...a cloth Do not use cleaners with high concentrations of chlorides or chlorines Do not use harsh scrubbing cleaners Only use kitchen cleaners that are especially made for cleaning stainless steel Always be sure to rinse the cleaners from the surface as bluish stains may occur during heating that cannot be removed Gentle scouring with a soapy scouring pad will remove most spots Rinse with a 1 1 solu...

Page 13: ...face Remove loosened soils with cooktop cleaner and buff surface clean Plastic or foods with a high sugar content These types of soils need be removed immediately if spilled or melted onto the ceramic cooktop surface Permanent damage such as pitting of the cooktop surface may occur if not removed immediately After turning the surface elements OFF use a razor blade scraper or a metal spatula with a...

Page 14: ...rsh cleaners such as chlorine bleach ammonia or oven cleaners as they may etch or discolor the cooktop Do not use dirty sponges cloths or paper towels as they can leave soil or lint on the cooktop which can burn and cause discoloration Note Additional cooktop cleaning cream may be ordered by visiting the Frigidaire website at www frigidaire com Cleaning Recommendations for Ceramic Glass Cooktop Ce...

Page 15: ... with the terminal plug as shown 4 Hold the surface element and drip bowl together as level as possible and firmly push the terminal end into the terminal plug Make sure element terminal is seated properly into terminal plug Make sure the surface element is level to reduce the hazard of pans sliding off the element Raising the Top for Cleaning Coil Cooktop models only 1 Grasp the sides and lift fr...

Page 16: ...t at the beginning of the Care Cleaning section See Door Liner To Replace Oven Door 1 Be sure the hinge arms remain at the 45 degree angle position Be sure the screws are still locking the hinge arms from moving If the screws fall out of the hinge holes the hinge s may snap back against the oven frame and could pinch fingers or chip the porcelain finish on the oven front frame 2 Hold door at the s...

Page 17: ...re floor is level and is strong and stable enough to adequately support range If floor is sagging or sloping contact a carpenter to correct the situation Kitchen cabinet alignment may make range appear unlevel Be sure cabinets are square and have sufficient room for range clearance Cabinets not square or are built in too tightly Contact builder or installer to make appliance accessible Carpet inte...

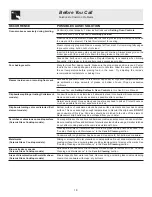
Page 18: ...temperatures with pie spillovers or large amounts of grease on bottom of oven Wipe up excessive spillovers For oven fire see Setting Surface Oven Controls in this Use Care Manual Foods with acids such as tomatoes if allowed to stand in on bowls will cause corrosion Remove and wash drip bowls as soon as possible after a spillover Normal environment Houses along sea coast are exposed to salt air Pro...

Page 19: ...Notes 19 ...

Page 20: ...ice be required If service is performed it is in your best interest to obtain and keep all receipts This written warranty gives you specific legal rights You may also have other rights that vary from state to state Service under this warranty must be obtained by contacting Electrolux Home Products Inc or Electrolux Canada Corp FULLONE YEAR WARRANTY LIMITED 2ND 5TH YEARWARRANTY Glass Smoothtop Seal...

Reviews: