


4
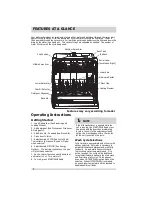
FEATURES AT A GLANCE
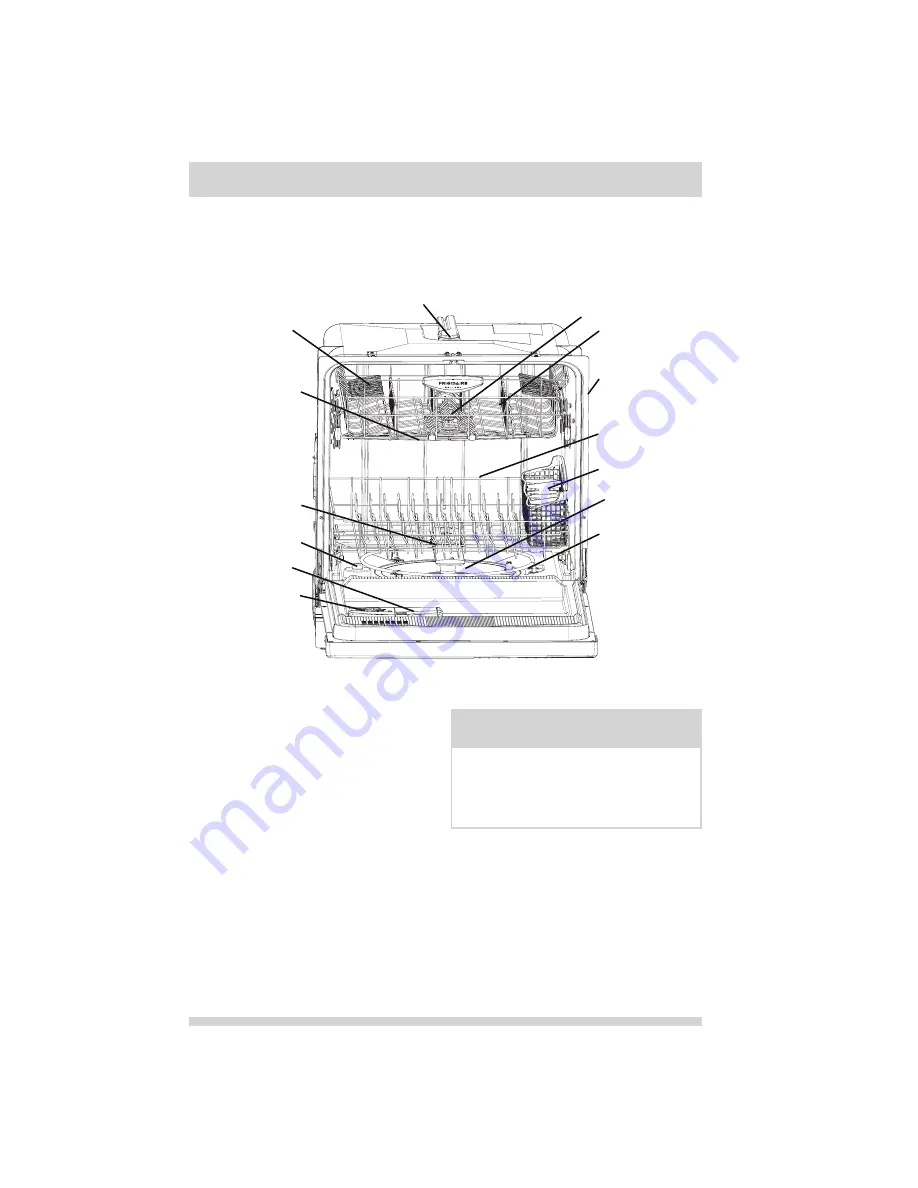
Features may vary according to model
Heating Element
Glass Trap
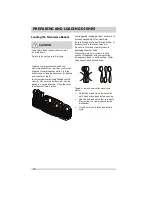
Detergent Dispenser
Over! ll Protector
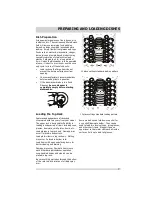
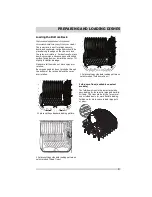
Silverware Basket
Lower Rack
Serial Label
(Located on Right)
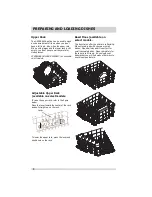
Top Rack
Nozzle or Spray Arm
Cup Shelves
Middle Spray Arm
Lower Spray Arm
Rinse Aid
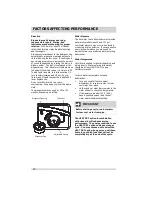
Your dishwasher cleans by spraying a mixture of hot water and detergent through the spray arms
against soiled surfaces. First, the dishwasher ! lls with water covering the ! lter area. Water is
then pumped through the spray arms. Soil particles go through and across the ! lter and down the
drain as the water is pumped out. This series of steps are repeated as needed. The number of
water ! lls vary with the cycle being used.
Bowl Tines
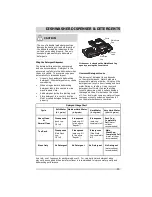
Wash Cycle Selections
Cycle times are approximate and will vary with
options selected. Hot water is necessary to
activate dishwasher detergent and melt fatty
food soils. An automatic sensor will check
the incoming water temperature and, if it is
not hot enough, the cycle will be lengthend
for automatic water heating in the main wash
and ! nal rinse of all cycles. This happens
even when HI-TEMP WASH option has not be
selected. When HI-TEMP WASH is selected,
an even higher temperature will be reached to
handle heavier soil loads.
Operating Instructions
Getting Started
1. Load Dishwasher (See Preparing and
Loading Dishes).
2. Add detergent (See Dishwasher Dispenser
& Detergents).
3. Add Rinse Aid, if needed (See Rinse Aid).
4. Close door to latch.
5. Select desired CYCLE (See Cycle Chart).
The indicator light above the pad will glow
when selected.
6. Select desired OPTION (See Energy
Options).
The indicator light above the pad
will glow when selected.
7. Run hot water faucet nearest dishwasher
until water is hot. Turn water off.
8. To start, press START/PAUSE pad.
NOTE
If the dishwasher door is opened while the
unit is running, the START/PAUSE pad must
be pressed and the door shut immediately
to return the unit to the selected cycle and
option, this must happen within 10 minutes
for the unit to continue the cycle.
ë
Summary of Contents for DGCD2444SA
Page 18: ...18 NOTES ...
Page 20: ...20 ...


