19
INSTALLATION INSTRUCTIONS
General installation
Grounding type
Grounding type
wa
wall receptacl
ll receptacle
Po
Power cord with
wer cord with
3-prong
3-prong gr
grounded plug
ounded plug
Do not,
Do not, under
under
an
any cir
y circumstances,
cumstances,
cut,
cut, remo
remove
ve,
or b
or bypass th
ypass the
gr
grounding pr
ounding prong.
ong.
Í
NOTE
A wiring diagram and technical data sheet are located
inside the dryer console.
1 Connect the exhaust duct to the outside exhaust
system (see pages 6 through 8). Use of a 4” (102
mm) clamp (item A) is recommended to connect
the dryer to the exhaust vent system. Use metal
foil tape to seal all other joints.
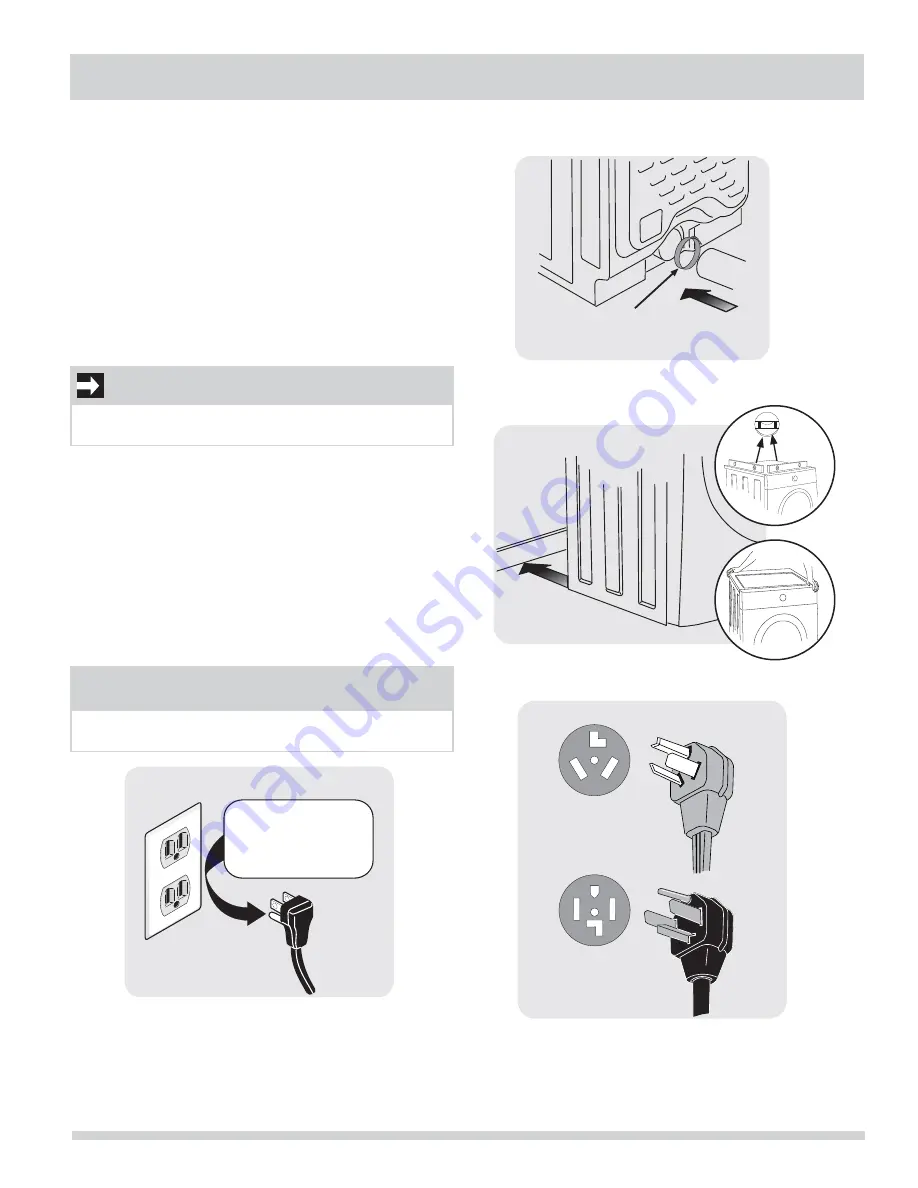
2 Carefully slide the dryer to its fi nal position. Adjust
one or more of the legs until the dryer is resting
solidly on all four legs. Place a level on top of the
dryer. The dryer MUST be level and resting solidly
on all four legs. Rock alternating corners to check
for stability. Remove and discard door tape.
3 Plug the power cord into a grounded outlet.
4 Turn on the power at the circuit breaker/fuse box.
5 Read the Use & Care Guide provided with the dryer.
It contains valuable and helpful information that
will save you time and money.
6 If you have any questions during initial operation,
please review the “Avoid Service Checklist” in your
Use & Care Guide before calling for service.
7 Place these instructions in a location near the dryer
for future reference.
A
IMPORTANT
Be sure the power is off at a circuit breaker/fuse box
before plugging the power cord into an outlet.


