5
30” ELECTRIC FRONT CONTROL FREESTANDING INSTALLATION INSTRUCTIONS
Fig. 13
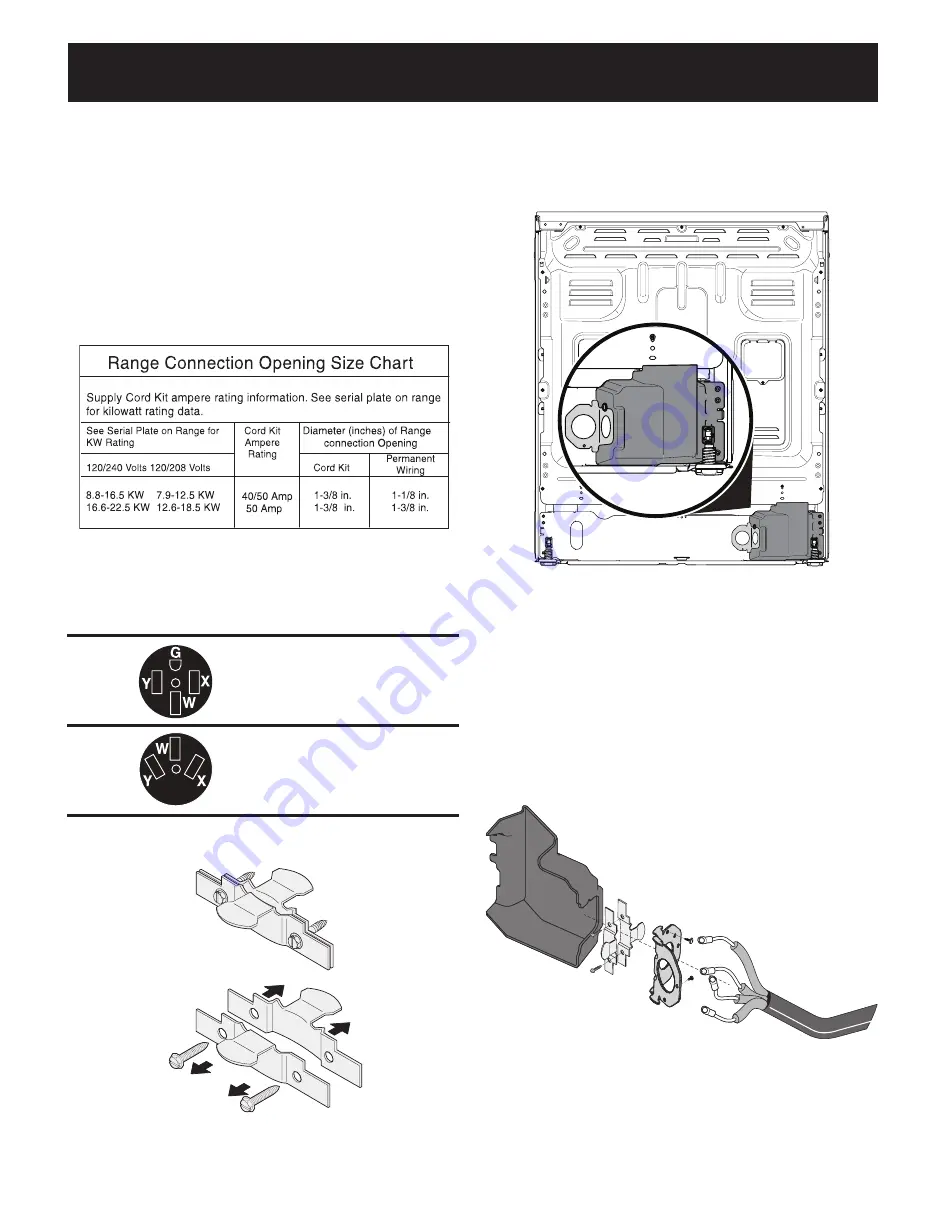
6. Installing Power Cords
(United States)
RISK OF FIRE OR ELECTRICAL SHOCK MAY OCCUR IF
AN INCORRECT SIZE RANGE CORD KIT IS USED, THE
INSTALLATION INSTRUCTIONS ARE NOT FOLLOWED
OR STRAIN RELIEF BRACKET IS DISCARDED.
This appliance may be connected by means of a power
supply cord. Use a power supply cord kit rated at 125/250
volts minimum, marked for use with ranges.
Cord must have either three (3) or four (4) conductors.
Terminals on end of wires must be either closed loop or
open-end spade lugs with upturned ends.
Cord must have strain relief properly installed.
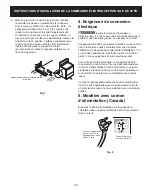
Access the Terminal Block
1.
Remove the access cover and bracket from the back
of the appliance. Keep all pieces and the screws.
2.
Pull the cord terminals through the correct hole in the
bracket included with the appliance.
3.
Connect the terminals to the terminal block
as instructed for 3-wire, 4-wire, or permanent
connections. See the next section for specific
instructions for each connection.
4.
Place the strain relief through the included bracket and
tighten against the power cord.
5.
Replace the bracket and access cover on the
appliance.
Required for new and
remodeled installations
4-Wire Wall
receptacle (14-50R)
Allowed for
existing installations
3 Wire Wall
receptacle (10-50R)
Fig. 10
Fig. 11
Fig. 9
Fig. 12


