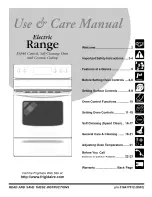
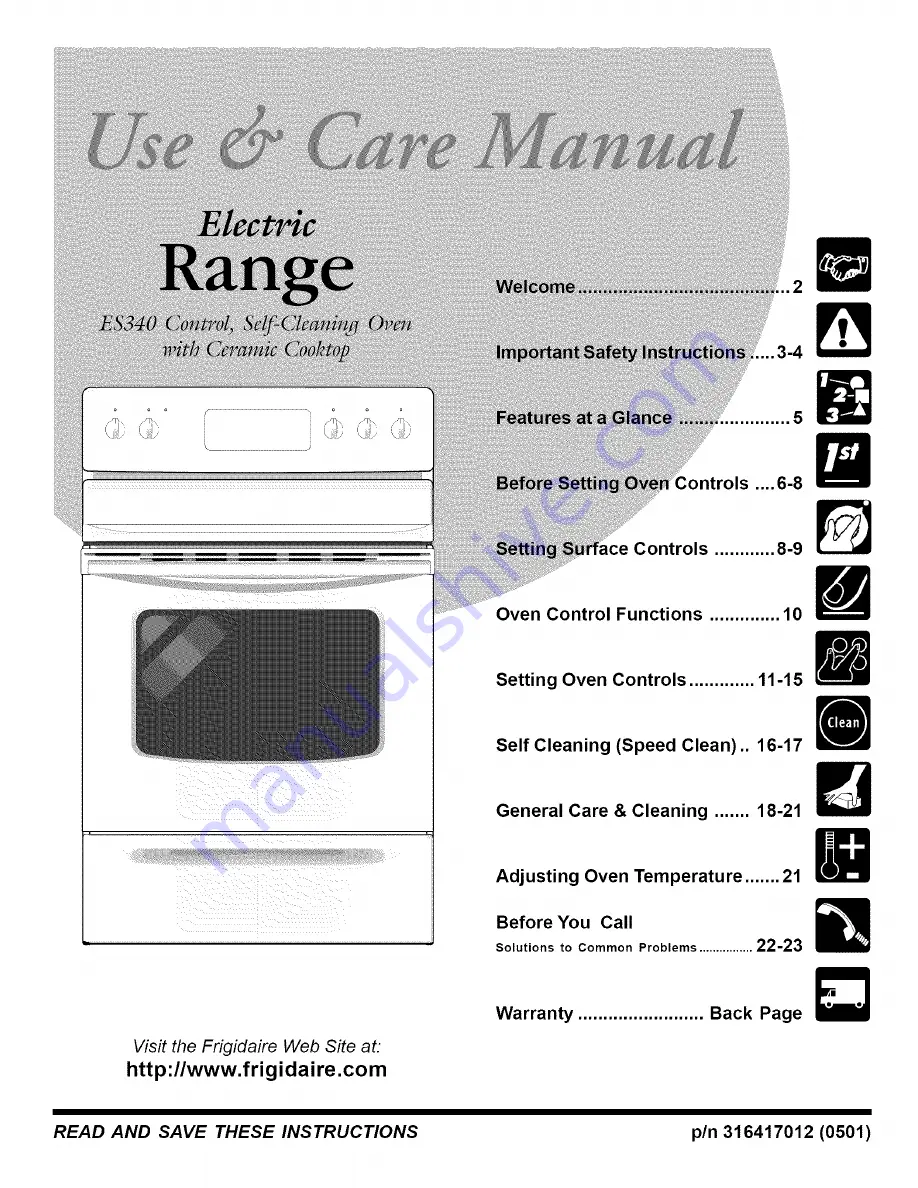
background image

Summary of Contents for FEFL79ECB

Page 1: ...ntrols 8 9 Oven Control Functions 10 Setting Oven Controls 11 15 Self Cleaning Speed Clean 16 17 General Care Cleaning 18 21 Adjusting Oven Temperature 21 Before You Call Solutions to Common Problems 22 23 Warranty Back Page READ AND SAVE THESE INSTRUCTIONS pin 316417012 0501 ...

Page 2: ... meant to cover every possible condition and situation that may occur Common sense and caution must be practiced when installing operating and maintaining any appliance Please record your model and serial numbers below for future reference Model Number Serial Number Purchase Date f Product Registration Register Your Product The self addressed PRODUCT REGISTRATION CARD should be filled in completel...

Page 3: ... or play around the range The weight of a child on an open door may cause the range to tip resulting in serious burns or other injury Ir_r _ Do not store items of interest to children in the cabinets above a range or on the backguard of a range Children climbing on the range to reach items could be seriously injured Do not use the oven or warmer drawer if equipped for storage Never Use Your Applia...

Page 4: ...aution Use potholders and grasp the rack with both hands to reposition Do not let potholders contact the hot heating elements in the oven Remove all utensils from the rack before moving Do not use the broiler pan without its insert The broiler pan and its insert allow dripping fat to drain and be kept away from the high heat of the broiler Do not cover the broiler insert with aluminum foil Exposed...

Page 5: ...ome models 11 Oven Interior Light with removable Cover 12 Automatic Oven Door Light Switch some models 13 Self Cleaning Oven interior 14 Self Clean Door Latch 15 Speed Bake zu Cooking System Fan some models 16 Adjustable Interior Oven Rack s 17 Large 1 piece Oven Door Handle 18 Full width Oven Door with Window 19 Storage Drawer with Integrated Handle some models or lower cover panel some models 20...

Page 6: ...rectly Fig 3 Types of Oven Racks Roasting Shelf Your range may be equipped with one or more of the oven rack types shown Flat Rack Fig 5 and Roasting Shelf Fig 6 some models To maximize cooking space the Roasting Shelf should be used in the lowest rack position to roast large cuts of meat and poultry See Fig 2 Fig 2 Roastin _ Oven Rack Shel Fig 5 Fig 6 Correct Roasting Shelf position Fig 4 Place R...

Page 7: ...n your range the Element On indicator light and the Hot Surface indicator lights See illustration at left 8 7 The Element On indicator lights are located on the control panel above each radiant element control knob and will glow when a surface element is turned ON A quick glance at this indicator light after cooking is an easy check to be sure ALL surface controls are turned OFF The Hot Surface in...

Page 8: ...ace element OFF before removing the cookware INCORRECT g I u Curved and warped pan bottoms U 4_1I_ Pan overhangs element b more than one half inch ii iiiiiiiiii_ _ i ii iii i_7 _iiiiiiiiii i iil il i i _ _ r U 1 I_ Pan is smaller than element lO sire 2 Heavy handle tilts pan Hot Surface OFF hi 3 7 4 6 reed Note The Element On indicator lights will glow when one or more elements are turned ON A qui...

Page 9: ... to heat cold food on the Warming Zone All food placed on the Warming Zone should be covered with a lid or aluminum foil to maintain quality For best results when warming pastries or breads the cover should have an opening to allow moisture to escape Do not use plastic wrap to cover food Plastic may melt onto the surface and be very difficult to clean Use only dishware utensils and cookware recomm...

Page 10: ... when the oven door locks and unlocks or when using the Self Clean cycle or the oven door lockout is activated OVEN LIGHT PAD Used to turn the interior oven light ON or OFF CLEAR OFF PAD Used to clear any function previously entered except the time of day and minute timer Press CLEAR OFF to stop cooking Also the CLEAR OFF pad is used to activate oven door lockout setting Note The OVEN indicat0r li...

Page 11: ...e set time has run out the timer will beep 3 times and will continue to beep 3 times every 60 seconds until _is pressed Note The indicator light located above the_ pad will glow while the minute timer is active Note The minute timer does not start or stop cooking It serves as an extra timer in the kitchen that will beep when the set time has run out The minute timer can be used alone or during any...

Page 12: ...utes The oven can be programmed to override this feature for continuous baking To set control for continuous baking 1 Press and hold down for 5 seconds until tone is heard hr will appear in display for continuous cooking The current time of day will return to the display 2 To cancel the Continuous Bake function press and hold for 5 seconds until tone is heard 12hr will appear in display indicating...

Page 13: ...e the food in the oven 3 Press _ appears in the display 4 Within 5 seconds press the _ or V The display will show 350 F 177 C By holding the _ or V the temperature can then be adjusted in 5 F increments 1 C if the control is set to display Celsius 5 Press 0 00 will flash in the display HR MIN 6 Press the _ or V until the desired baking time appears 7 Press The earliest possible start time will app...

Page 14: ... oven temperature 25 F from recipe s recommended oven temperature Follow the remainder of the recipe s instructions using the minimum recommended cook time When using 2 oven racks at the same time place in positions 2 5 for best results See Fig 2 Note Layer cakes will have better results using the normal Bake feature For Roasting 1 Preheating is not necessary when roasting foods with Speed Bake TM...

Page 15: ...t rack position Medium rare steaks hamburgers 2nd rack position Fish medium steaks pork chops 3rd rack position Well done foods such as chicken lobster Fig 1 some models Fig 3 Fig 2 To insure proper results when broiling use ONLY Electrolux Home Products Inc approved Broil Pan Insert The broiler pan and the insert allows grease to drain and be kept away from the high heat of the broiler DO NOT use...

Page 16: ...ve the broiler pan and insert all utensils and any aluminum foil These items cannot withstand high cleaning temperatures Oven racks do not have to be removed If they are not removed during the Self Clean cycle their color will turn slightly blue and the finish will be dull After the cycle is complete and the oven has cooled rub the sides of the oven racks with wax paper or a cloth containing a sma...

Page 17: ... 15 seconds for the oven door to lock 6 CLn will appear in the display during the Self Clean cycle and the LOCK light will glow until the Self Cleaning cycle is complete or cancelled and the oven temperature has cooled When the Self Clean Cycle has Completed 1 The time of day _r__End__ will appear in the display wind_w and the _lean__and L__K light will c_ntinue t_ gl_w 2 Once the oven has cooled ...

Page 18: ...may occur during heating that cannot be removed Porcelain Enamel Broiler Pan and Insert Door Liner Body Parts Warmer Drawer some models Gentle scouring with a soapy scouring pad will remove most spots Rinse with a 1 1solution of clearwater and ammonia Ifnecessary cover difficult spots with an ammonia soaked paper towel for 30 to 40 minutes Rinse with clean water and a damp cloth and then scrub wit...

Page 19: ...be sure the controls are turned to OFF and the cooktop is COOL DO NOT use a cooktop cleaner on a hot cooktop The fumes can be hazardous to your health and can chemically damage the ceramic glass surface Cleaning Recommendations for the Ceramic Glass Cooktop For light to moderate soil Apply a few drops of the cooktop cleaning creme directly to the cooktop Use a paper towel or a 3M Scotch Brite Blue...

Page 20: ...Open oven door completely horizontal with floor See Fig 1 2 Pullthedoorhingelocksonbothleftandrightdoorhingesdownfromtheovenframe completely towards the oven door See Fig 2 A tool such as a small flat blade screwdriver may be required 3 Firmlygrasp both sides ofoven dooralong the doorsides Do not use the oven door handle See Fig 3 4 Close the doorto the broil stop position the oven doorwill stop i...

Page 21: ...ess parts Refer to the Care Cleaning Table for detailed cleaning instructions Your oven control has been precisely set at the factory This setting may differ from your previous oven however so your recipe times may not give you the results you expect If you think that the oven is cooking too hot or too cool for your recipe times you can adjust the control so that the oven cooks hotter or cooler th...

Page 22: ... tightly Contact builder or installer to make appliance accessible Carpet interferes with range Provide sufficient space so range can be lifted over carpet Electronic control has detected a fault condition Press CLEAR OFF to clear the display and stop beeping Reprogram oven If fault recurs record fault number Press CLEAR OFF and contact an authorized service agent incorrect control setting Make su...

Page 23: ...ot set properly Follow instructions under Self Cleaning Self Cleaning cycle was interrupted Follow steps under Stopping or Interrupting a Self Cleaning Cycle under Self Cleaning Failure to clean bottom front top of oven frame of oven or door area outside oven seal These areas are not in the self cleaning area but get hot enough to burn on residue Clean these areas before the Self Cleaning cycle is...

Page 24: ...se wiring 4 Expenses for making the appliance accessible for servicing such as removal of trim cupboards shelves etc which are not a part of the appliance when it was shipped from the factory 5 Damages to finish after installation 6 Replacement of light bulbs and or fluorescent tubes on models with these features EXCLUSIONS This warranty does not cover the following 1 CONSEQUENTIAL OR INCIDENTAL D...

Reviews: