


Frigidaire.com USA 1-800-374-4432
Frigidaire.ca Canada 1-800-265-8352
use
&
care
FREEZER
A12735807 (March 2022)
Introduction .......................................................2
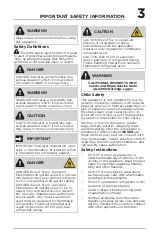
Important Safety information.....................3
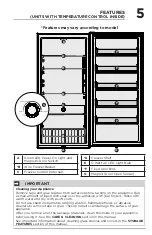
Features (Units with Temperature
Control Inside) ..................................................5
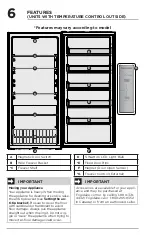
Features (Units with Temperature
Control Outside) ..............................................6
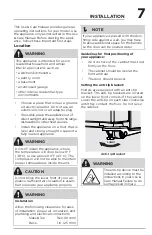
Installation .........................................................7
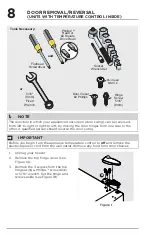
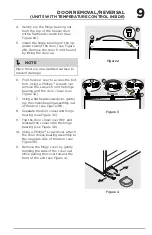
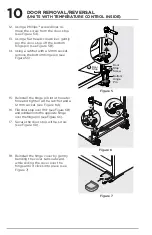
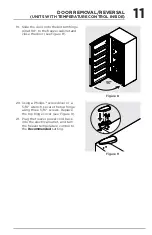
Door Removal/Reversal (Units with
Temperature Control Inside) .......................8
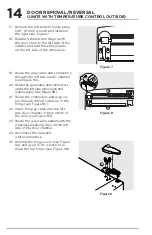
Door Removal/Reversal (Units with
Temperature Control Outside) ................. 12
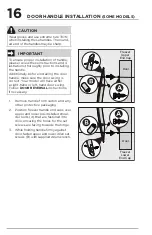
Door Handle Installation (some models) .....16
Controls and Settings (Units with
Temperature Control Inside) ..................... 17
Controls and Settings (Frost-Free Units
with Temperature Control inside) ........... 18
Controls and Settings (Units with
Temperature Control Outside) ................. 19
Storage Features .......................................... 22
Care and Cleaning ....................................... 23
Troubleshooting .......................................... 26
Limited Warranty ......................................... 27