


5
WARNING
This appliance is equipped with a 3-prong grounding
plug for your protection against shock hazard and
should be plugged directly into a properly grounded
receptacle.
DO NOT
cut or remove the grounding
prong from this plug.
WARNING
Personal injury or death from electrical shock may
occur if the range is not installed by a qualifi ed installer
or electrician.
WARNING
Avoid fi re hazard or electrical shock.
DO NOT
use an
adapter plug, an extension cord, or remove grounding
prong from electrical power cord. Failure to follow this
warning can cause serious injury, fi re or death.
IMPORTANT SAFETY INSTRUCTIONS
CONVERSION TO LIQUEFIED PETROLEUM
GAS (OR L.P. GAS)
This natural gas range is designed to allow for conversion
to Liquefi ed Petroleum (L.P.) Gas.
If L.P. conversion is needed, contact the service center
for assistance. The L.P. Conversion Kit is provided with
this cooktop and is located in the literature envelope.
Before installing the kit be sure to follow the L.P.
Installation Instructions carefully.
GROUNDING INSTRUCTIONS
For personal safety, the cooktop must be properly
grounded. For maximum safety, the power cord must be
plugged into an electrical outlet that is correctly polarized
and properly grounded.
DO NOT
operate the cooktop using a 2-prong adapter or
an extension cord. If a 2-prong wall receptacle is the only
available outlet, it is the personal responsibility of the
consumer to have it replaced with a properly grounded
3-prong wall receptacle installed by a qualifi ed electrician.
See the
INSTALLATION INSTRUCTIONS
packaged
with this cooktop for complete installation and grounding
instructions.
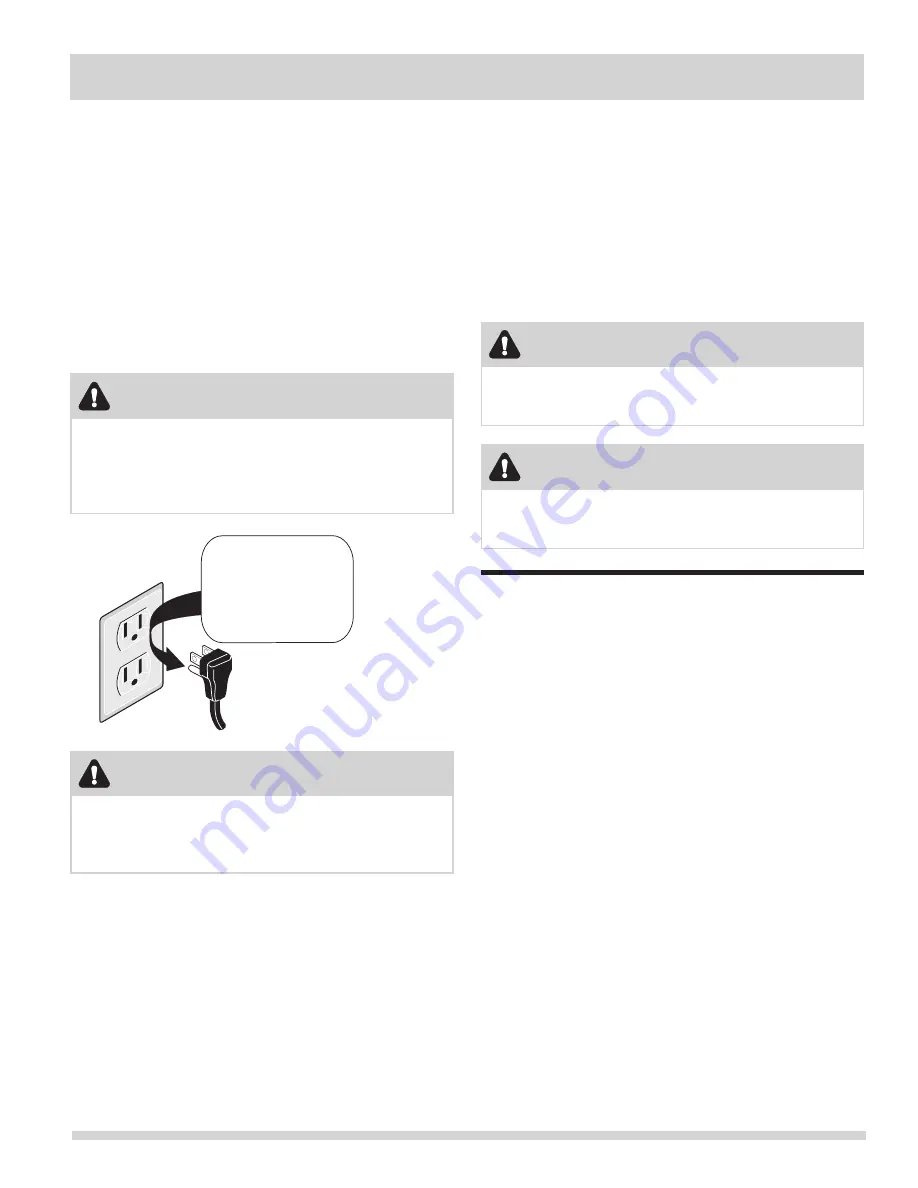
Do not, under any
circumstances,
cut, remove,
or bypass the
grounding prong.
Power supply cord with
3-prong grounding plug
Grounding
type wall
receptacle
CAUTION
Any additions, changes or conversions required in order
for this appliance to satisfactorily meet the application
needs must be made by an authorized Service Center.
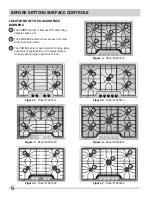
ASSEMBLY OF THE SURFACE BURNER
CAPS AND BURNER GRATES
It is very important to make sure that all of the Surface
Burner Caps and Surface Burner Grates are installed
correctly and at the correct locations.
1
Remove all packing material from cooktop area.
2
Discard all packing material (if applicable).
3
Unpack Burner Grates and position on the cooktop.
REMEMBER —
DO NOT ALLOW SPILLS, FOOD,
CLEANING AGENTS OR ANY OTHER MATERIAL
TO ENTER THE GAS ORIFICE HOLDER OPENING.
Always keep the Burner Caps and Burner Heads in place
whenever the surface burners are in use.


