2
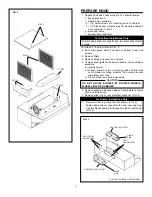
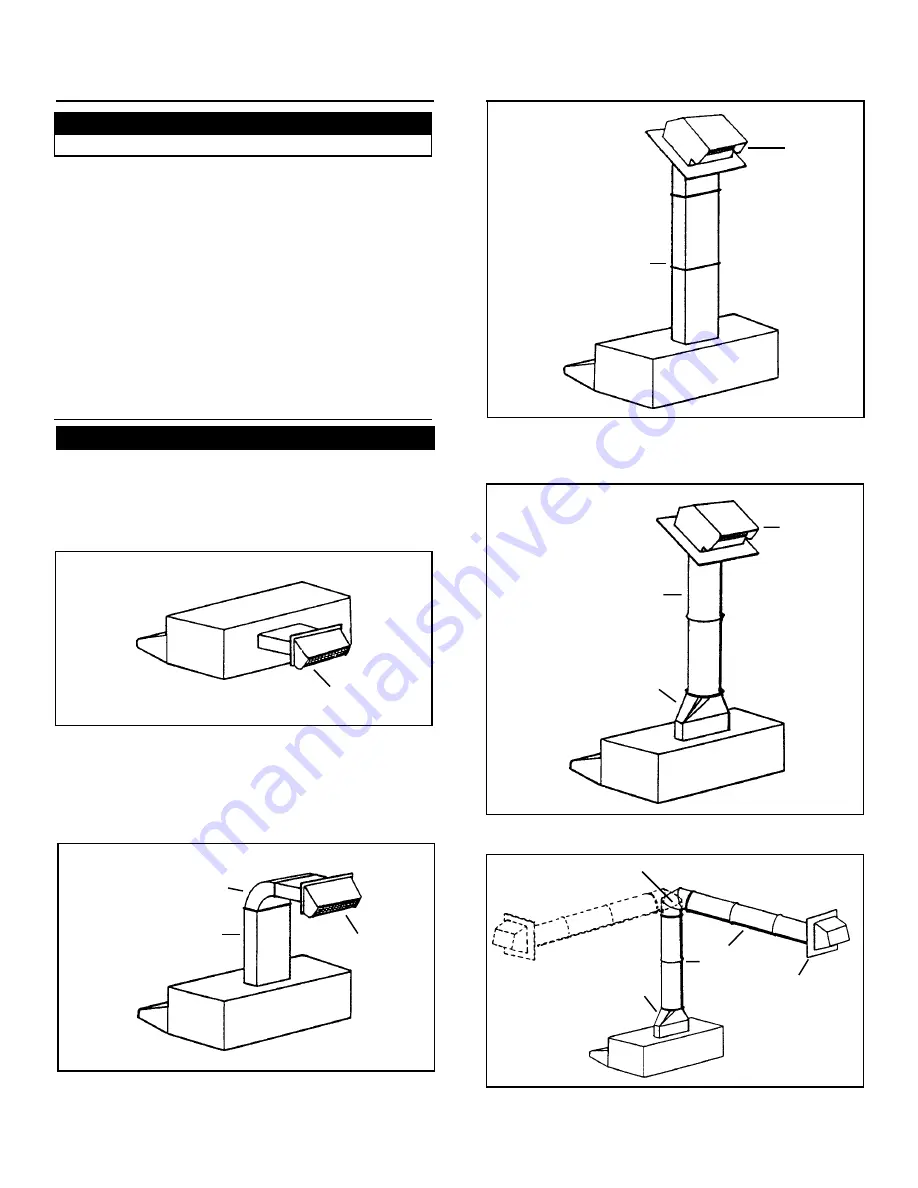
FIG. 1C: Ducting straight up through roof using 3-1/4” x 10”
duct. For single story installations.
FIG. 1D: Straight up through roof using round duct.
FIG. 1E: Ducting between ceiling joists for multi-story
installations or through soffits above cabinets where soffit
connects to outside walls.
FIG. 1D
ROOF CAP
6" ROUND DUCT
3–1/4" X 10" TO 6"
ROUND DUCT
TRANSITION
FIG. 1E
3–1/4" X 10" TO 6"
ROUND DUCT
TRANSITION
6" ROUND
DUCT
WALL CAP
ADJUSTABLE ELBOW
FIG. 1C
FIG. 1A
WALL CAP
3-1/4" X 10" DUCT
FIG. 1B
WALL
CAP
ELBOW
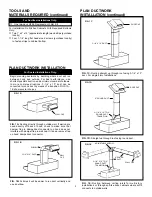
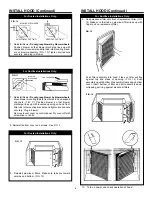
For Ductfree Installations Only:
❏
One two-pack HF88 Replacement Filter Kit
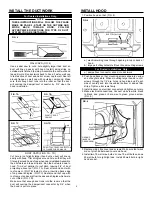
For Installation On Kitchen Cabinets With Recessed Bottoms
Only:
❏
Two 1” x 2” x 12” (approximate length) wood strips (purchase
locally)
❏
Four 1-1/4” long flat head wood screws (purchase locally)
to fasten strips to cabinet bottom
PLAN DUCTWORK INSTALLATION
For Ducted Installations Only:
Begin planning ductwork by deciding where duct will run
between hood and outside. For best performance, use
shortest possible duct run and a minimum number of elbows.
In more complex situations, 3-1/4” x 10” duct can be
converted to round duct by means of a transition. FIGS 1A -
1E show several choices.
FIG. 1A: Ducting directly through outside wall. If wall cap is
used directly off back of hood, check to make sure that
damper flap in damper/duct connector on hood does not
interfere with damper flap in wall cap. If it does, remove flap
on hood damper/duct connector.
FIG. 1B: At times it will be easier to run duct vertically and
use an elbow.
TOOLS AND
MATERIALS REQUIRED (continued)
PLAN DUCTWORK
INSTALLATION (continued)
3-1/4" X 10" DUCT
ROOF CAP


