6
Step One
•
Keep the top of the fireplace at least 3 feet away from the ceiling or other objects for
optimum heat ventilation.
•
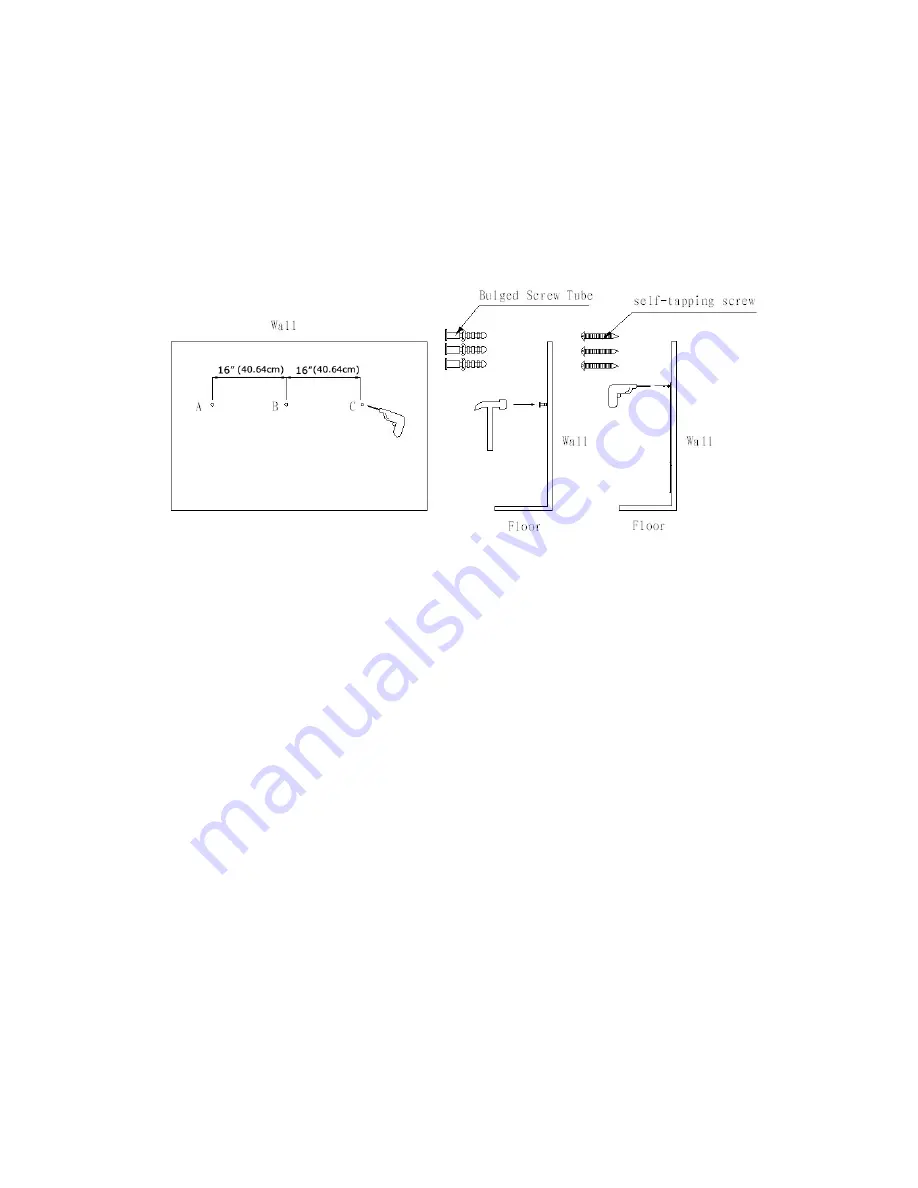
For optimum viewing, place four marks on the wall with respect to the recommended
fixed dimensions for the top screws (see figure below).
•
Note: use a level when marking the positions of the holes to ensure that the bracket is
mounted horizontally.
Step Two
•
Make sure the area to be drilled does not have any hidden electrical wires or water and
gas pipes.
•
The wall fixings provided is for concrete walls only; please use suitable fixings for your
wall type. If in doubt, contact a qualified hardware expert.
•
Place the three bulged screw tubes into the drilled holes and then screw in the self-
tapping screws. Screw the extended wooden screws into the 0.20” screw anchors so
they protrude out of the wall to angle the fireplace. Make sure that the screws are
secured in place.
•
Have 2 people lift the fireplace and hook it onto the mounted bracket.
•
Check the fireplace for stability to see if it is securely mounted.
Instructions for Use
This fireplace can be operated either by the switches located on the right side panel of
the fireplace or the supplied remote control.


