


Record Serial/Model Numbers ………………....2
Important Safety Instructions ……….………….2
First Steps …………………………….……………3
General Operation ………………………………..6
Helpful Hints ………………………….……………7
Energy Saving Tips ..……………..………………8
Beverage Cooler Features ………………………8
Cleaning and Maintenance ……………….……..8
Warranty …………………………………….….…10
Troubleshooting Guide ………………………...11
P/N 2
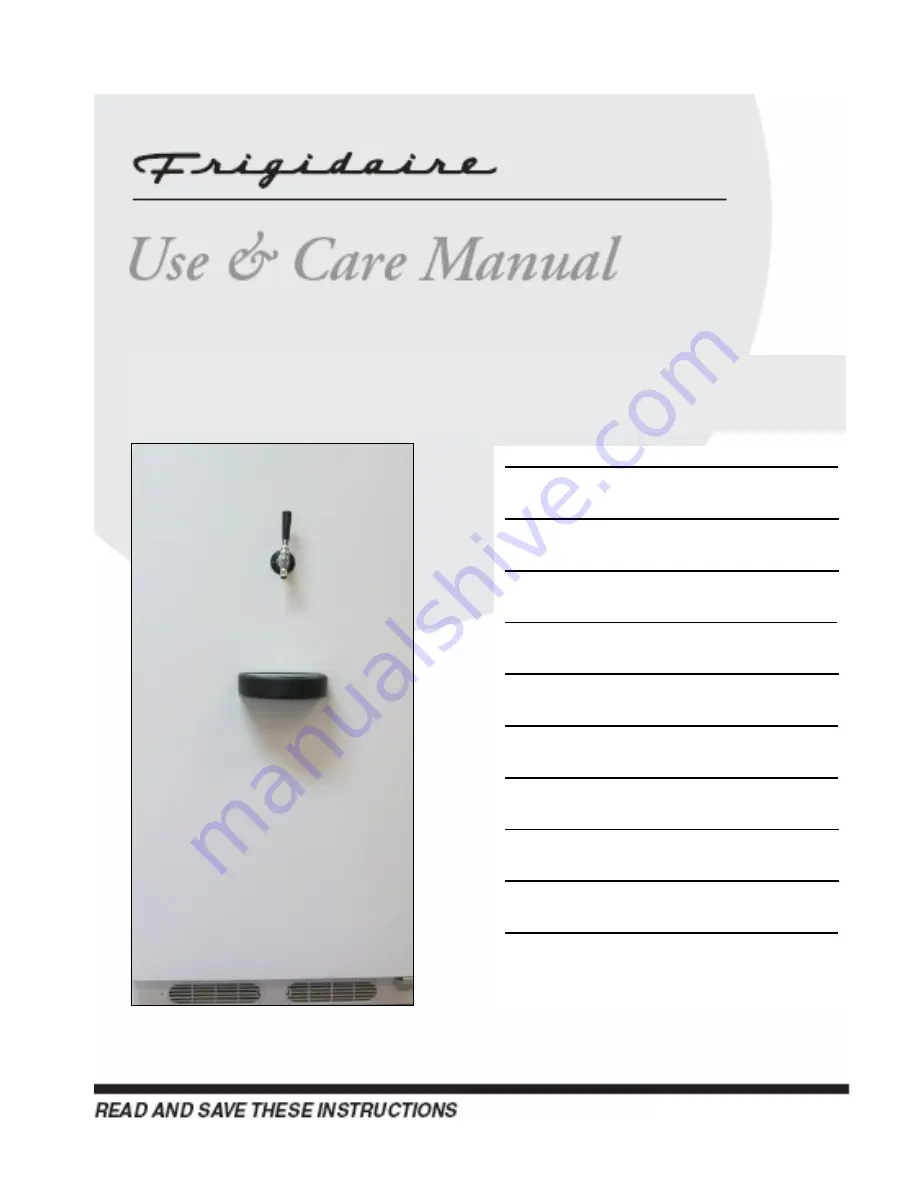
Household Beverage Cooler
97017400 (Oct 2004)


