Service-Manual_artista_630_640_english_V4.01_032069_50_04.doc
25
19
17
20
21
24
25
23
22
14
16
16
13
27
26
EEPROM
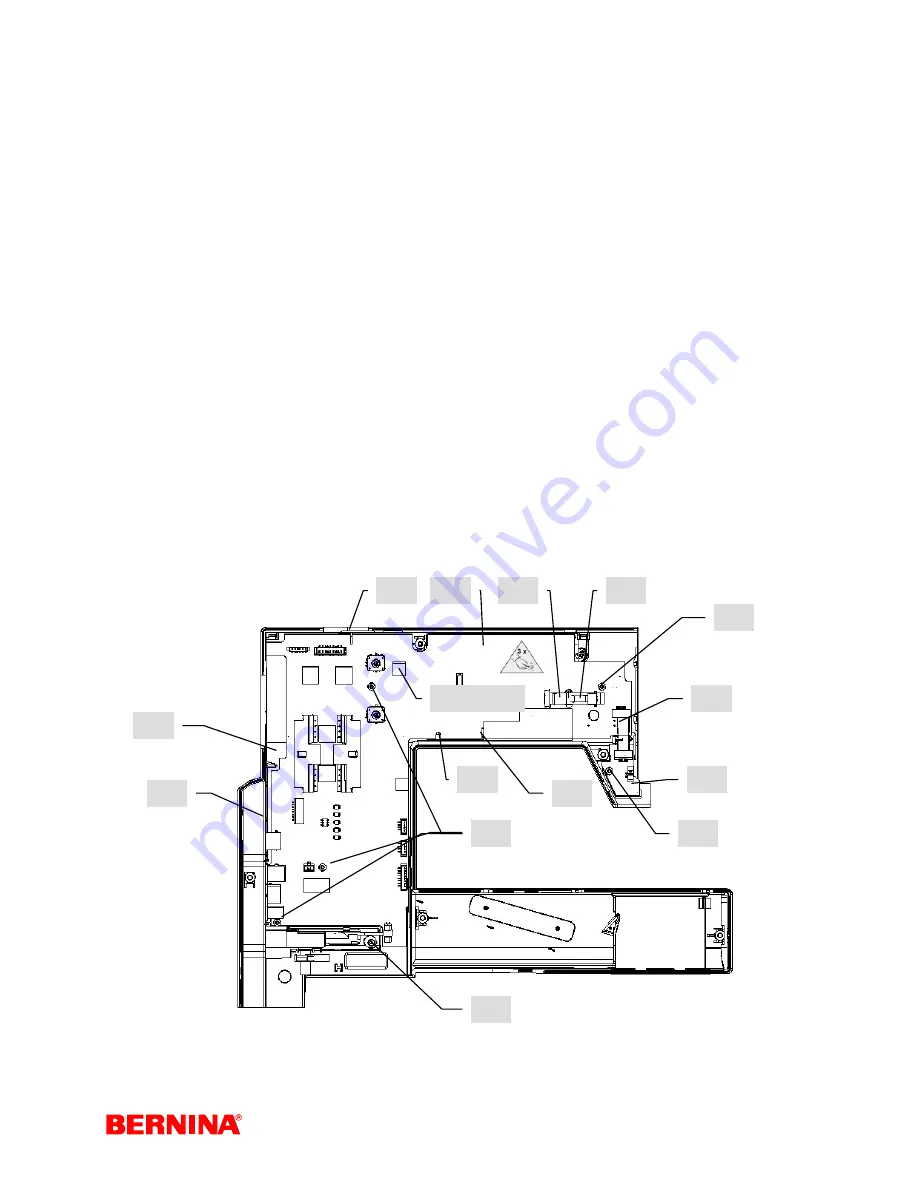
4.7 S-Print, keypads, front panel, RET-Print, touch screen, display and
side cover (plugs)
Disassembly:
1. Remove
covers.
2. Pull adjusting button off speed regulator.
3. Remove
screw
(
17
).
4. Press clip (
19
) down and remove side cover (
20
) to the left.
5. The artista 640 requires disconnection of lower thread indicator cable.
6. Carefully slide down the locking clip to disconnect and remove the cables (
21
) from S-Print (
22
) and
RET-Print (
23
).
7. Remove
screw
(
13
) from RET-Print.
8. Remove
RET-Print
(
23
).
9. Carefully slide down the locking clip to disconnect the ribbon cable (
25
) from the touch screen.
10. Carefully slide down the locking clip to disconnect the ribbon cable (
24
) from the LCD.
11. Disconnect LCD backlighting plug (
27
).
Note:
Pull only on the plug, and not the LCD lighting cable,
because the CFL tube may break.
12. Remove screws (
16
) – 4 screws.
13. To remove, lift S-Print (
22
) from beneath and pull out from under pin (
14
).
14. Guide plug (
27
) out through opening (
26
).
15. Use the special tool (IC extractor) to remove EEPROM from old S-Print. Transfer it directly to new S-
Print. NOTE: Take care to place EEPROM in the correct position and avoid bending the contacts.
16. Remove screws (
15
) – 4 screws – from bridges (
18
). Remove LCD and touch screen. Replace (p. 24)
17. Remove keypad (
4
).
18. Remove the five front cover clips (
3
), remove the front panel and replace.


