128
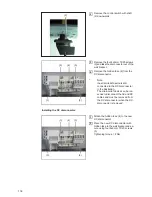
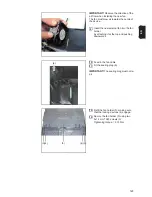
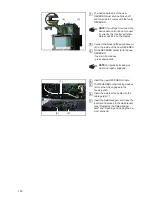
Push the new internal fan onto the plastic expanding rivet and expand the rivet using
the pin.
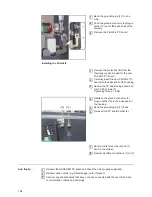
Refit the Molex plug (1)
And finally...
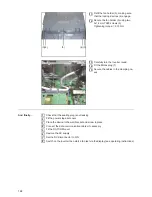
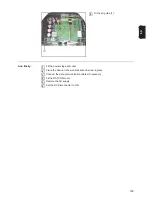
Fit the power stage set cover
Place the device in the wall bracket and screw in place
Connect the data communication cables if necessary
Fit the DATCOM cover
Restore the AC supply
Set the DC disconnector to ON
Switch on the inverter then start a fan test via the display (see operating instructions)
1
2
1
2
3
4
5
6
7
Summary of Contents for Primo 3.0-1
Page 2: ...2 ...
Page 5: ...Allgemeine Informationen ...
Page 6: ......
Page 13: ...Fehler Suchhilfe ...
Page 14: ......
Page 32: ...32 ...
Page 33: ...Komponenten austauschen ...
Page 34: ......
Page 54: ...54 DC Trenner auf ON stellen 6 ...
Page 65: ...Sicherheitstechnische Überprüfung ...
Page 66: ......
Page 78: ...78 ...
Page 81: ...General information ...
Page 82: ......
Page 89: ...Error location aid ...
Page 90: ......
Page 108: ...108 ...
Page 109: ...Changing components ...
Page 110: ......
Page 130: ...130 Set the DC disconnector to ON 6 ...
Page 141: ...Safety Inspections ...
Page 142: ......
Page 154: ...154 ...
Page 155: ...Appendix ...
Page 158: ...158 ...
Page 159: ...159 ...

