Fronius SnapINverter
General
IMPORTANT!
Settings under the "Meter" menu item are only to be made by trained and
qualified personnel!
The service password must be entered in order to access the "Meter" menu item.
Three-phase or single-phase Fronius Smart Meter TS can be used. In both cases, the
selection is made under the "Fronius Smart Meter" item. The Fronius Datamanager auto-
matically identifies the meter type.
A primary meter and several secondary meters can be selected. The primary meter
needs to be configured first before a secondary meter can be selected.
Connecting to the
Fronius Dataman-
ager
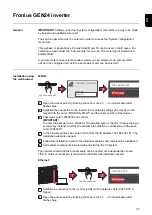
Access point:
5
Connect to the
Fronius_240.XXXXXX
network.
6
In the browser address bar, enter and confirm the IP address
and confirm.
The Fronius Datamanager start page is displayed.
LAN:
1
Connect the Fronius Datamanager and computer to a LAN cable.
2
Place the Fronius Datamanager IP switch in the 'A' position.
3
In the browser address bar, enter and confirm the IP address
and confirm.
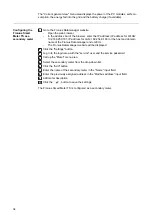
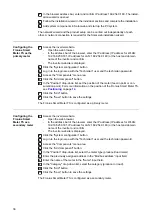
Configuring the
Fronius Smart
Meter TS as the
primary meter
1
Go to the Fronius Datamanager website.
-
Open the web browser.
-
In the address bar of the browser, enter the IP address (IP address for WLAN:
192.168.250.181, IP address for LAN: 169.254.0.180) or the host and domain
name of the Fronius Datamanager and confirm.
-
The Fronius Datamanager website will be displayed.
2
Click the "Settings" button.
3
Log in to the login area with the "service" user and the service password.
4
Call up the "Meter" menu area.
5
Select the primary meter from the drop-down list.
6
Click the "Settings" button.
7
In the pop-up window, set the position of the meter (feed-in point or consumption
point). For more information on the position of the Fronius Smart Meter TS, see
on page
.
8
Click the "Ok" button when the OK status is displayed. If the
Timeout
status is dis-
played, try again.
9
Click the
button to save the settings.
The Fronius Smart Meter TS is configured as a primary meter.
33
EN
Summary of Contents for Smart Meter TS 5kA-3
Page 2: ......
Page 4: ...4 ...
Page 5: ...Safety rules 5 ...
Page 6: ...6 ...
Page 10: ...10 ...
Page 11: ...General information 11 ...
Page 12: ...12 ...
Page 15: ...Installation 15 ...
Page 16: ...16 ...
Page 19: ...1N1E 3 2E 1 3 3 2E 1 3 3 3E 19 EN ...
Page 30: ...30 ...
Page 31: ...Start up 31 ...
Page 32: ...32 ...
Page 41: ...41 EN ...
Page 42: ...42 ...
Page 43: ...43 EN ...


