12
Controls and connections
WARNING!
Operating the equipment incorrectly can cause serious injury and
damage. You should not use the functions described until you have thoroughly
read and understood the following documents:
-
These operating instructions
-
all operating instructions for the system components, especially the
“Safety rules”
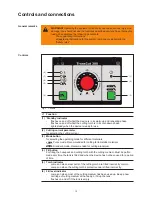
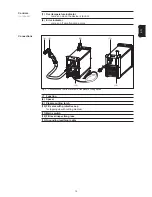
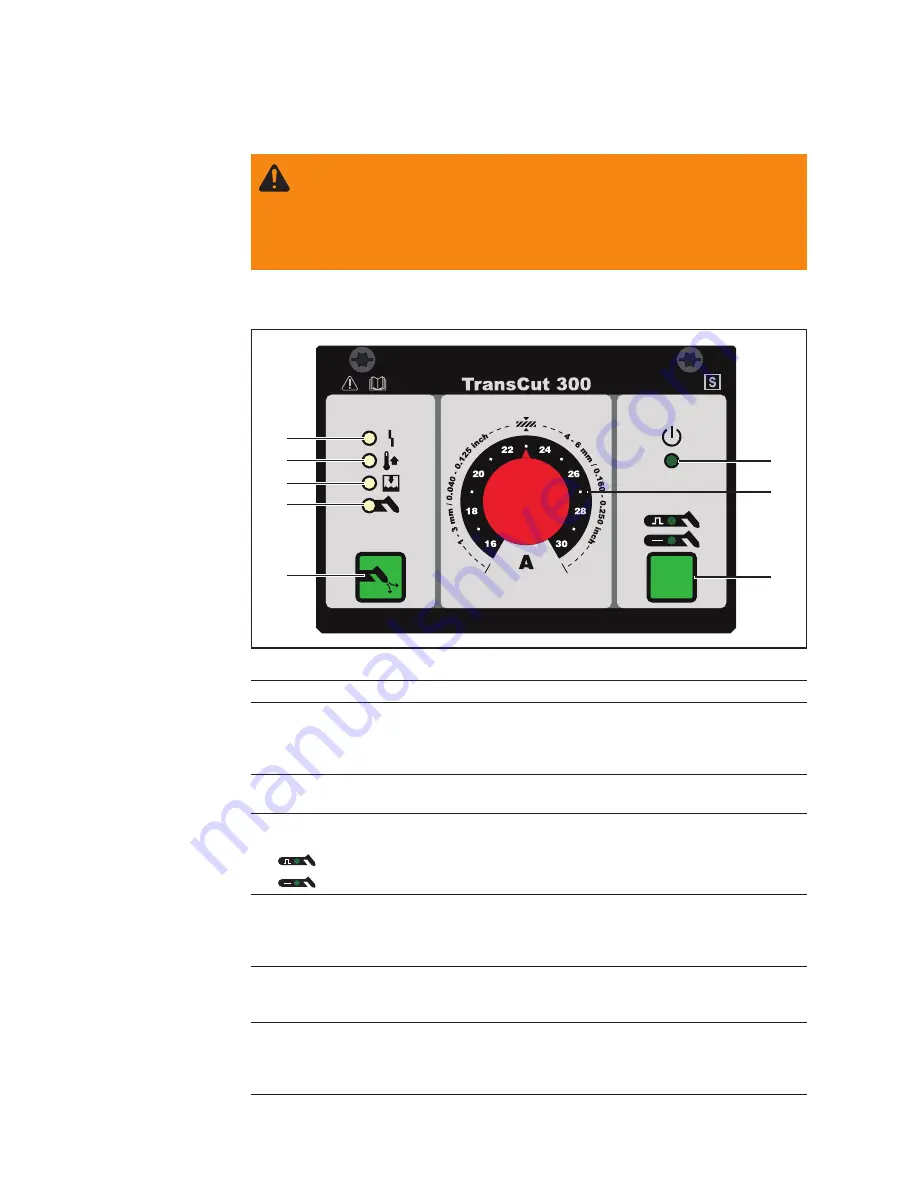
n° Function
(1) ‘Standby’ indicator
-
flashes on and off whilst the device is in its warm-up and reheating phase
-
flashes on and off whilst the cutting torch is in its cool-down phase
-
lights steady when the device is ready for use
(2) Cutting current parameter
for selecting the cutting current
(3) Mode button
for selecting the operating mode for different materials
Pulse mode. Recommended for cutting ferrometallic materials
Standard mode. Recommended for cutting aluminium
(4) Fill button
For filling the hosepack and cutting torch with the cutting medium. Must be perfor-
med every time the tank is filled and when the device has not been used for a period
of time.
(5) Torch indicator
-
comes on when wear parts of the cutting torch are fitted incorrectly or worn
-
comes on when the cutting torch’s protective cap is fitted incorrectly
(6) Fill level indicator
-
comes on when most of the cutting medium has been used up. Keep a new
cartridge of cutting medium at the ready, or fill up the tank.
-
flashes on and off if the tank is empty
General remarks
Controls
(8)
(7)
(6)
(4)
(1)
(3)
(2)
Fig. 2 Controls
(5)
Summary of Contents for TransCut 300
Page 2: ......
Page 4: ......
Page 14: ...10 ...
Page 28: ...24 ...
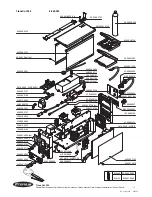
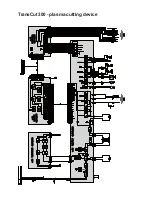
Page 31: ...TransCut 300 plasma cutting device ...
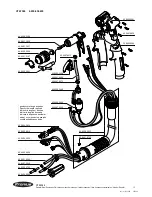
Page 32: ...TransCut 300 cutting torch ...


