


87
EN
The control panel is now in the setup menu - the last setup parameter that was selected is
displayed.
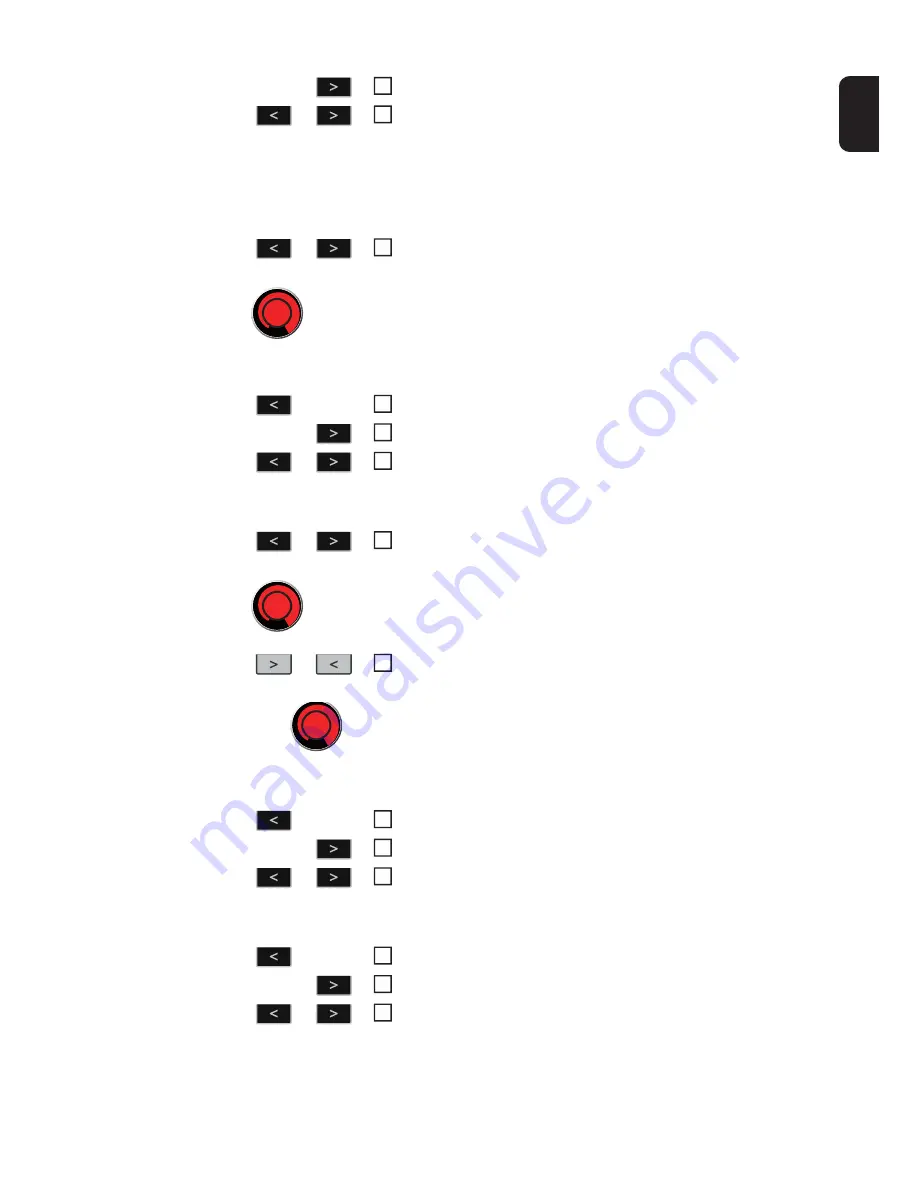
Selecting the "2nd" parameter
Accessing the Level 2 setup menu
Changing welding parameters
Exiting the Level 2 setup menu
Exiting the setup menu
Press the "Process" button
Release the "Mode" and "Process" buttons
Use the "Mode" and "Process" buttons or the left-hand adjusting
dial to select the "2nd" setup parameter
2
3
4
Press and hold the "Mode" button
Press the "Process" button
Release the "Mode" and "Process" buttons
Use the "Mode" and "Process" buttons or the left-hand adjusting
dial to select the required setup parameter
5
6
7
8
Use the "Parameter selection" buttons or the right-hand adjusting
dial to change the value of the setup parameter
9
Press and hold the "Mode" button
Press the "Process" button
Release the "Mode" and "Process" buttons
Press and hold the "Mode" button
Press the "Process" button
Release the "Mode" and "Process" buttons
10
11
12
13
14
15
Summary of Contents for VR 5000 noSpool
Page 2: ...2...
Page 4: ...4...
Page 19: ...General information...
Page 20: ......
Page 25: ...Control elements and connections...
Page 26: ......
Page 41: ...Installation and commissioning...
Page 42: ......
Page 51: ...51 EN 1 2 1 2...
Page 58: ...58...
Page 59: ...Welding...
Page 60: ......
Page 76: ...76 Number 3 Number 4 Number 5...
Page 77: ...Setup settings...
Page 78: ......
Page 92: ...92...
Page 93: ...Troubleshooting and maintenance...
Page 94: ......
Page 105: ...Technical data and settings tables...
Page 106: ......
Page 123: ...Appendix...
Page 125: ...125...
Page 127: ...127 8 8 8 8 5 5 5 Motor Plate Alu 4R s Connector Motor...
Page 128: ...128...
Page 129: ...129...
Page 130: ...130...
Page 131: ...131...


