background image

Safety rules

Explanation of
safety notices

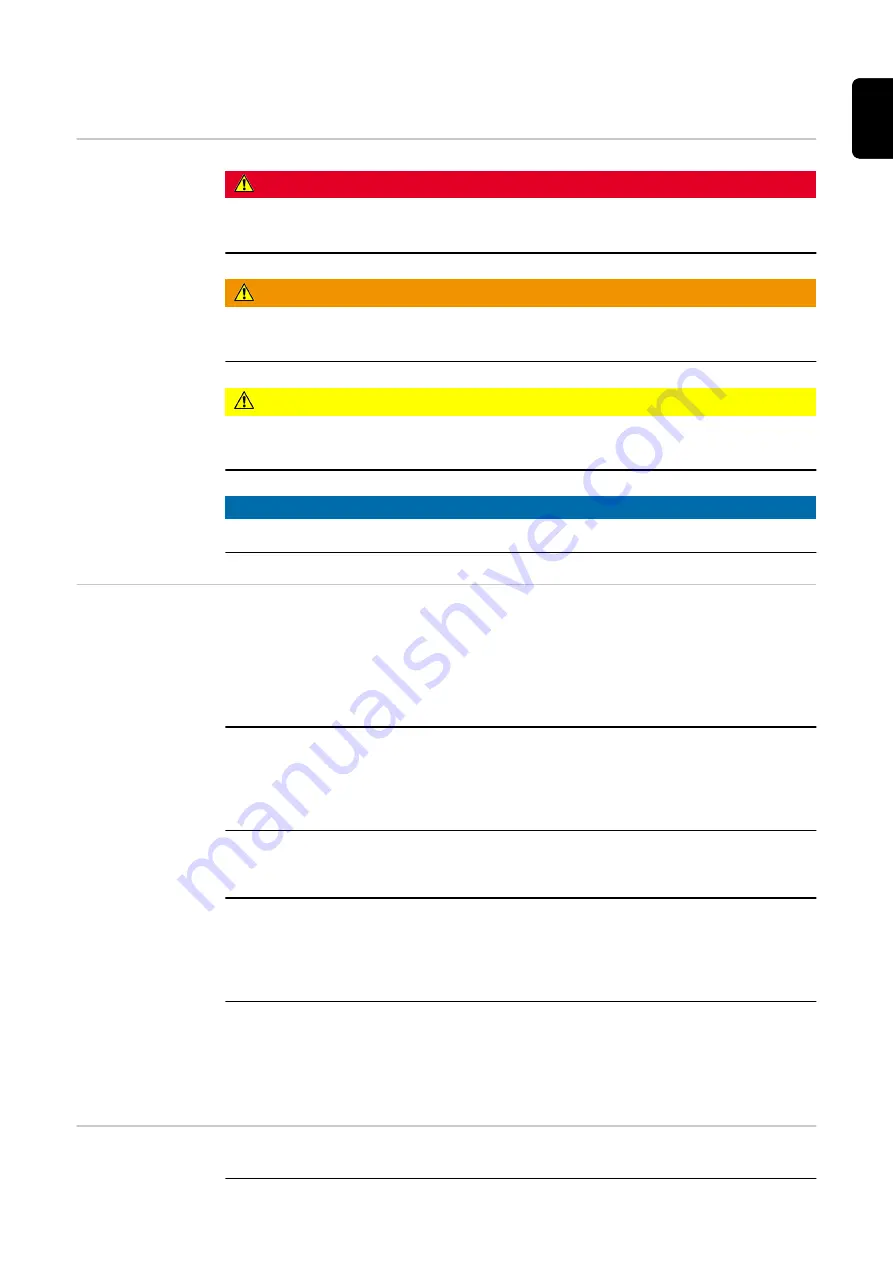
DANGER!

Indicates immediate danger.

If not avoided, death or serious injury will result.

WARNING!

Indicates a potentially hazardous situation.

If not avoided, death or serious injury may result.

CAUTION!

Indicates a situation where damage or injury could occur.

If not avoided, minor injury and/or damage to property may result.

NOTE!

Indicates a risk of flawed results and possible damage to the equipment.

General

The device is manufactured using state-of-the-art technology and according to recog-
nised safety standards. If used incorrectly or misused, however, it can cause:
-

injury or death to the operator or a third party,

-

damage to the device and other material assets belonging to the operating com-
pany,

-

inefficient operation of the device.

All persons involved in commissioning, operating, maintaining and servicing the device
must:
-

be suitably qualified,

-

have sufficient knowledge of welding and

-

read and follow these operating instructions carefully.

The operating instructions must always be at hand wherever the device is being used. In
addition to the operating instructions, attention must also be paid to any generally applic-
able and local regulations regarding accident prevention and environmental protection.

All safety and danger notices on the device
-

must be in a legible state,

-

must not be damaged,

-

must not be removed,

-

must not be covered, pasted or painted over.

For the location of the safety and danger notices on the device, refer to the section
headed "General" in the operating instructions for the device.
Before switching on the device, rectify any faults that could compromise safety.

This is for your personal safety!

Proper use

The device is to be used exclusively for its intended purpose.

5

EN

Summary of Contents for WF 25i REEL R /SA/2R/G/W

Page 1: ...lemental chlorine free paper ECF sourced from certified sustainable forests FSC Perfect Charging Perfect Welding Solar Energy WF 25i REEL R SA 2R G W EN Operating instructions Wire feed unit 42 0426 0...

Page 2: ......

Page 3: ...n 14 Disposal 15 Safety symbols 15 Data protection 15 Copyright 15 General 16 Safety 16 Device concept 16 Application area 16 Proper use 16 Application example 17 Warning notices on the device 17 Desc...

Page 4: ...Disposal 34 Troubleshooting 35 General 35 Safety 35 LED indicators in the event of a fault 35 Fault diagnosis 36 Technical data 38 WF 25i REEL R SA 2R G W 38 4...

Page 5: ...evice All persons involved in commissioning operating maintaining and servicing the device must be suitably qualified have sufficient knowledge of welding and read and follow these operating instructi...

Page 6: ...storage 20 C to 55 C 4 F to 131 F Relative humidity up to 50 at 40 C 104 F up to 90 at 20 C 68 F The surrounding air must be free from dust acids corrosive gases or substances etc Can be used at alti...

Page 7: ...no turn ups Protective clothing refers to a variety of different items Operators should Protect eyes and face from UV rays heat and sparks using a protective visor and regulation filter Wear regulatio...

Page 8: ...supply if no welding is taking place Danger from fly ing sparks Flying sparks may cause fires or explosions Never weld close to flammable materials Flammable materials must be at least 11 metres 36 f...

Page 9: ...ins supply with ground conductor and a connector system with ground conductor contact for proper operation Operation of the device on a mains supply without ground conductor and on a socket without gr...

Page 10: ...though a device complies with the standard limit values for emis sions it may affect the application area for which it was designed e g when there is sensitive equipment at the same location or if th...

Page 11: ...wire feed unit and wear suitable protective goggles Never touch the workpiece during or after welding risk of burns Slag can jump off cooling workpieces The specified protective equipment must theref...

Page 12: ...tent 25 mg m Use filters if necessary Danger from shielding gas cyl inders Shielding gas cylinders contain gas under pressure and can explode if damaged As the shielding gas cylinders are part of the...

Page 13: ...there is an all round clearance of 0 5 m 1 ft 7 69 in to ensure that cooling air can flow in and out freely When transporting the device observe the relevant national and local guidelines and accident...

Page 14: ...to guarantee that bought in parts are designed and manufactured to meet the demands made of them or that they satisfy safety requirements Use only original spare and wearing parts also applies to sta...

Page 15: ...onius International GmbH hereby declares that the device is compliant with Directive 2014 53 EU The full text on the EU Declaration of Conformity can be found at the follow ing address http www froniu...

Page 16: ...with the power source in the welding system its purpose is to ensure constant and precision wirefeeding over large wirefeeding distances between the welding wire drum and the robot wire feed unit The...

Page 17: ...t control 12 Robot wire feed unit 5 Welding wire drum 13 Torch hosepack 6 Wirefeeding hose to the unreeling wire feed unit 14 CrashBox 7 Unreeling wire feed unit 15 Robot welding torch 8 Mains cable W...

Page 18: ...Anyone performing automated welding must be sufficiently qualified Suitable protective equipment must be used All persons not involved must be kept at a safe distance from the wire feed unit and the w...

Page 19: ...Wear eye protection 19 EN...

Page 20: ...operation Keep hands and metal objects away 1 Electric shock can kill 1 1 Wear dry insulating gloves Do not touch electrode with bare hand Do not wear wet or damaged gloves 1 2 Protect yourself from...

Page 21: ...d on drums or any closed containers 4 Arc rays can burn eyes and injure skin 4 1 Wear hat and safety glasses Use ear protection and button shirt collar Use welding helmet with correct shade of filter...

Page 22: ...ed and qualified personnel Fully read and understand this document Fully read and understand all the Operating Instructions for the system components especially the safety rules Controls connec tions...

Page 23: ...eed outfeed tube Wire infeed underside Wire outfeed top 14 M20 thread for connecting QuickConnect option Control panel Mode Start 1 2 3 4 5 6 Gas test wire threading control panel No Function 1 Mains...

Page 24: ...raction NOTE Do not allow long lengths of wire electrode to be retracted as the wire electrode is not wound onto the wirespool or the welding wire drum when retracted 6 Wire threading button to thread...

Page 25: ...all system components are disconnected from the mains The unreeling wire feed unit is designed exclusively to be fitted vertically on the following mounts WF Mounting WALL 4 100 846 WF Mounting Drum...

Page 26: ...he feed rollers are not installed in the device when it is first delivered In order to achieve optimum wire electrode feed the feed rollers must be suitable for the diameter and alloy of the wire bein...

Page 27: ...3 4 5 27 EN...

Page 28: ...oses over sharp edges Use hose holders or hose protectors where necessary Coupling pieces and hoods for welding wire drums are recommended to ensure safe transport of the wire electrode Safety CAUTION...

Page 29: ...s the Wire threading button is kept pressed and the wire threading LED flashes green Feed the wire electrode into the wirefeeding hose between the unreeling wirefeeder and the robot wirefeeder until t...

Page 30: ...AlMg 3 5 Al AlSi 2 4 Tubular cored elec trodes 3 5 30...

Page 31: ...ecessary observe the following points 1 Disconnect the wirefeeding hose between the unreeling wirefeeder and the robot wirefeeder at the robot wirefeeder 2 Thread the wire electrode in at the unreelin...

Page 32: ...ing wirefeeder is not yet ready for use or the SR63 PC board is starting up or the UI AVR PC board is in the process of being updated The unreeling wirefeeder is in threading mode Threading mode The L...

Page 33: ...nal start is possible with the OPT i WF ext start signal option fitted torque mode must first be selected on the wirefeeder by pressing the Mode button Feedback signal from the unreeling wirefeeder to...

Page 34: ...only be carried out by trained and qualified personnel All instructions in the section headed Safety rules must be observed Every start up Check torch hosepack interconnecting hosepack and ground ear...

Page 35: ...the wire feed unit operating instructions WARNING An electric shock can be fatal Before opening the unit Turn the mains switch to the O position Unplug the device from the mains Put up an easy to und...

Page 36: ...QuickConnect WireBrake option was closed while determining the rotor position The signal can be reset using the OFF ON switches on the device Another attempt is made to determine the rotor position Fa...

Page 37: ...ng torch Remedy Check the inner liner for kinks dirt etc Cause The feed rollers are not suitable for the wire electrode being used Remedy Use suitable feed rollers Cause Feed rollers have the wrong co...

Page 38: ...ent input 1 7 0 7 A Fuse 3 15 A slow blow Fault current protection device Type A Wire feed speed 1 25 m min 39 37 984 3 ipm Wire drive 2 roller drive Wire diameter 0 8 1 6 mm 0 03 0 06 in Degree of pr...

Page 39: ...39 EN...

Page 40: ...INTERNATIONAL GMBH Froniusstra e 1 A 4643 Pettenbach AUSTRIA contact fronius com www fronius com Under www fronius com contact you will find the addresses of all Fronius Sales Service Partners and lo...

Reviews: