background image

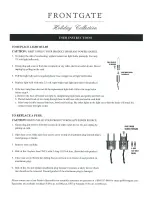
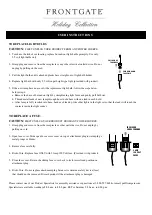
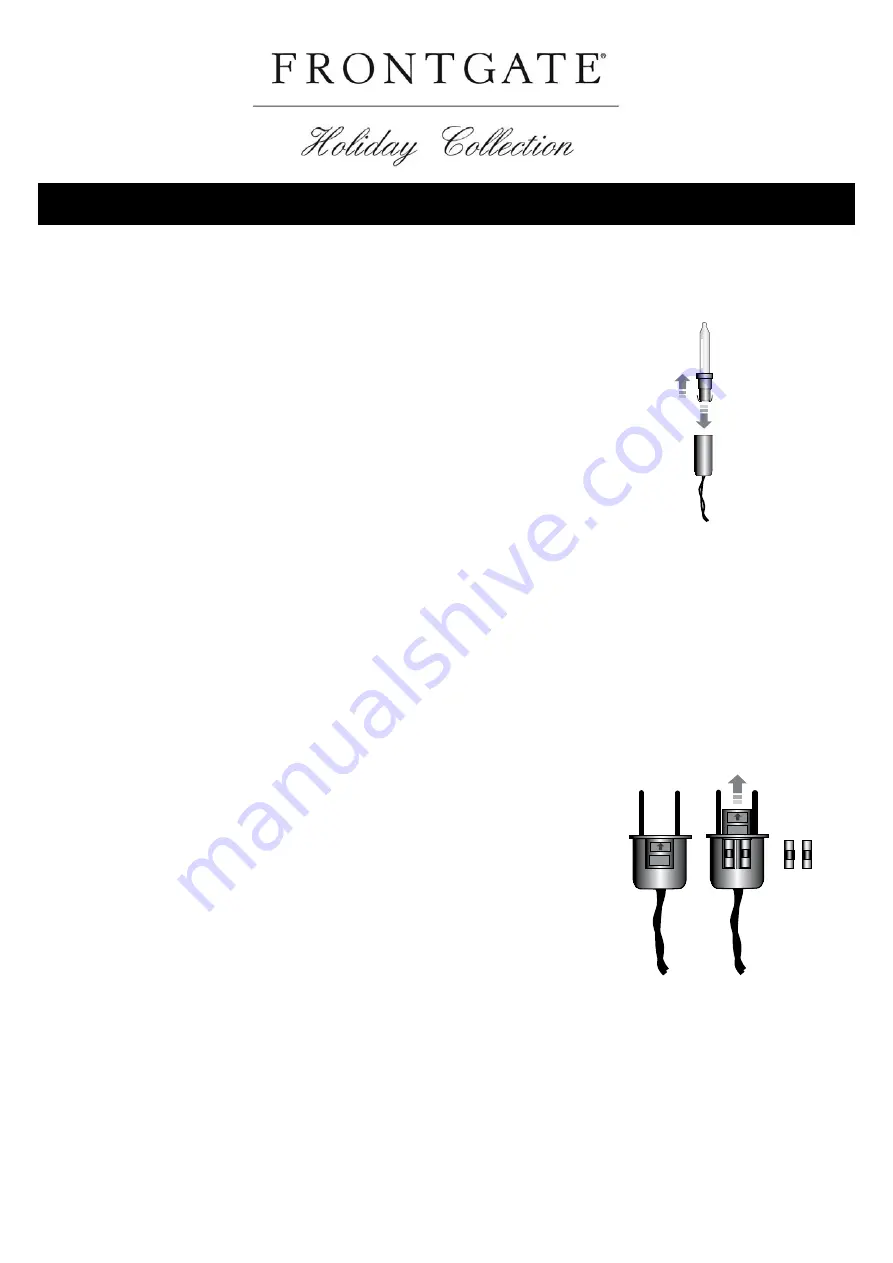
TO REPLACE LIGHT BULBS

CAUTION:

  FIRST UNPLUG YOUR PRODUCT FROM ANY POWER SOURCE.

1. To reduce the risk of overheating, replace burned-out light bulbs promptly. Use only

2.5 volt light bulbs only.

2. Grasp plug and remove from the receptacle or any other electrical outlet device. Do not 

unplug by pulling on the cord.

3. Pull the light bulb and its attached plastic base straight out of light bulb holder.

4. Replace light bulb with only 2.5 volt super bright type light (provided with product).

5.  

If the new lamp base does not fit the replacement light bulb, follow the steps below 


before step 4.

a. Remove the base of burned out light by straightening light leads and gently pull bulb out.

b. Thread metal leads of new lamp through hose in old base with one lead in each hold.

c. After lamp is fully inserted into base, bend each lead up, like other lights in the light set so that the leads will touch the 

    contacts inside the light socket.

TO REPLACE A FUSE:
CAUTION:

 FIRST UNPLUG YOUR PRODUCT FROM ANY POWER SOURCE.

1. Grasp plug and remove from the receptacle or other outlet device. Do not unplug by    

pulling on cord.

2. Open fuse cover. Slide open fuse access cover on top of attachment plug towards plug’s 

metal prongs or blades.

3. Remove fuse carefully.

4.  

Risk of fire. Replace fuse ON

LY with 3 Amp 120 Volt fuse. (Provided with product).

5. Close fuse cover. Return the sliding fuse cover back to its former closed position on 

attachment plug.

6.  

Risk of fire. Do not replace attachment plug because it contains a safety device (fuse) 


that should not be removed. Discard product if the attachment plug is damaged

Please contact one of our Product Specialists for assembly assistance or questions at 1-800-537-8484 or email ps@frontgate.com.

Specialists are available weekdays 8:00 a.m. to 8:00 p.m. EST or Saturday 9:30 a.m. to 6:00 p.m.

OPEN

OPEN

FUSE COVER
SLIDES FORWARD

3 AMP
120 VOLT
FUSES

PULL BULB UP

 TO REMOVE

PUSH BULB DOWN
TO REPLACE

USER INSTRUCTIONS

Summary of Contents for 141267 MUL

Page 1: ......

Page 2: ......

Page 3: ......

Page 4: ......

Page 5: ......

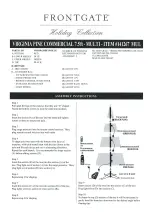
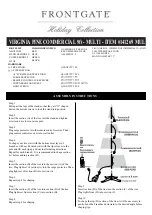
Page 6: ...VIRGINIAPINECOMMERCIAL9ft MULTI ITEM 141269MUL ...

Page 7: ...f section B into section A Step 6 Repeat step 4 for shaping Step 7 Insert the section C of the tree into section B of the tree Plug lights set from section C into section B Step 8 Repeat step 4 for shaping Step 9 Insert section D of the tree into the section C of the tree Plug lights from D into section C Step 10 To shape the top D section of the tree it will be necessary to gently bend the branch...

Page 8: ...hat a blown fuse indicates an electrical overload or electrical short circuit If the fuse is blown unplug surge protector from outlet Also unplug any additional strings or products may be attached to the surge protector Replace the fuse following manufacturer instructions with proper fuse rating If the replacement fuse blows a short circuit may be present and the product should be discarded c Chec...

Page 9: ... if left unattended 7 This is an electrical product not a toy To avoid risk of fire burns personal injury and electric shock it should not be played with or placed where small children can reach it 8 Do not use this product for other than its intended use 9 Do not hang ornaments or other objects from cord wire or light string 10 Do not close doors or windows on the product or extensions cords as th...

Page 10: ...at the leads will touch the contacts inside the light socket TO REPLACE A FUSE CAUTION FIRST UNPLUG YOUR PRODUCT FROM ANY POWER SOURCE 1 Grasp plug and remove from the receptacle or other outlet device Do not unplug by pulling on cord 2 Open fuse cover Slide open fuse access cover on top of attachment plug towards plug s metal prongs or blades 3 Remove fuse carefully 4 Risk of fire Replace fuse ONL...

Page 11: ...VIRGINIAPINECOMMERCIAL10ft MULTI ITEM 141270A BMUL ...

Page 12: ...ction B into section A Step 6 Repeat step 4 for shaping Step 7 Insert the section C of the tree into section B of the tree Plug lights set from section C into section B Step 8 Repeat step 4 for shaping Step 9 Insert section D of the tree into the section C of the tree Plug lights from D into section C Step 10 To shape the top D section of the tree it will be necessary to gently bend the branches d...

Page 13: ...hat a blown fuse indicates an electrical overload or electrical short circuit If the fuse is blown unplug surge protector from outlet Also unplug any additional strings or products may be attached to the surge protector Replace the fuse following manufacturer instructions with proper fuse rating If the replacement fuse blows a short circuit may be present and the product should be discarded c Chec...

Page 14: ... if left unattended 7 This is an electrical product not a toy To avoid risk of fire burns personal injury and electric shock it should not be played with or placed where small children can reach it 8 Do not use this product for other than its intended use 9 Do not hang ornaments or other objects from cord wire or light string 10 Do not close doors or windows on the product or extensions cords as th...

Page 15: ...at the leads will touch the contacts inside the light socket TO REPLACE A FUSE CAUTION FIRST UNPLUG YOUR PRODUCT FROM ANY POWER SOURCE 1 Grasp plug and remove from the receptacle or other outlet device Do not unplug by pulling on cord 2 Open fuse cover Slide open fuse access cover on top of attachment plug towards plug s metal prongs or blades 3 Remove fuse carefully 4 Risk of fire Replace fuse ONL...

Reviews: