


61247 / 9 ft. Royal Spruce Pro Shape Tree
Page 3
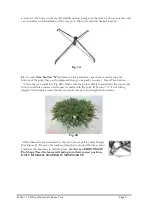
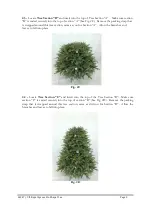
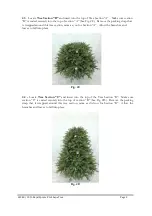
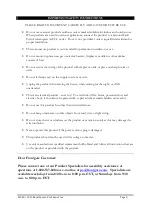
2.3 -
Locate
Tree Section “B”
and insert into the top of Tree Section “A”. Make sure section
“B” is seated securely into the top of section “A” (See Fig. 2C). Remove the packing strap that
is wrapped around this tree section, same as you for Section “A”. Allow the branches and
leaves to fall into place.
Fig. 2C
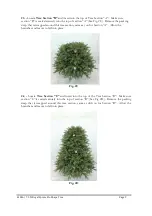
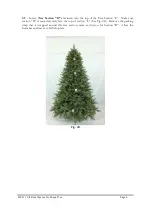
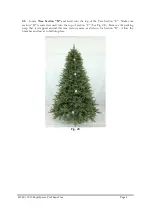
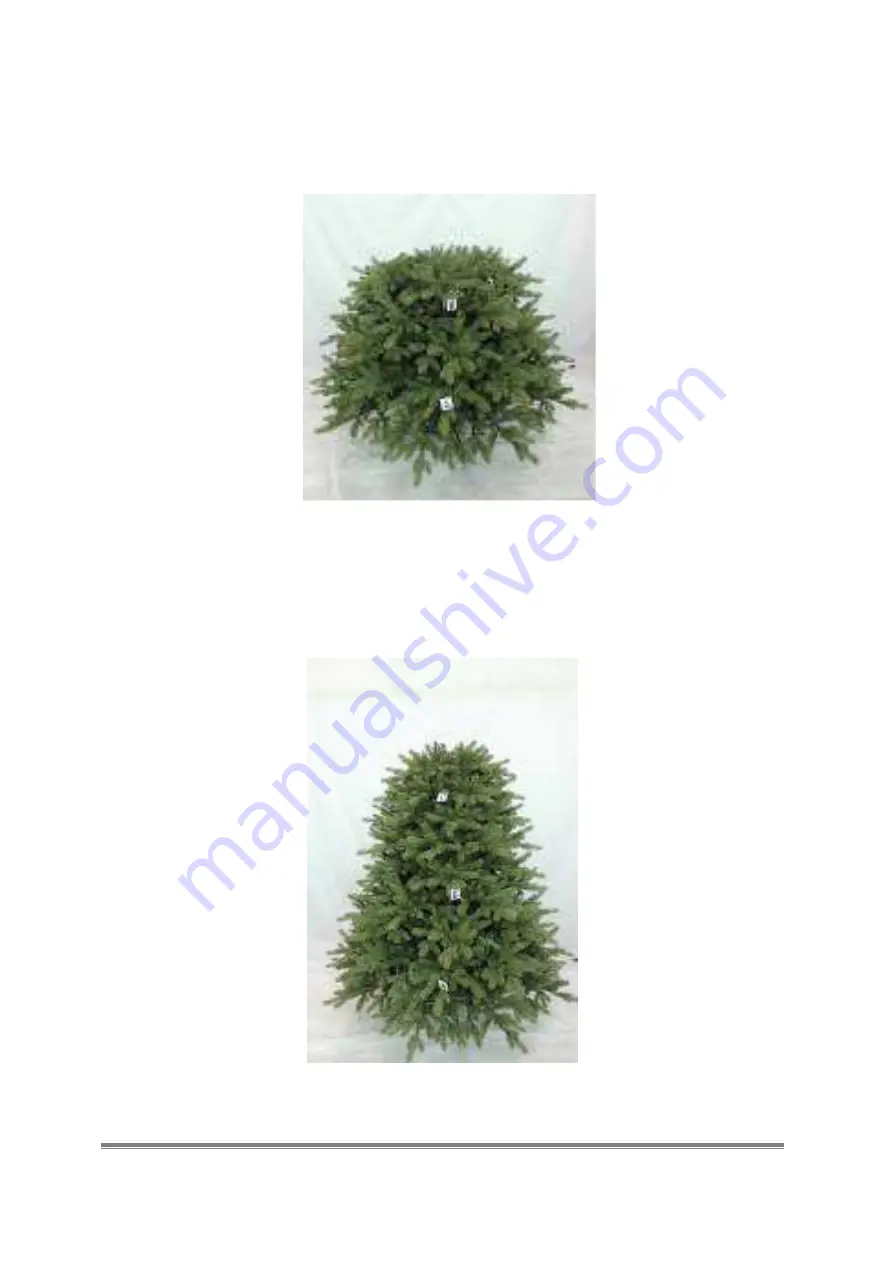
2.4 -
Locate
Tree Section “C”
and insert into the top of the Tree Section “B”. Make sure
section “C” is seated securely into the top of section “B” (See Fig. 2D). Remove the packing
strap that is wrapped around this tree section, same as did you for Section “B”. Allow the
branches and leaves to fall into place.
Fig. 2D


