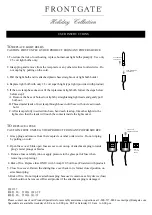
background image

ASSEMBLY INSTRUCTIONS

Step 1

Step 2

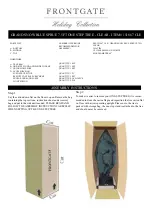
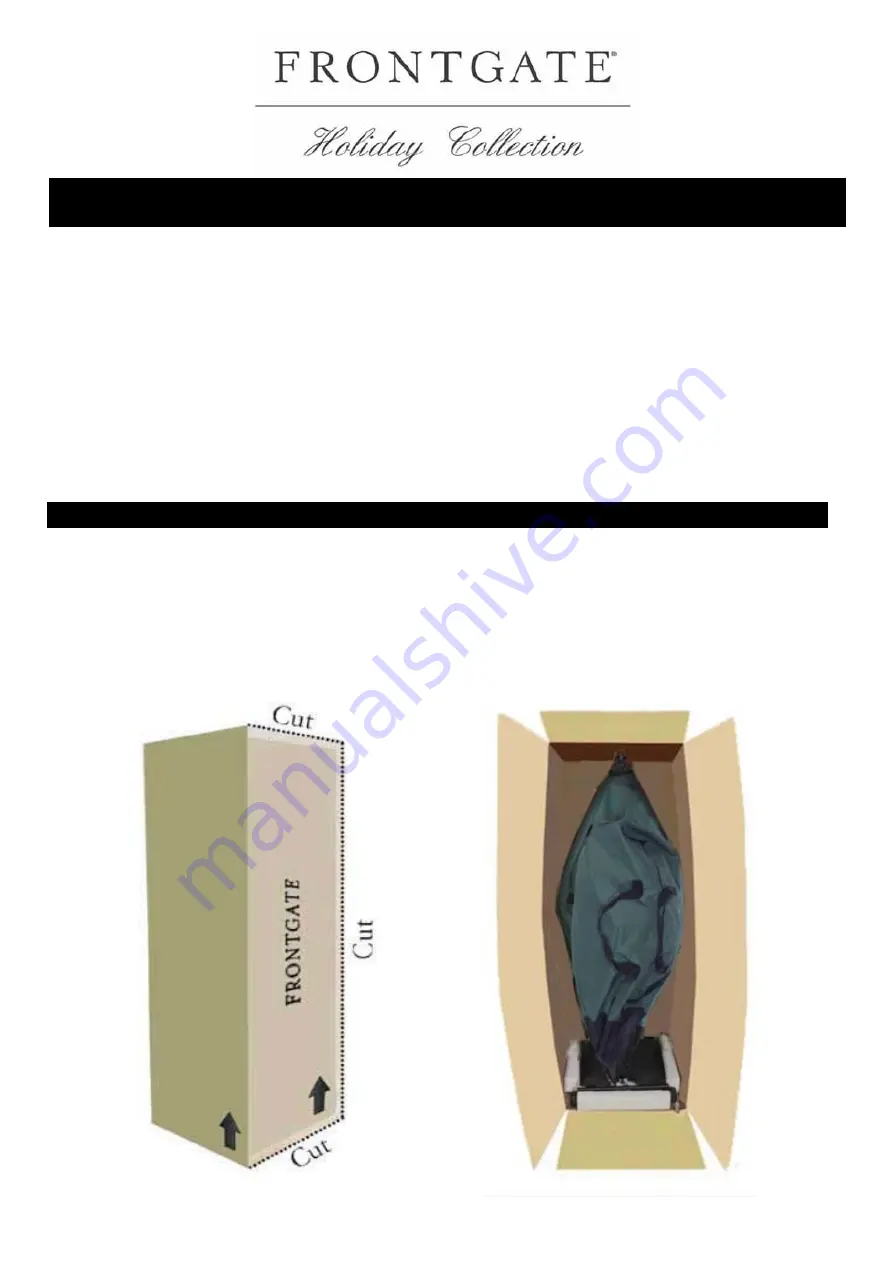
Lay the carton down flat on the floor to open. Remove the bag 

containing the top sections, instruction sheet and accessory 

bag and put to the side until needed. PLEASE READ AND 

FOLLOW THE ASSEMBLY INSTRUCTION CAREFULLY 

WHEN SETTING UP THE ONE-STEP TREE

To make it easier to remove your ONE-STEP TREE, it is recom-

mended to close the carton flaps and reposition the tree carton flat 

on floor with arrows pointing upright. Please note, the tree is 

packed with storage bag, the one-step stand is attached to the tree 

and should never be removed

SKU 151867 CLE - GRAND SNOW BLUE SPRUCE 7.5ft 

CLEAR

3856 TIPS

UL 1200 REMAIN-ON LIGHTS

MAX DIAMETER 60”

HARDWARE

A.  TREE BAG

B.  ONE-STEP STAND AND PADDED COVER

C.  QUICK LIGHT POLE

D.  ACCESSORY BAG

      SURGE PROTECTOR

      REMOTE CONTROL W/RECEIVER

      EXTRA BULBS AND FUSES

      LIGHT STRING

QUANTITY: 1 SET

QUANTITY: 1 SET

QUANTITY: 1 SET

QUANTITY: 1 PC

QUANTITY: 1 SET

QUANTITY: EACH 20 PCS

QUANTITY: 2 PCS

NUMBER OF PERSONS

RECOMMENDED FOR

ASSEMBLY: 1

PARTS LIST

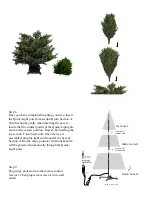
A.  BOTTOM

B.  MIDDLE

C.  TOP

GRAND SNOW BLUE SPRUE 7.5FT ONE STEP TREE - CLEAR - ITEM# 151867 CLE

Summary of Contents for Holiday 151867 CLE

Page 1: ...GRAND SNOW BLUE SPRUCE 7 5FT ONE STEP TREE CLEAR ITEM 151867 CLE...

Page 2: ...right Please note the tree is packed with storage bag the one step stand is attached to the tree and should never be removed SKU 151867 CLE GRAND SNOW BLUE SPRUCE 7 5ft CLEAR 3856 TIPS UL 1200 REMAIN...

Page 3: ...abs on both wheels once the tree is in its desired location Step 5 Remove the main tree storage bag Unbuckle both cinch straps located on the sides of the main bag and unbuckle at the base of the bag...

Page 4: ...Step 7 With your foot on the footrest begin pulling the tree in the direction shown by the ONE STEP TREE indicator towards you and down to the center of the foot pedal...

Page 5: ...t pole from section B into Section A Turn Section B gently when inserting the pole to insure that the contact points of the Quick Light pole move to the correct position Repeat by inserting the top se...

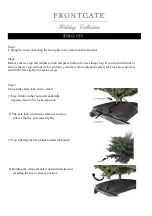
Page 6: ...you may wish to unlock the safety lock as below process and tilt the tree slightly for easier access Step3 Unlock the safety lock on tree stand 1 Step firmly on the foot pedal until fully depressed an...

Page 7: ...pull the bag down over the tree until the bag nearly touches the floor Then fasten the bag Step 6 Fasten the two cinch straps on the both side of the main tree bag in cross position Then fasten strap...

Page 8: ...ach successive row make the upward angle of the branches more pronounced Position inner tips to hide the center of the tree 4 Arrange the uppermost section of the tree so that the tips are evenly spac...

Page 9: ...ails or place on sharp hooks or nails 5 Do not let lamps rest on the supply cord or on any wire 6 For your safety unplug the product when leaving the house when retiring for the night or if left unatt...

Page 10: ...he light set so that the leads will touch the contacts inside the light socket 1 Grasp plug and remove from the receptacle or other outlet device Do not unplug by pulling on cord 2 Open fuse cover Sli...

Reviews:

Related manuals for Holiday 151867 CLE